One of the most satisfying feelings is a freshly made bed, don’t you think? Starting the day by making the bed is an instant accomplishment. And we’re not just talking about the beds that we sleep in. Around here, making our bed has a whole other meaning!
Beds are what we plant into: raised, formed, rows of soil that are created using a special tractor attachment. After forming the beds, we have to cover them up with the field equivalent of sheets – plastic. This plastic plays three important roles:
It traps heat in the soil, allowing for faster root development and plant growth.
It helps keep weeds at bay, by limiting available soil space.
It limits evaporation of moisture from the soil and traps the extra water around the plant.
The plastic is applied to the rows using another tractor attachment. The rolls of plastic are loaded onto this attachment, and one field worker sits behind the roll, to guide it. Another field hand drives the tractor. To start, the driver lines the tractor up at the end of the row. Once aligned, the seated field hand tucks the plastic under a pile of soil to secure it. The tractor starts to slowly drive, and the plastic is slowly unraveled and pulled tight. Two disks, one on either side of the bed, pile dirt on top of the plastic to hold it in place. This process is repeated for each individual bed.
From here, a different attachment is used to apply a tunnel layer over top of the metal hoops. Because these hoops are taller, the attachment needs additional clearance. This time around the plastic has a series of ventilation holes (we talked about this in a blog post a few weeks ago!), and it is applied over top of the hoops, forming the tunnel layer. These tunnels are mini greenhouses, and they cover the newly planted seeds or transplants and provide them with an extra bit of heat so they can establish and grow quickly.
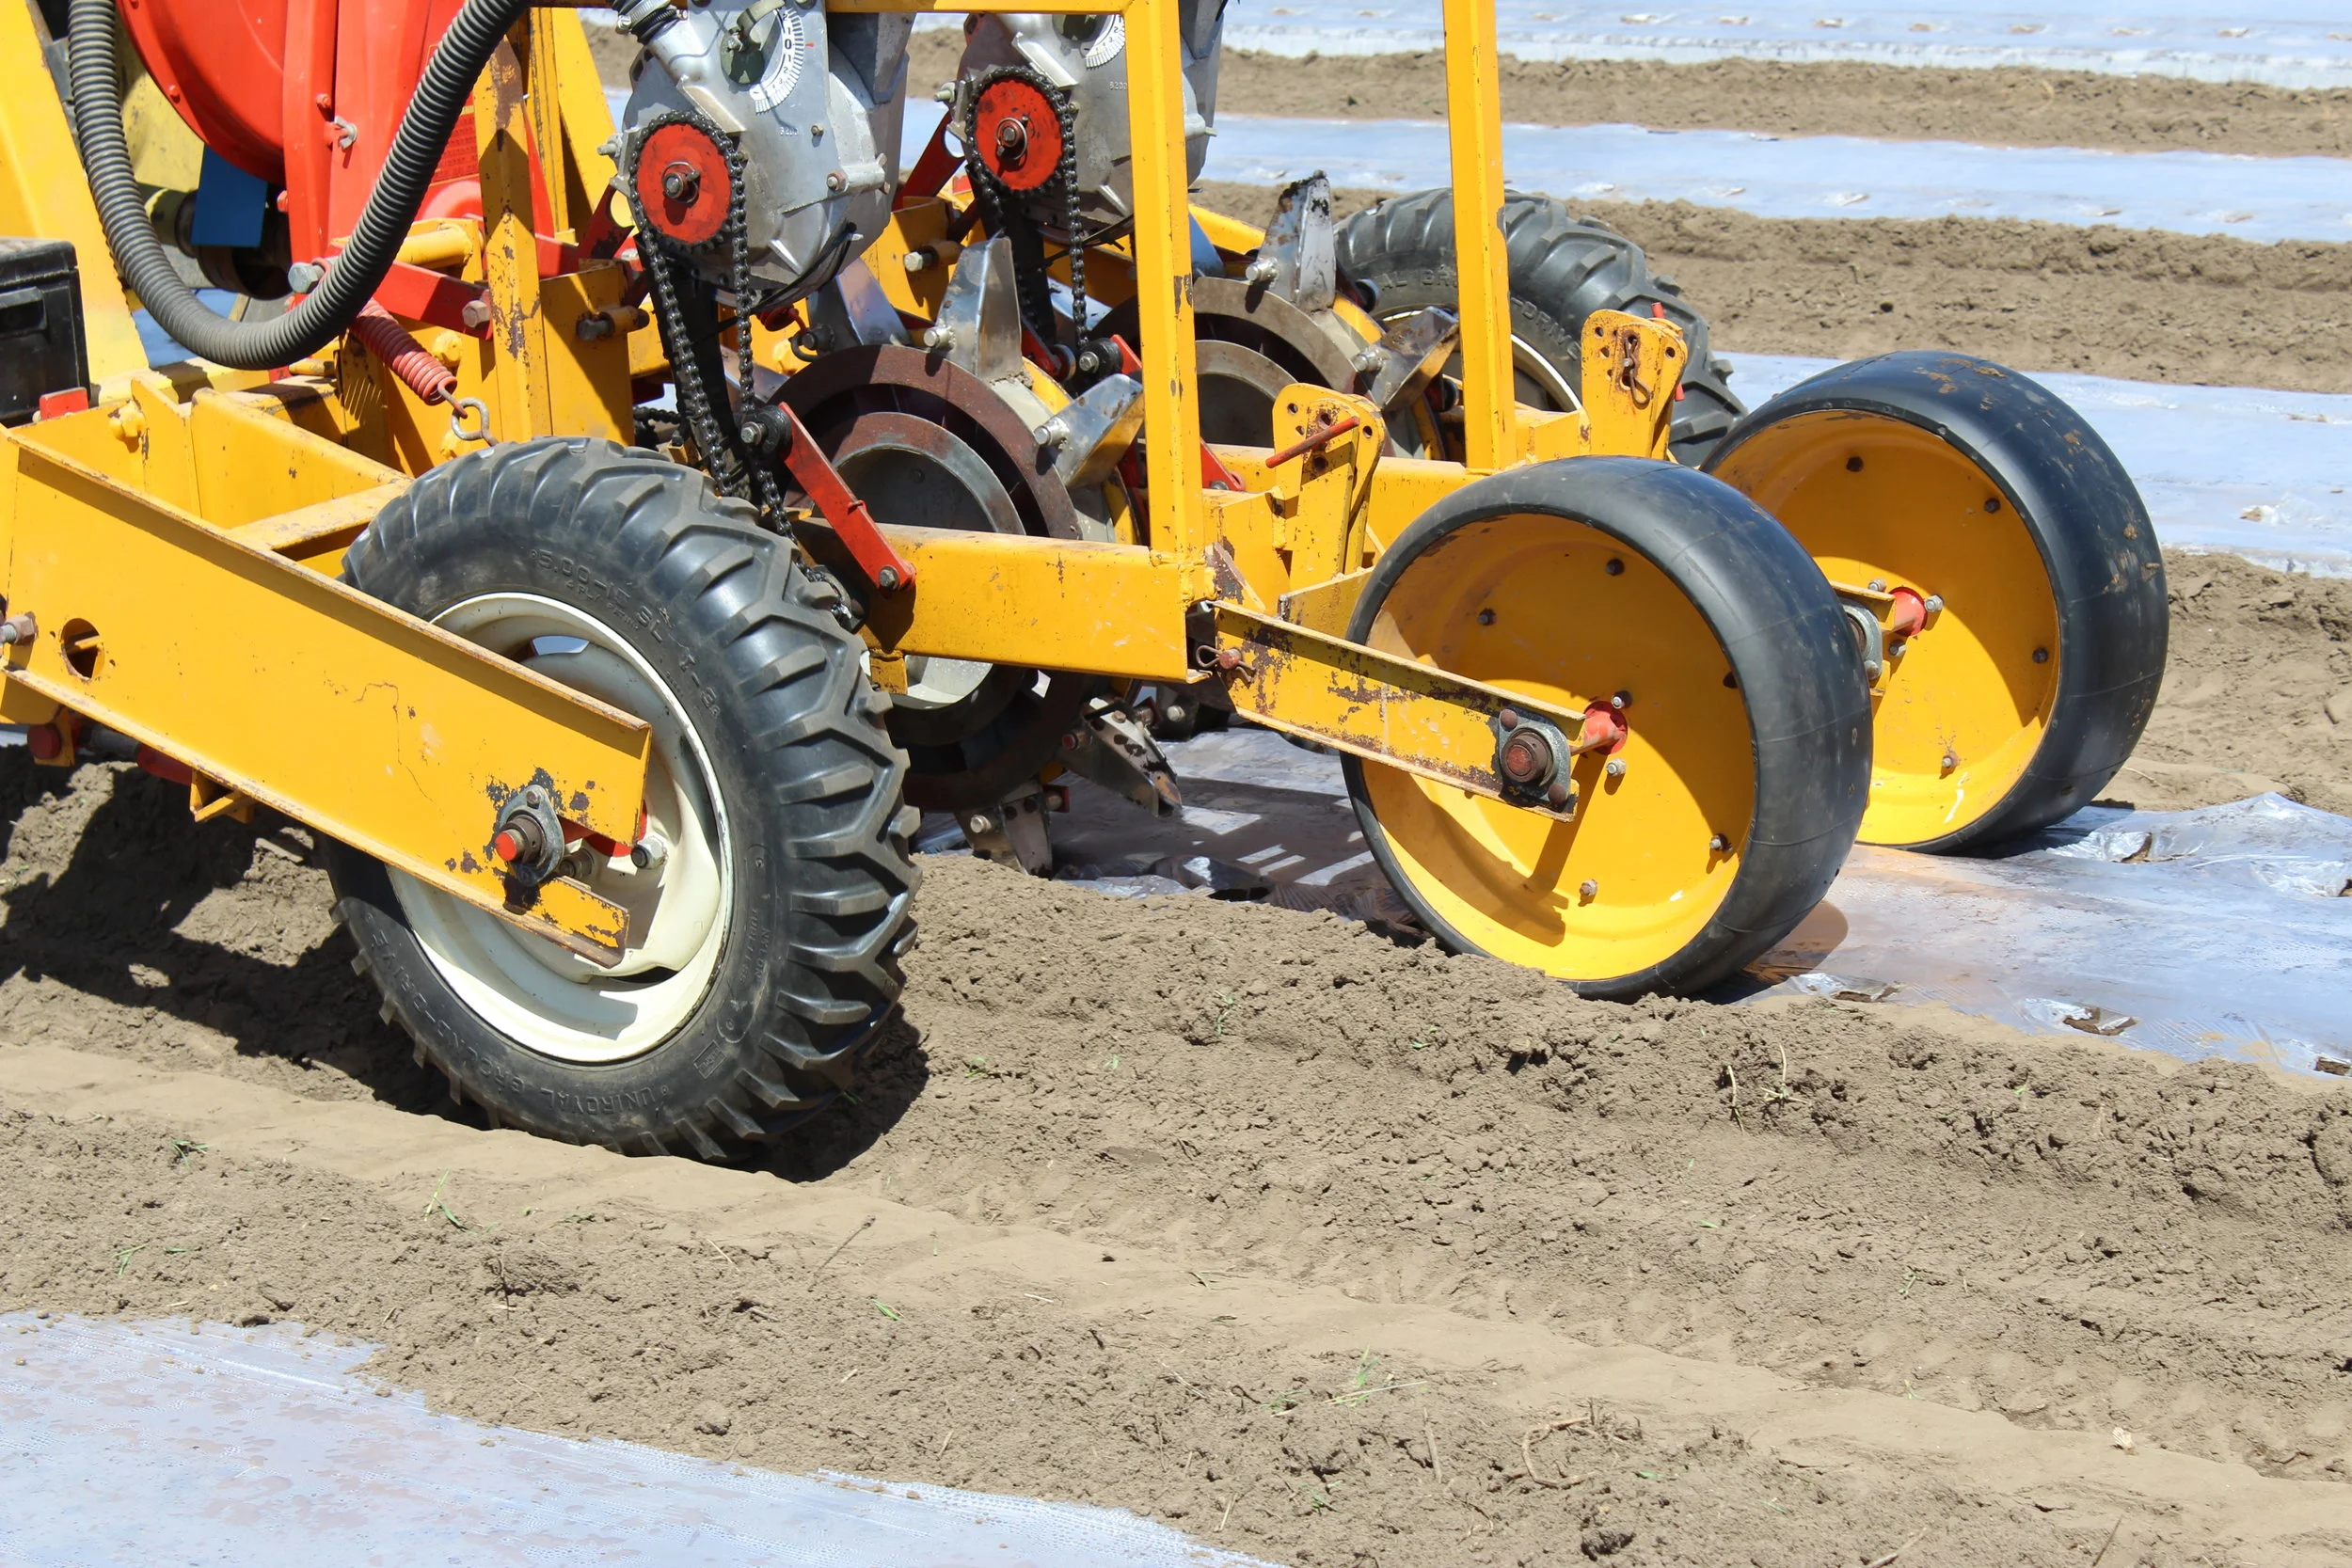
After we finished making our beds last week, we got straight to work planting corn! We plant our sweet corn using two different planters. The first is called a poly-planter – this one is used for planting into the rows covered in plastic that we described above. It’s smaller, and works by punching a hole in the plastic, then dropping a seed in that hole. We also have a larger planter that we use for planting directly into a freshly tilled field. We use both methods because it allows us to have sweet corn throughout the summer, on a continuous schedule. Between the corn stalks planted on plastic and directly into the field, any guesses which will produce ears of corn first?
Poly Planter


