Sweet Potato, Kale, and Red Lentil Curry

*Serves: 4

Prep Time: 15 minutes

Cook Time: 30 minutes

Ingredients:

2 medium (or 1 large) sweet potato, cubed

1 carrot, diced

1 pepper, diced

1 onion, diced

2 cloves garlic, minced

Salt

Pepper

1 teaspoon curry powder

½ teaspoon turmeric

½ teaspoon red pepper flakes (optional)

1-2 tablespoons Thai red curry paste, depending on spice tolerance

1 can coconut milk

1 cup low-sodium vegetable stock

1/2 cup red lentils

2 stalks kale, finely chopped

Instructions:

  1. Mise en place: chop all of your veggies and measure out all of your spices. That way they will be right ready to go when you need them!

  2. Add oil to a shallow saucepan and heat over medium heat. To track the temperature, add 1 small piece of diced onion. When it starts to sizzle, you’re ready to go!

  3. Add the onion and cook for 2-3 minutes, stirring frequently. Onion should be softened and fragrant.

  4. Add the diced bell pepper & minced garlic. Cook for an additional 2-3 minutes, continuing to stir often.

  5. Add spices and curry paste and stir until the veggies are evenly coated.

  6. Next, add the coconut milk, stirring until smooth and mixed in with the veggies and spices. The mixture should be a nice rich orange colour.

  7. Add the vegetable stock and stir again.

  8. Finally, add the sweet potato. Stir, then cover and cook for 15 minutes over medium-low heat.

  9. Remove the lid, stir, and add the red lentils. Stir again, then cover and cook 20 minutes. Stir every 5 minutes of so.

  10. During the final 5 minutes, add kale. Continue to cook, stirring continuously, until the kale is wilted and coated in the sauce. The mixture should be thick and very fragrant.

  11. Serve alongside rice or naan bread – something to soak up the saucy goodness. Enjoy!

Recipe created & photographed by Alex Chesney, RD

Creamy One-Pot Pasta with Butternut Squash, Kale & White Beans

I came across this recipe yesterday and was immediately intrigued for a few reasons:

  • It used a bunch of produce we have on our farm right now (butternut squash, kale, & garlic)

  • It was vegetarian (perfect for that meatless Monday trend)

  • It was a creamy pasta dish (because, duh, what better comfort food is there?!)

  • AND it was still high in protein and all-around pretty balanced

I was hooked! I had most the ingredients on hand, so I went for it… The verdict? I’m so glad I did! I’ve had some not so great experiences with one-pot pastas in the past, leaving me with a runny mixture of seemingly random ingredients, but this one turned out perfectly. The original recipe called for fresh basil and pumpkin seeds, which I didn’t have on hand at the time, so I made a few tweaks to fit my pantry. It was quick, easy, and pretty darn tasty. Give it a try and let me know what you think!

*Serves: 6

Prep Time: 15 minutes

Cooking Time: 8 -- 13 minutes

Ingredients

2 teaspoons dried basil

½ teaspoon red pepper flakes

1 small lemon

3 tablespoons olive oil, divided

6 cloves garlic

1 (15-ounce) can white kidney beans

12 ounces dried spaghetti

1 cup butternut squash purée (can sub sweet potato or pumpkin purée)

2 teaspoons kosher salt, plus more as needed

1/2 teaspoon freshly ground black pepper

4 1/2 cups water

1/2 cup plain Greek yogurt

3 cups loosely-packed kale

¼ cup parmesan cheese, shredded

½ cup mozzarella cheese, shredded

Instructions

  1. Finely grate the zest of ½ a small lemon. Combine with the dried basil and red pepper flakes, then whisk in 1 tablespoon of the olive oil. Season with salt and pepper to taste, stir to combine; set aside. Halve the lemon and set aside.

  2. Thinly slice 6 garlic cloves and add to a large straight-sided skillet (we like this one) or Dutch oven. Drain and rinse 1 can white kidney beans. Add 1/2 the beans, the remaining 2 tablespoons olive oil, 12 ounces spaghetti, 1 cup canned butternut squash purée, 1 teaspoon kosher salt, and ½ teaspoon black pepper.

  3. Add 4 ½ cups water and bring to a boil over high heat (this will take about 5 minutes). Boil the mixture, stirring and turning the pasta with tongs to prevent sticking, until the pasta is al dente and almost all the liquid has evaporated, 8 to 10 minutes. In the last two minutes of cooking, add 3 cups baby kale.

  4. Remove from the heat. Stir in 1/2 cup of the plain Greek yogurt, the remaining beans, the shredded mozzarella, the herbed oil mixture, and the juice from ½ the lemon. Stir with tongs, and taste, adding more lemon juice and salt as needed. Divide the pasta between 6 bowls and garnish each bowl with the shredded Parmesan cheese, and more black pepper.

Recipe Note:

To reheat leftovers, warm in a skillet with a splash of water, tossing until the sauce loosens up and is creamy. Season with salt, to taste, and a squeeze of lemon juice.

Recipe slightly modified from: https://www.thekitchn.com/one-pot-pasta-recipes-261459

Blueberry Goat Cheese Tart

Although it’s still technically summer, the cool nights and crisp mornings are telling us fall is well on its way. And I think this recipe is a perfect representation of that transition. A little bit summery, featuring the last of our 2019 blueberries, and a little bit autumnal with the comforting and filling oven warmed pastry, stuffed with a sweet & savoury filling. It’s the perfect recipe for impressing guests, while still allowing yourself time to enjoy your company since it’s so quick & easy. Paired with a hearty side salad — I’m thinking one with apples and nuts — it makes an easy and satisfying meal. Give it a try & let me know what you think!

Ingredients

1 sheet frozen puff pastry, thawed

1 log goat cheese, softened

1.5 cups blueberries

1 tablespoon water

1 tablespoon balsamic vinegar

1 teaspoon maple syrup

1 spring fresh thyme, leaves removed from stem (or ½ teaspoon dried)

Handful of fresh basil leaves, for serving

Instructions

  1. Preheat the oven to 400°F.

  2. Unroll the sheet of puff pastry onto a parchment-paper lined baking sheet. Score a ½ inch border around the the edges, being careful to not cut all the way through. Next, prick all over the base with a fork. Pop in the oven and bake for 12 minutes.

  3. While the pastry bakes, prepare the blueberry filling.

  4. Add blueberries, water, vinegar, maple syrup, and thyme to a small pot and place on the stove over medium heat. Cook, stirring consistently, for 10 minutes or so. The blueberries should break down and the mixture should be bubbly and thickened.

  5. Remove the pastry from the oven, and gently press down the centre of the tart.

  6. Carefully and evenly spread the softened goat cheese out across the pastry, leaving that ½ inch border uncovered.

  7. Add the blueberry filling to the tart, on top of the goat cheese and return to the oven for an additional 15 minutes.

  8. While the tart finishes baking, roughly chop the fresh basil. After removing from the oven, sprinkle this herb on top, along with a few fresh blueberries for serving.

  9. Slice into rectangles and enjoy!

Recipe developed & photographed by Alex Chesney, RD

Zucchini Alfredo

A fresh, easy, and delicious recipe for you, friends! The zucchini noodles are light & high in fibre and the sauce is rich & creamy — they balance one another out perfectly. Pictured here with a side of tomato salad (roma tomatoes diced & tossed with olive oil, balsamic vinegar, salt, & pepper). Just add a couple slices of crusty bread to sop up the sauce and you’ll be all set. Enjoy!

*Serves 4

Ingredients

6 medium-sized zucchini

4 tablespoons unsalted butter

2 cloves garlic, minced

1 ½ cups half-and-half

2 cups Parmesan cheese

¼ teaspoon salt

¼ teaspoon nutmeg

¼ teaspoon black pepper

Instructions

  1. Spiralize the zucchini, cutting the strands into sections about 8 inches long.

  2. Next, cook the zucchini noodles. Add a tablespoon of cooking oil (my go-to is canola!) to a large skillet and heat over medium-low heat. Continue to cook them while preparing the sauce, stirring occasionally. Add a sprinkle of salt, pepper, and garlic powder. You can add a pinch of red pepper flakes too, for a bit of heat!

  3. To begin making the sauce, melt the butter in a medium-sized saucepan over medium heat until it starts to bubble and sizzle.

  4. Add the minced garlic and saute until lightly browned and fragrant, between 30 seconds and 1 minute.

  5. Next, whisk in the cream. Heat the cream until it simmers, whisking occasionally. This should take 3 – 4 minutes.

  6. Finally, whisk in the parmesan cheese, salt, nutmeg, and pepper.

  7. Cook, whisking occasionally, until the sauce thickens. This should take an additional 3 – 4 minutes. At this point, the sauce should coat the back of a spoon.

  8. Add the cooked zucchini noodles to the prepared sauce and toss to coat.

  9. Serve alongside a salad and some fresh bread for the perfect summer meal!

Recipe developed & photographed by Alex Chesney, RD

Learn about vegetable subscription box offerings from TRM.

Smashed New Potato Salad with Dijon Vinaigrette

This week we are excited to share a delicious-looking recipe with you courtesy of our friends over at The Grateful Plate! These ladies are big supporters of our Farm Market & Pick-Your-Own Patch, and were generous enough to create a recipe using goodies found in our patch! We think this potato salad would be the perfect addition to your long weekend. You can pick just about all of the ingredients yourself from our veggie patch, or grab them pre-picked from our farm market if you’re running short on time. Either way, give it a shot, and let us know what you think!

*Serves 4-6

A big and bright salad that incorporates farm fresh radishes, peas and new potatoes.  It tastes amazing when served while the potatoes are still warm.  Serve with a side of protein of choice for an easy summer meal!

Ingredients

Salad mix:

2 pounds new potatoes, washed, either small ones or larger ones cut to equal pieces

2 tbsp olive oil

2 tsp minced garlic

1/2 tsp salt

1/4 tsp pepper

6 cups mixed spring greens, washed

4 radishes, thinly sliced

1/4 cup fresh shelled peas

1/2 small red onion, sliced

4 eggs, hard boiled and peeled

1 green onion top, thinly sliced

Dressing:

1/2 cup olive oil

1/3 cup apple cider vinegar

2 tbsp Dijon Mustard

1 tsp minced garlic

salt and pepper

Instructions

  1. Preheat oven to 400 degrees and line a sheet pan with parchment; set aside.

  2. Add all of the dressing ingredients to a small jar and shake well; set aside.

  3. In a large bowl mix the potatoes with the olive oil, garlic, salt and pepper.  Place on the sheet pan and bake for 30 minutes, until potatoes are tender and crispy brown.  Remove from the oven and use the bottom of a mug to gently smash the potato pieces.  They should still remain intact, just smushed! Set aside while you prepare the rest of the salad.

  4. On a large platter layer the salad ingredients: start with the greens on the bottom and scatter the sliced radishes, peas and onion on top.  Cut the eggs in half and place on the salad.   Tuck in the bits on warm golden potatoes and finish with a sprinkle of green onion.

  5. Serve immediately with the dressing.

Renee Mackey-Burson

The Grateful Plate

www.thegratefulplate.ca

Instagram - @the.grateful.plate

Facebook - @thegratefulplate.ca


Rhubarb for Breakfast Two Ways

Rhubarb has such a wonderfully tangy and fresh flavour, which makes it the perfect addition to your breakfast plate! It brightens up that first meal of the day, and makes you excited to face whatever adventure is heading your way. At least, it does for me! Check out these two breakfast ideas that will fuel you up and keep you energized. Let me know what you think!

Stewed Rhubarb on French Toast

*Serves 4

Ingredients

Stewed Rhubarb

2 cups rhubarb, chopped

1 tablespoon water

½ teaspoon vanilla extract

1 tablespoon honey (more or less, to taste)

French Toast

8 slices bread of your choice

4 eggs

½ cup milk

1 teaspoon vanilla

1 teaspoon sugar

½ teaspoon cinnamon

½ teaspoon nutmeg

1 tablespoon butter

Toppings

1 cup plain Greek yogurt, 2%

Cinnamon

Honey (optional)

Instructions

  1. Add all ingredients to a small pot, and place over medium-low heat. Cook for 5 – 8 minutes, stirring frequently and mashing as the rhubarb starts to soften. Once rhubarb has softened completely, it’s all ready to go!

  2. To prepare French Toast, whisk together eggs, milk, vanilla, sugar, cinnamon, and nutmeg. Set aside.

  3. Heat a pan over medium-low heat, and melt half of the butter. Once the butter is sizzling, dunk 4 slices of bread into the egg mixture, and place in the prepared pan. Cook for approximately 3 minutes per side, until the French Toast is golden brown. Flip and repeat on the other side, then repeat the process for the 4 remaining slices of bread.

  4. Top your prepared French Toast with a dollop of plain Greek yogurt, a generous scoop or two of stewed rhubarb, and sprinkle cinnamon on top.

  5. Breakfast is served!

Recipe created & photographed by Alex Chesney, RD

French Toast with Stewed Rhubarb and Greek Yogurt is photographed with locally grown organic vegetables.

Rhubarb Crisp Parfait

*Serves 4

Ingredients

4 cups rhubarb, chopped

2 tablespoons sugar

½ cup oats

1 tablespoon chia seeds

1 tablespoon hemp hearts

¼ cup brown sugar

¼ cup butter

2 cups Greek yogurt

1 teaspoon vanilla

Instructions

  1. Preheat oven to 375⁰F.

  2. Mix together the rhubarb and sugar, and place in a small baking dish. Next, combine oats, chia seeds, hemp hearts, and brown sugar. Once combined, cut in the butter until a crumbly mixture forms.

  3. Top the rhubarb with the oat mixture, then place in the preheated oven and bake for 35 minutes, until bubbly and rhubarb is softened.

  4. Allow the mixture to cool, then you can begin to assemble the parfaits!

  5. Find 4 tall glasses or mason jars and add ¼ Greek yogurt to the bottom of each. Next, add a scoop of rhubarb crisp. Top with another ¼ cup of Greek yogurt, and finish with another scoop of rhubarb crisp on top. Screw on the lids if using jars or cover with saran or beeswax wrap if using glasses and store in the fridge until ready to eat.

  6. To serve, top with an additional sprinkle of chia seeds and hemp hearts. Enjoy!

Recipe created & photographed by Alex Chesney, RD

Straightened Crisp Pic with locally grown organic rhubarb from Thames River Melons in Innerkip Ontario Canada.

Rhubarb BBQ Sauce

This past weekend we were finally treated to some warmer weather, and gosh was it ever overdue! We really need the sun to shine more often in order to be able to get our field work done.

On a lighter note, the sunshine also inspires us to cook up more summery meals. And this definitely fits the bill! Check out our recipe below for a homemade BBQ sauce that’s tangy and delicious, and features springtime rhubarb. It’s got some texture to it, and pairs wonderfully with chicken or pork. It’s not overly sweet, but does have some perfect sweetness thanks to the inclusion of brown sugar and our very own Strawberry BBQ Sauce!

Did you know that rhubarb is high in fibre, calcium, and vitamin C? Just 1 cup of diced rhubarb packs in 2.2g of fibre (8% of the recommended Daily Value, aka DV), 10% of the recommended daily intake for calicim, and 16% of the recommended vitamin C. It’s definitely an underrated springtime treat, for both its culinary and nutritional perks.

Give it a try today and let us know what you think!

Ingredients

1 teaspoon canola oil

1 onion, minced

1” piece of ginger, minced or grated

2 cloves garlic, minced

1 cup rhubarb, diced

½ cup water

¼ cup brown sugar

¼ cup Thames River Melons Strawberry BBQ Sauce

2 tablespoons balsamic vinegar

1 tablespoon soy sauce

1 teaspoon paprika

1 teaspoon chili powder

1 teaspoon Worcestershire sauce

Dash of salt

Dash of pepper

Instructions

  1. Heat the oil in a medium saucepan over medium heat. Add 1 piece of minced onion to test the temperature. Once the onion starts to sizzle, you know it’s time to add the rest!

  2. Add the remaining onion and cook until softened, 3 – 5 minutes. Next, add the ginger and garlic and cook for an additional 1 – 2 minutes, until fragrant.

  3. Finally, add all remaining ingredients: rhubarb, water, brown sugar, strawberry bbq sauce, balsamic vinegar, soy sauce, paprika, chili powder, Worcestershire sauce, salt & pepper.

  4. Continue to cook over medium heat, stirring frequently, until rhubarb starts to soften. As it does, mash together to create a more unified sauce.

  5. Continue to cook until most of the moisture has evaporated, and the mixture has thickened.

  6. Serve with the protein of your choice: we topped our chicken meatballs with it, but it would also be delicious on BBQ’d chicken legs, or on pork!

Recipe created & photographed by Alex Chesney, RD

Click to learn about our organic veg box delivery.

Planting Muskmelon & Chipping Blueberries

This week we’re up to a whole lot out in the fields, and we wanted to fill you in on the progress of two of your favourite fruits: muskmelon (aka cantaloupe!) and blueberries.

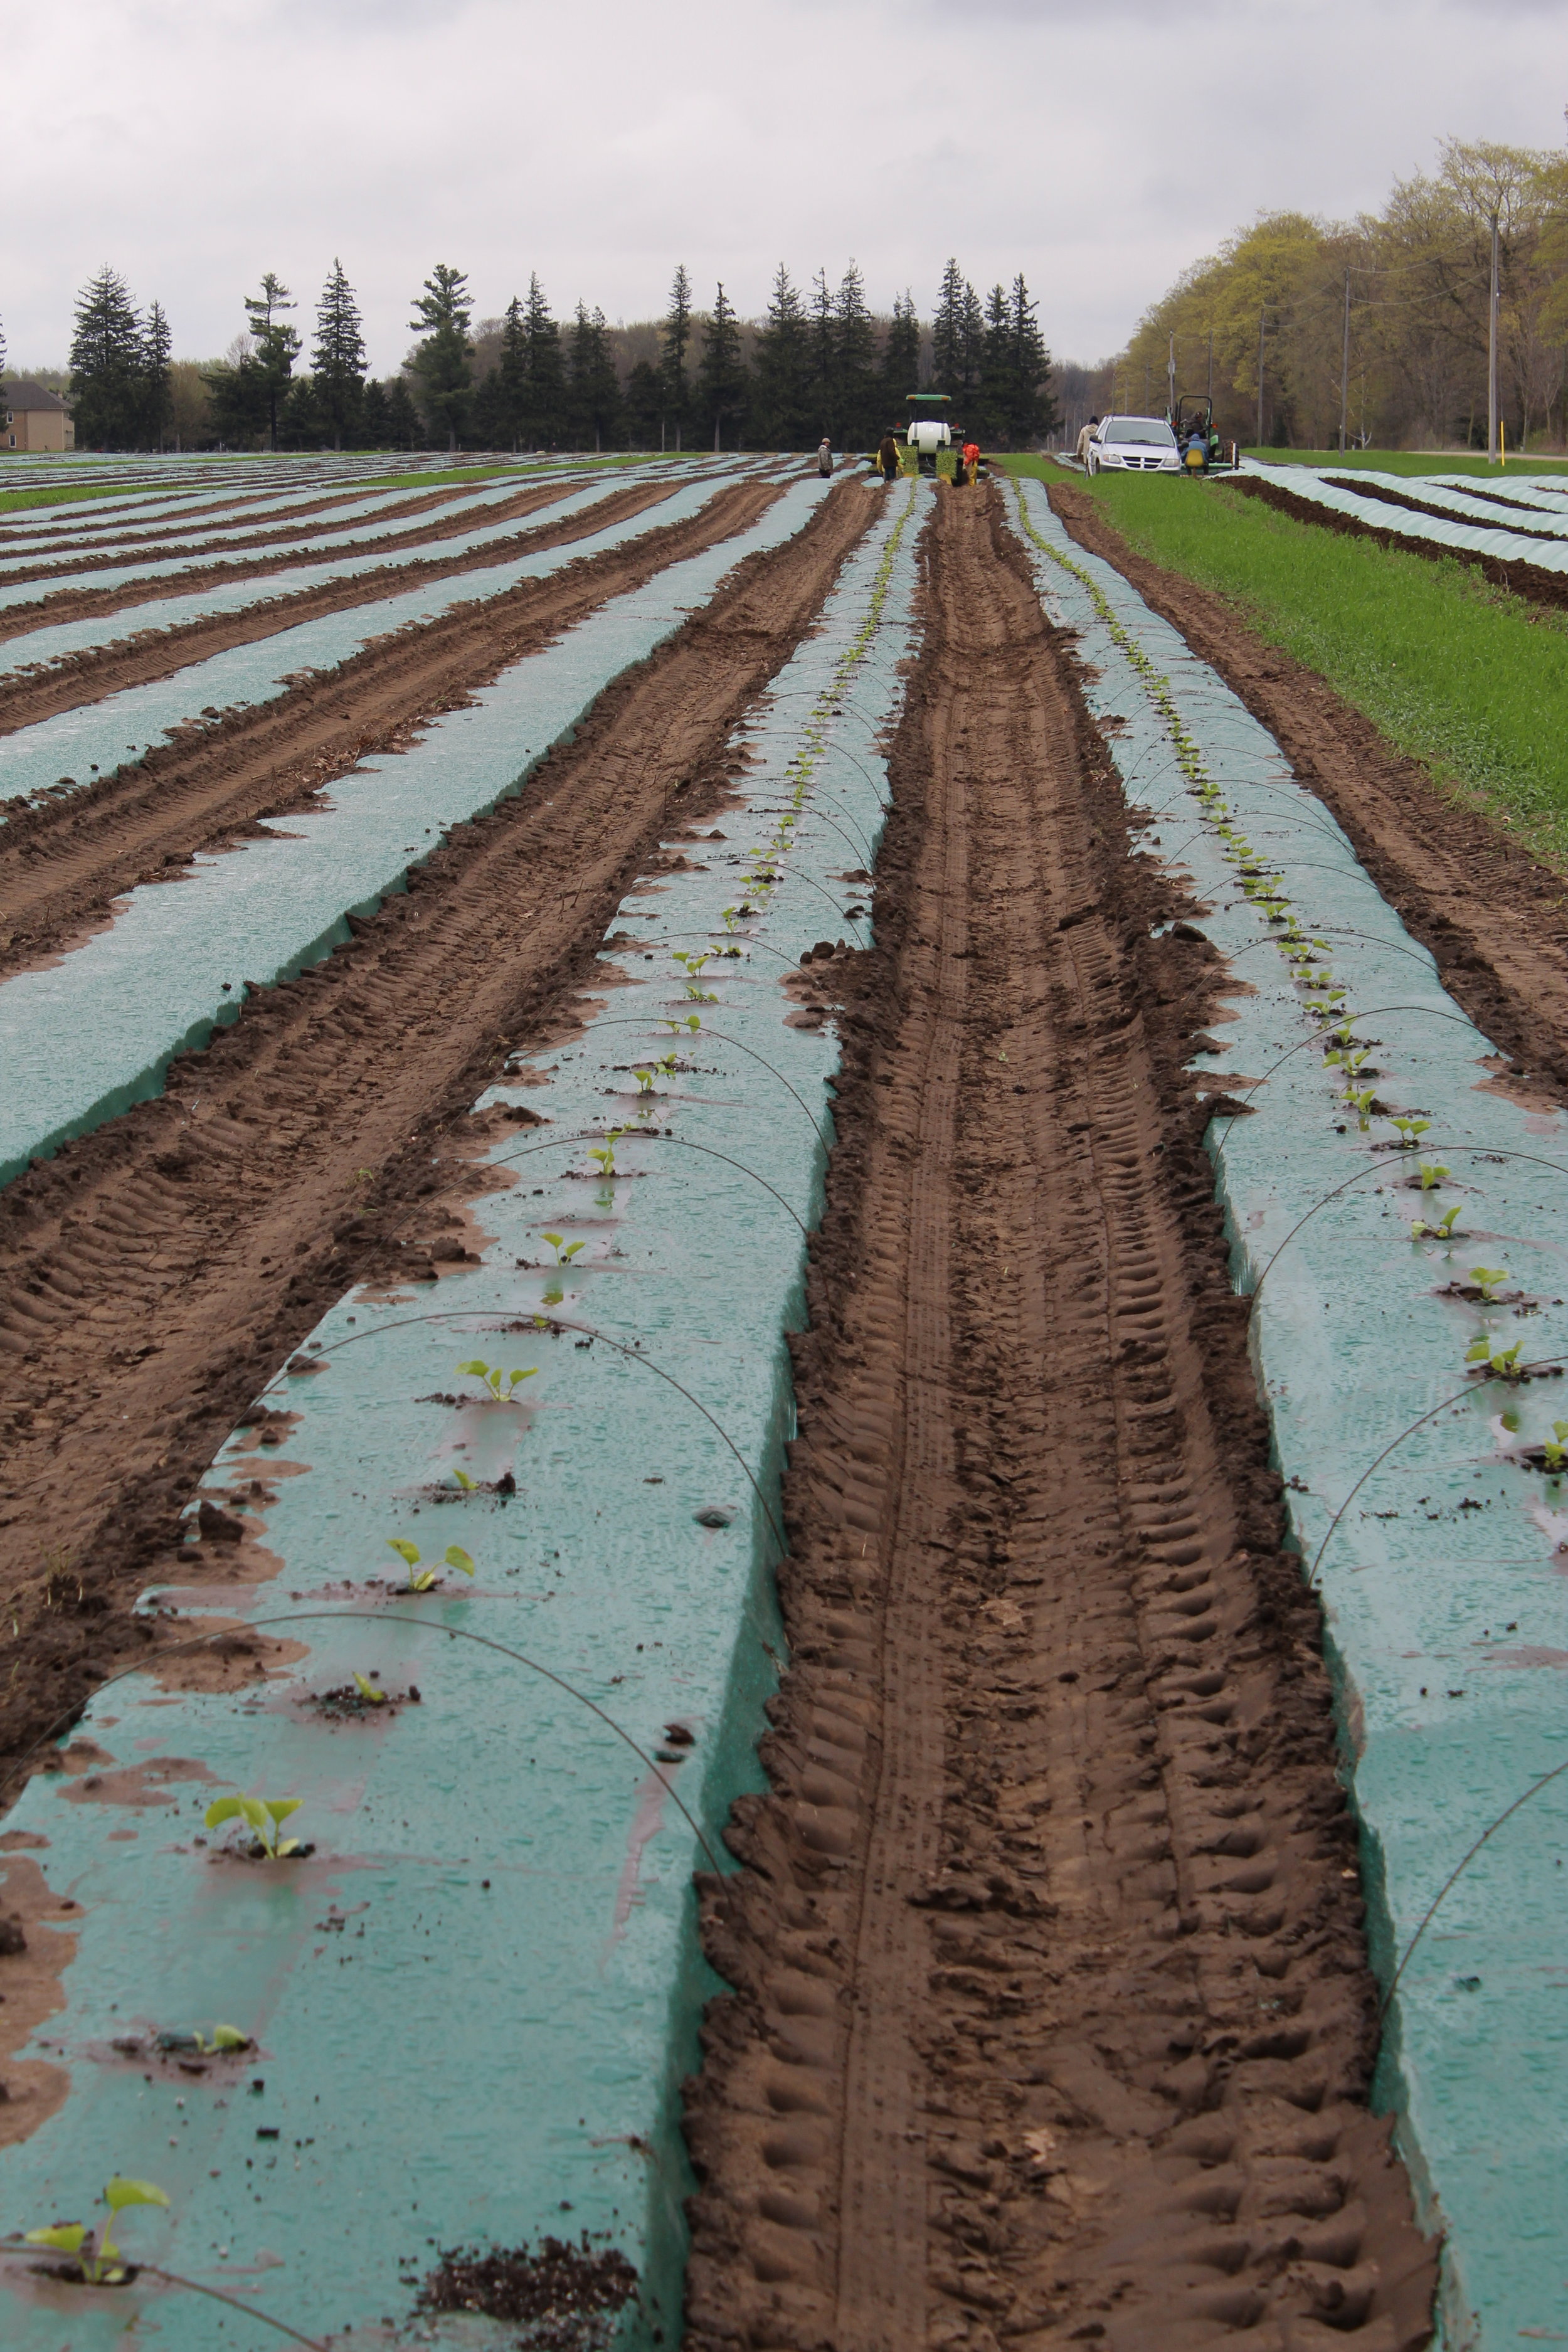
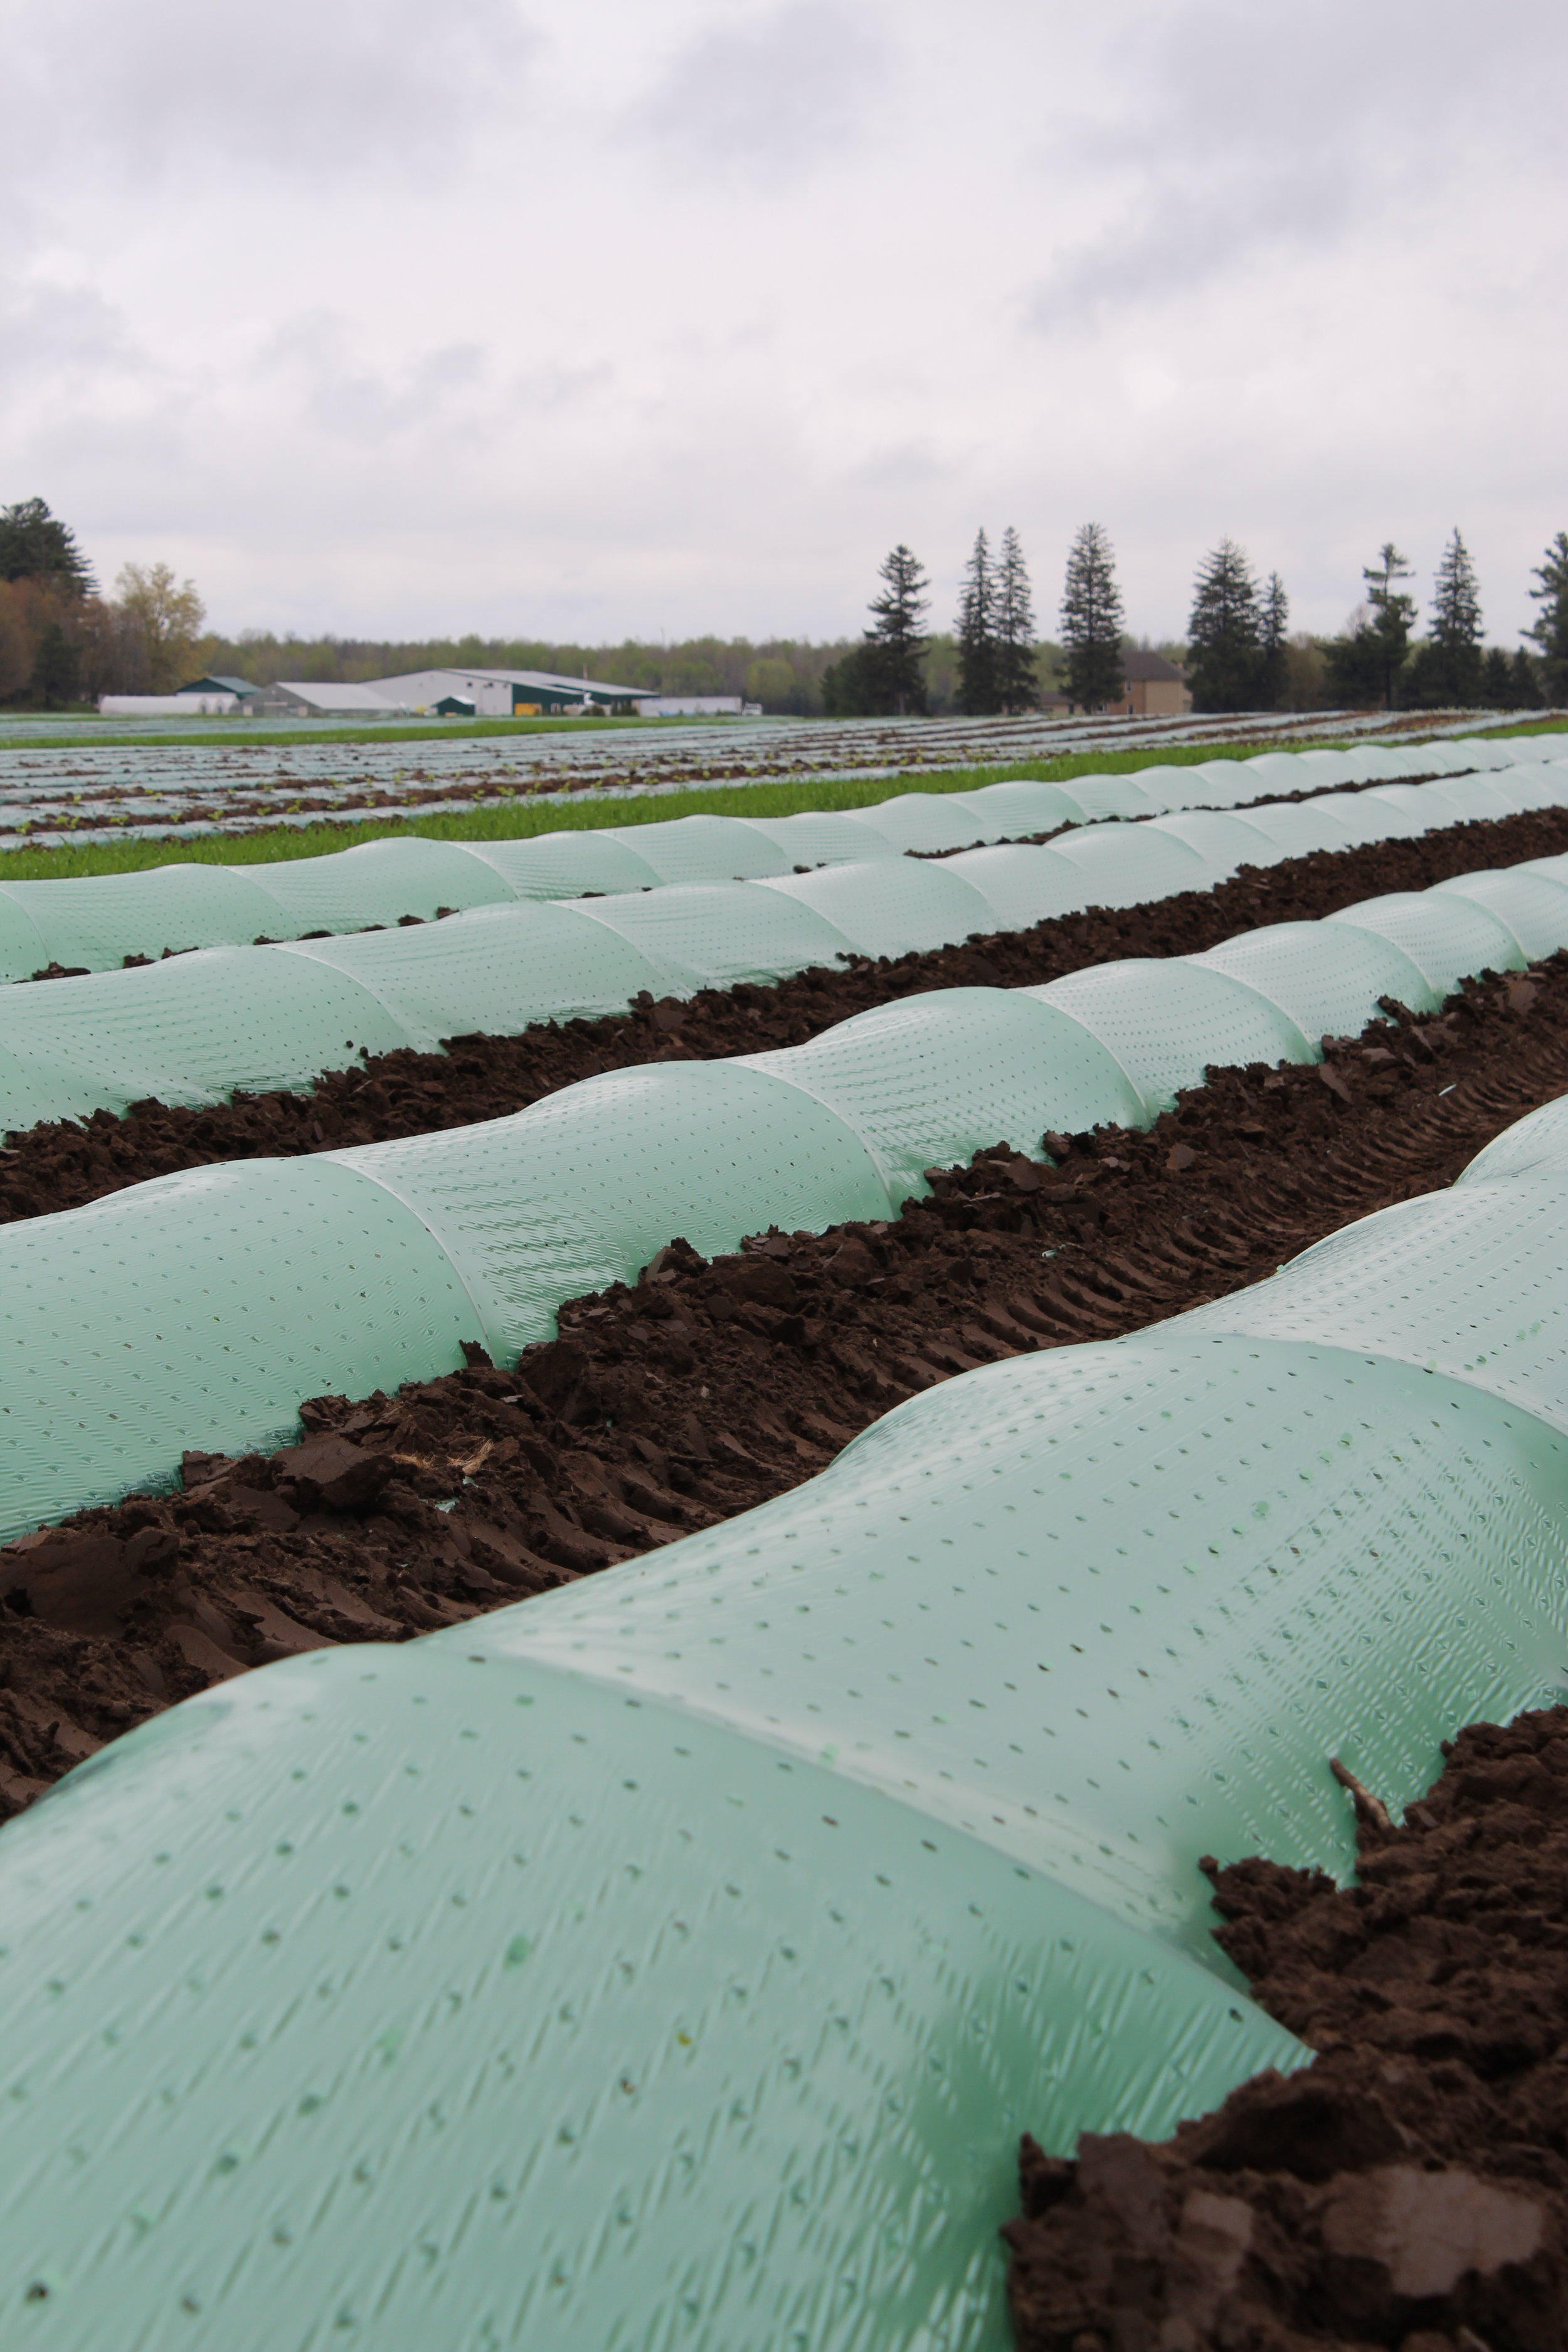
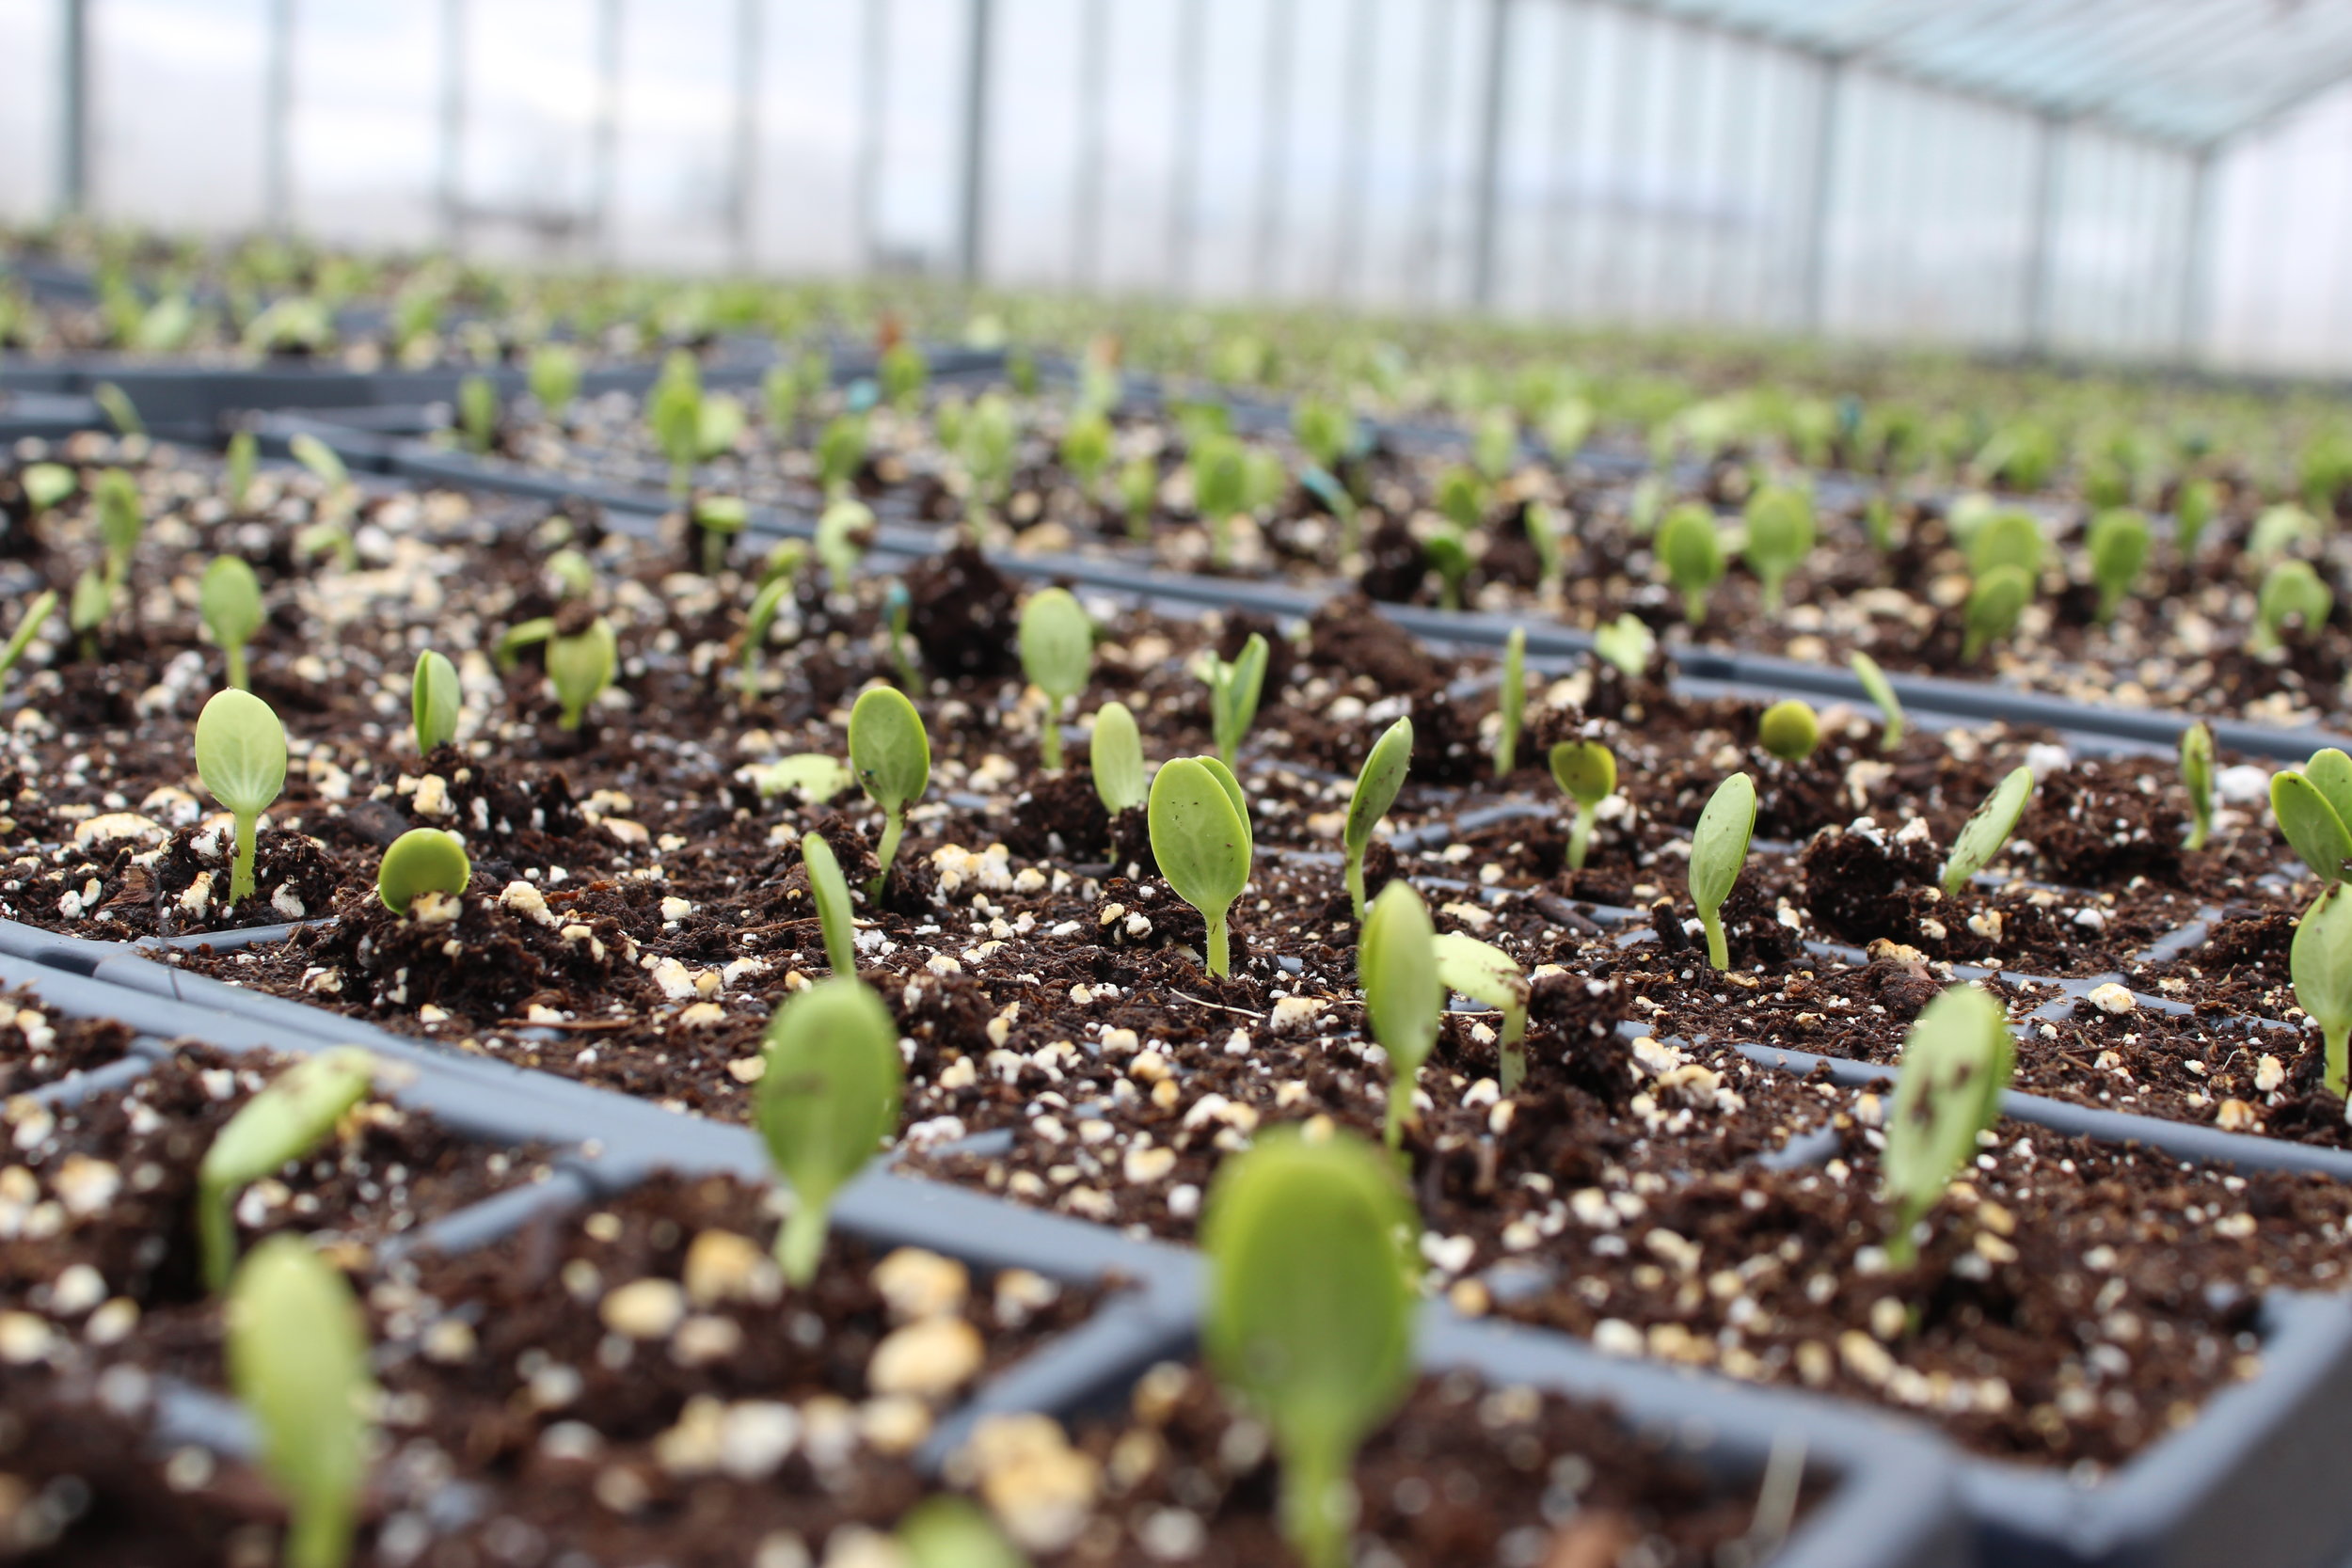
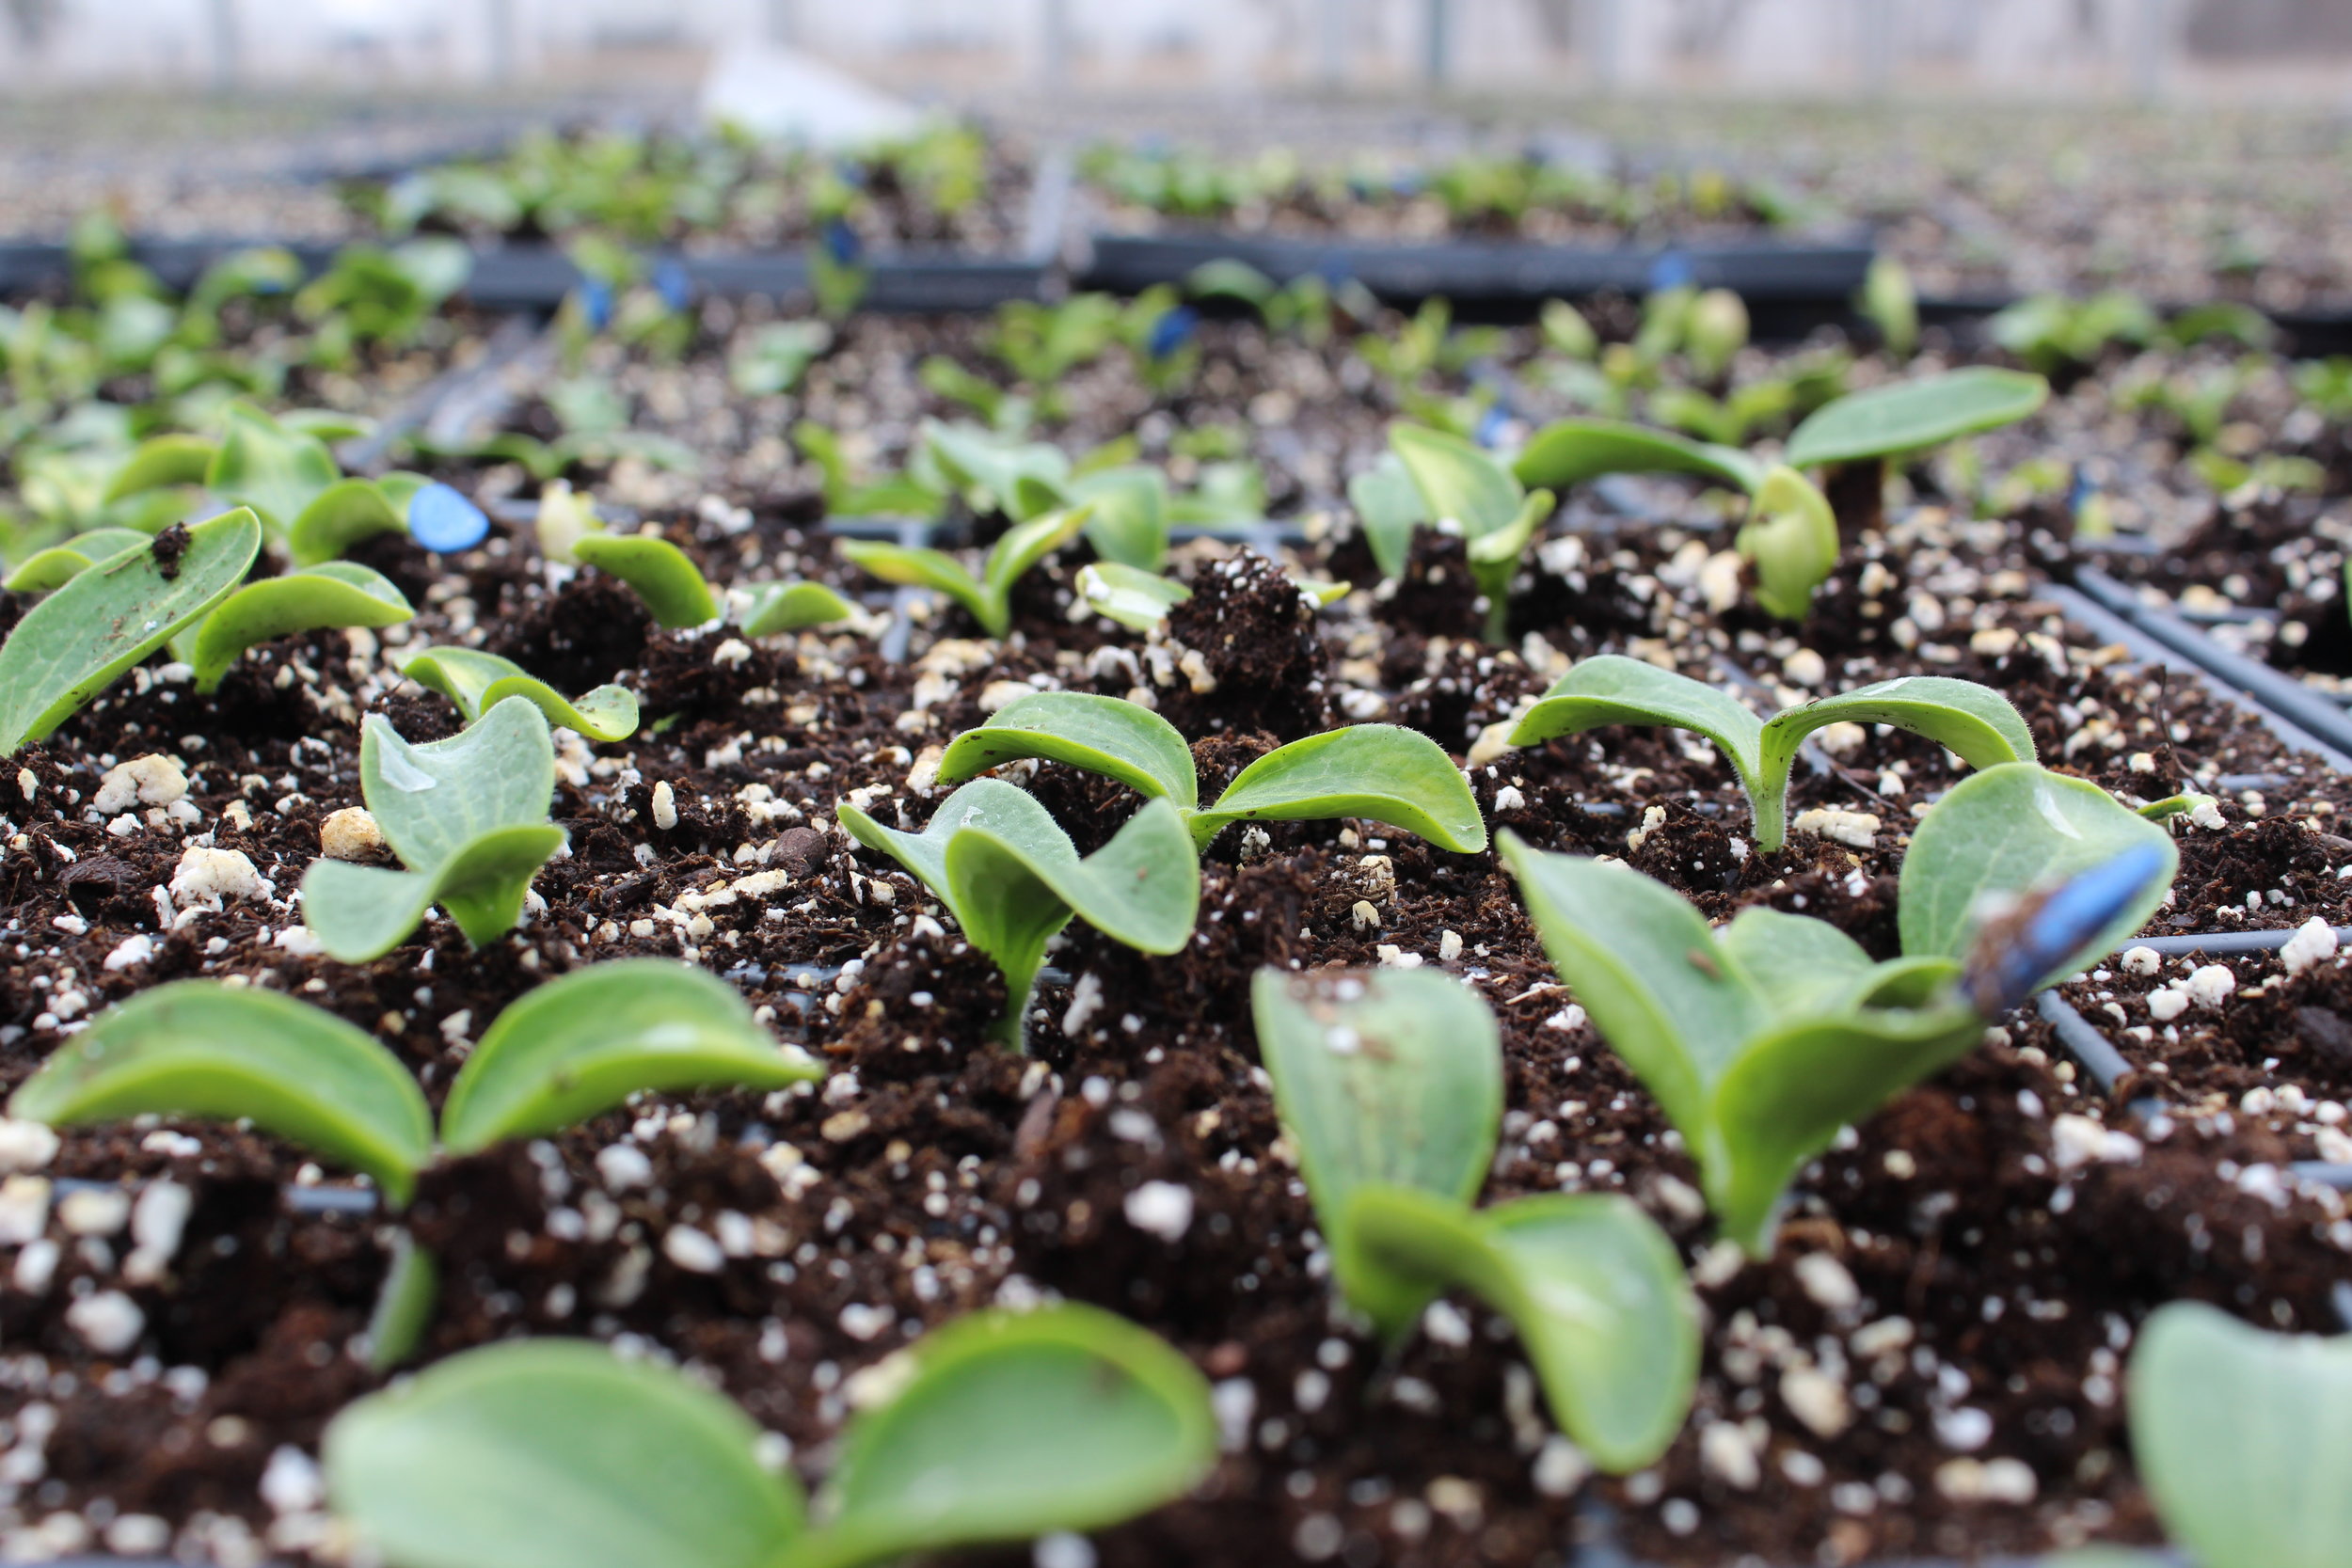
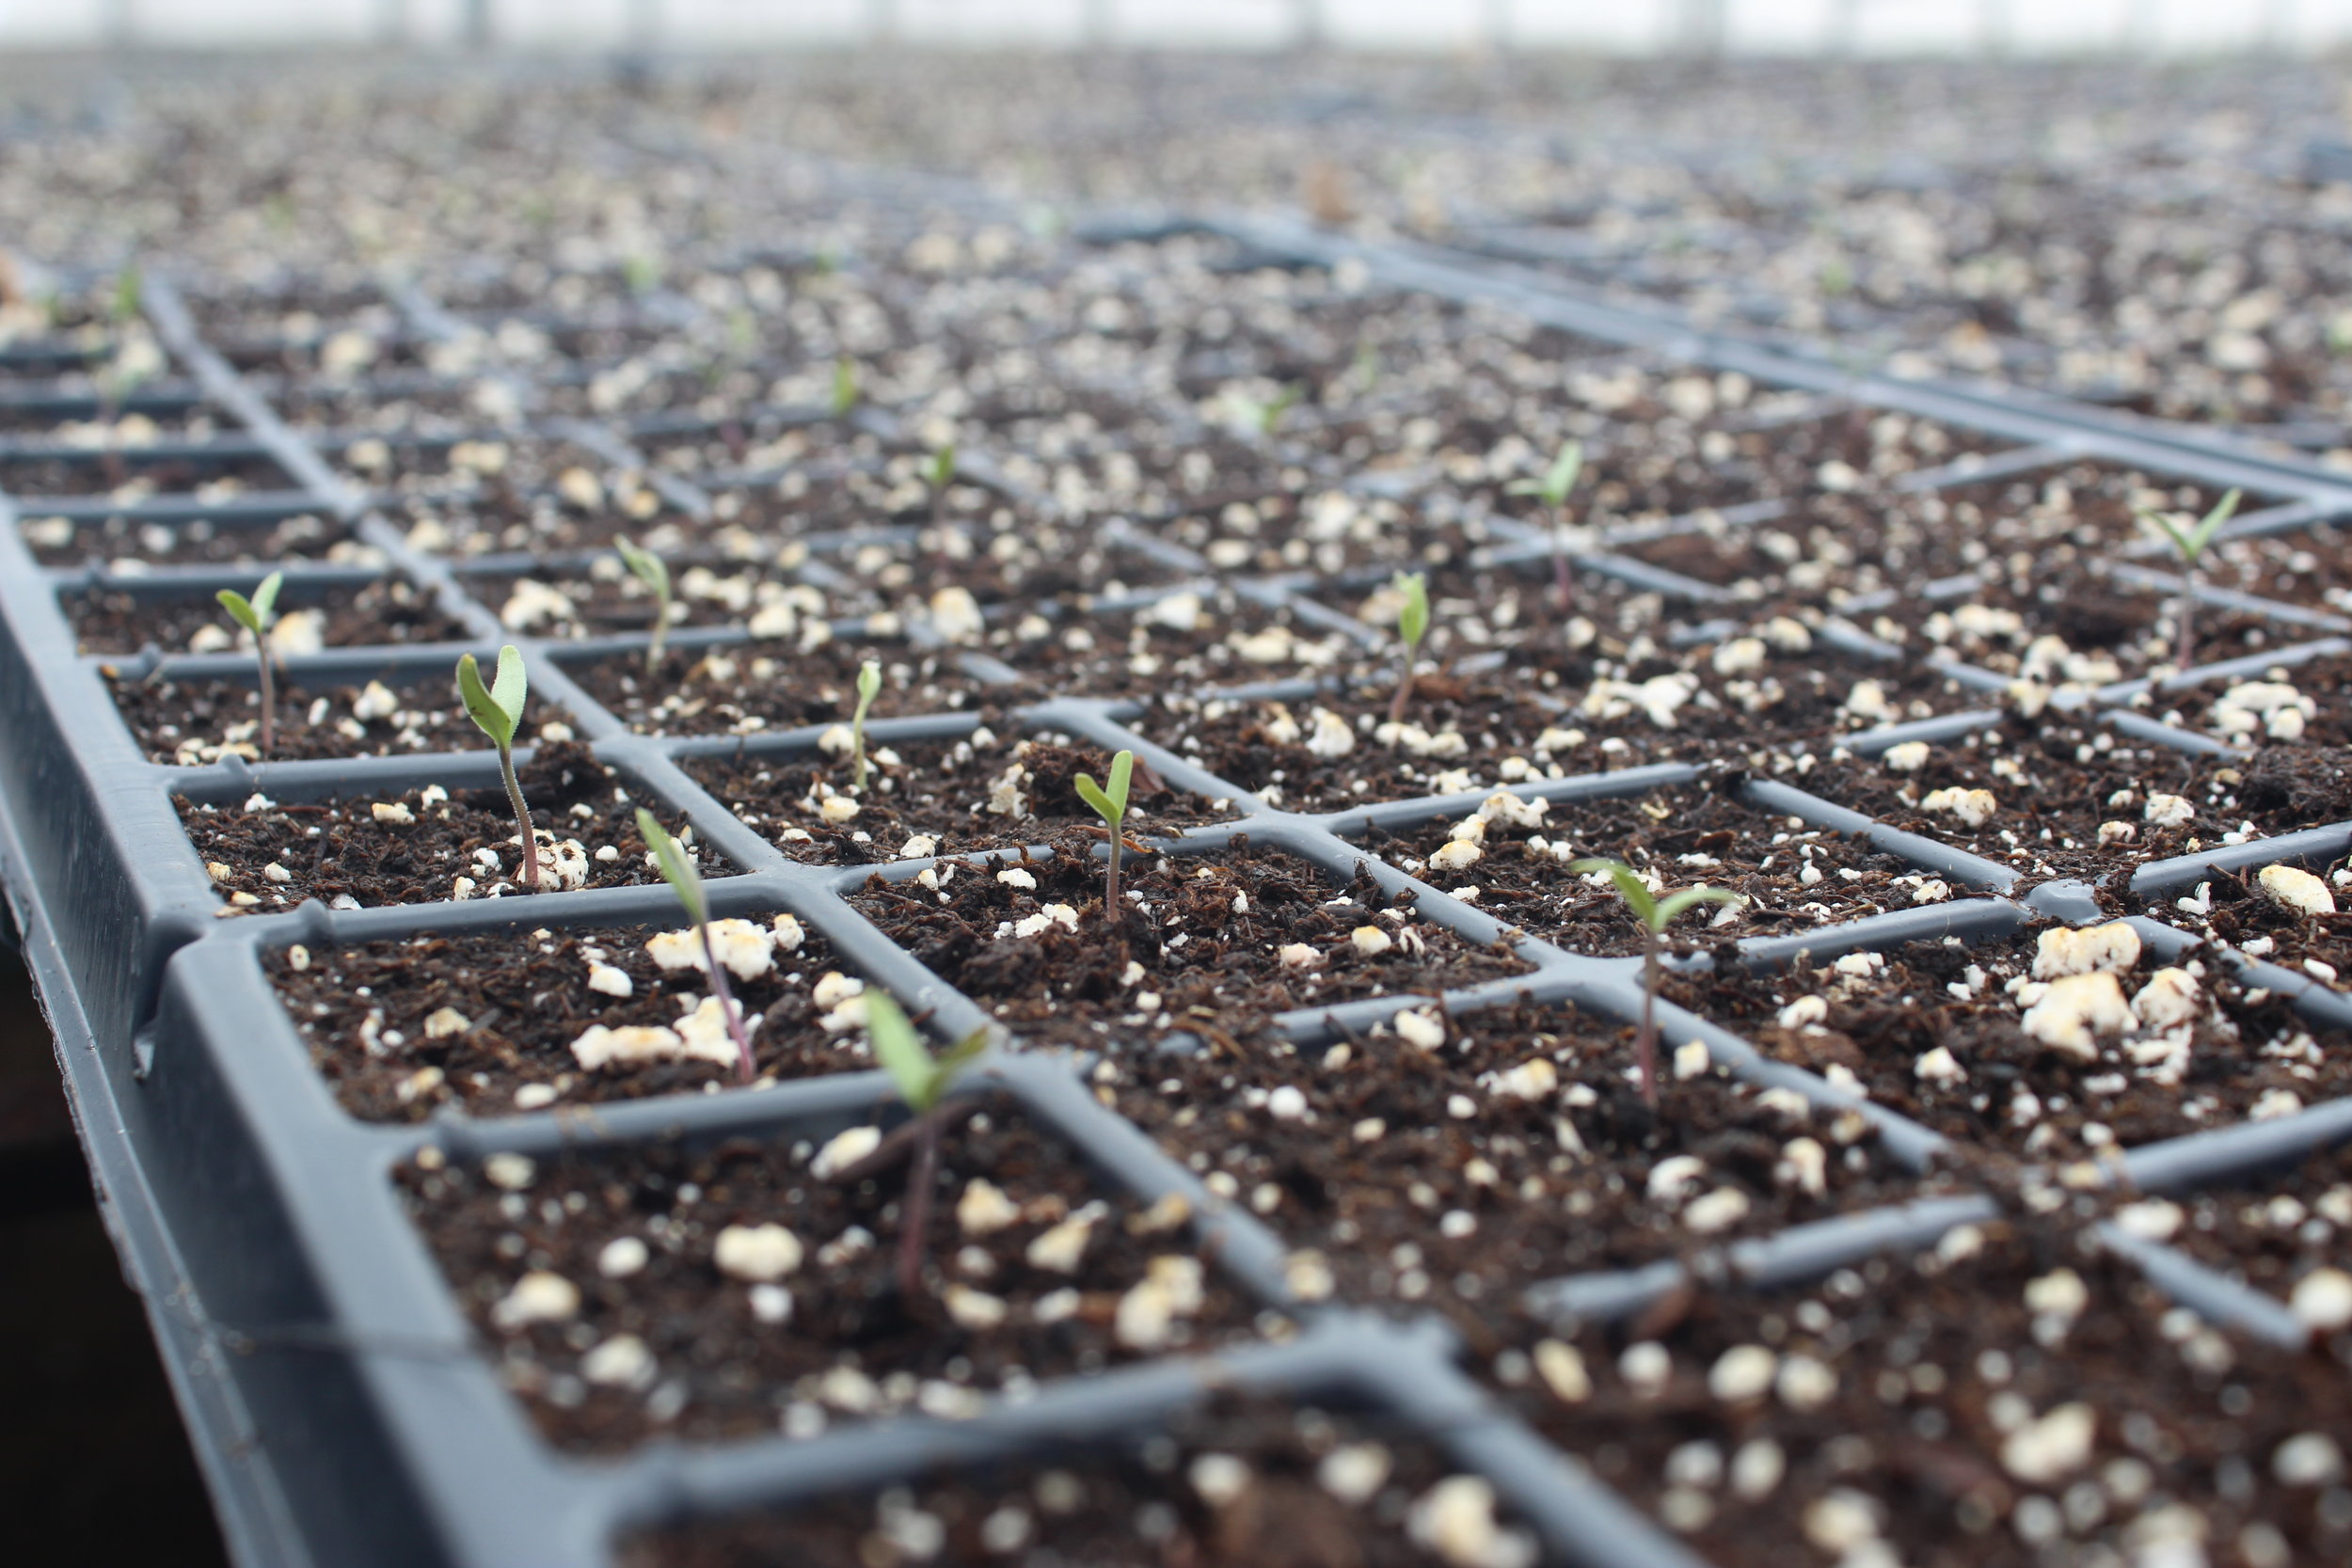
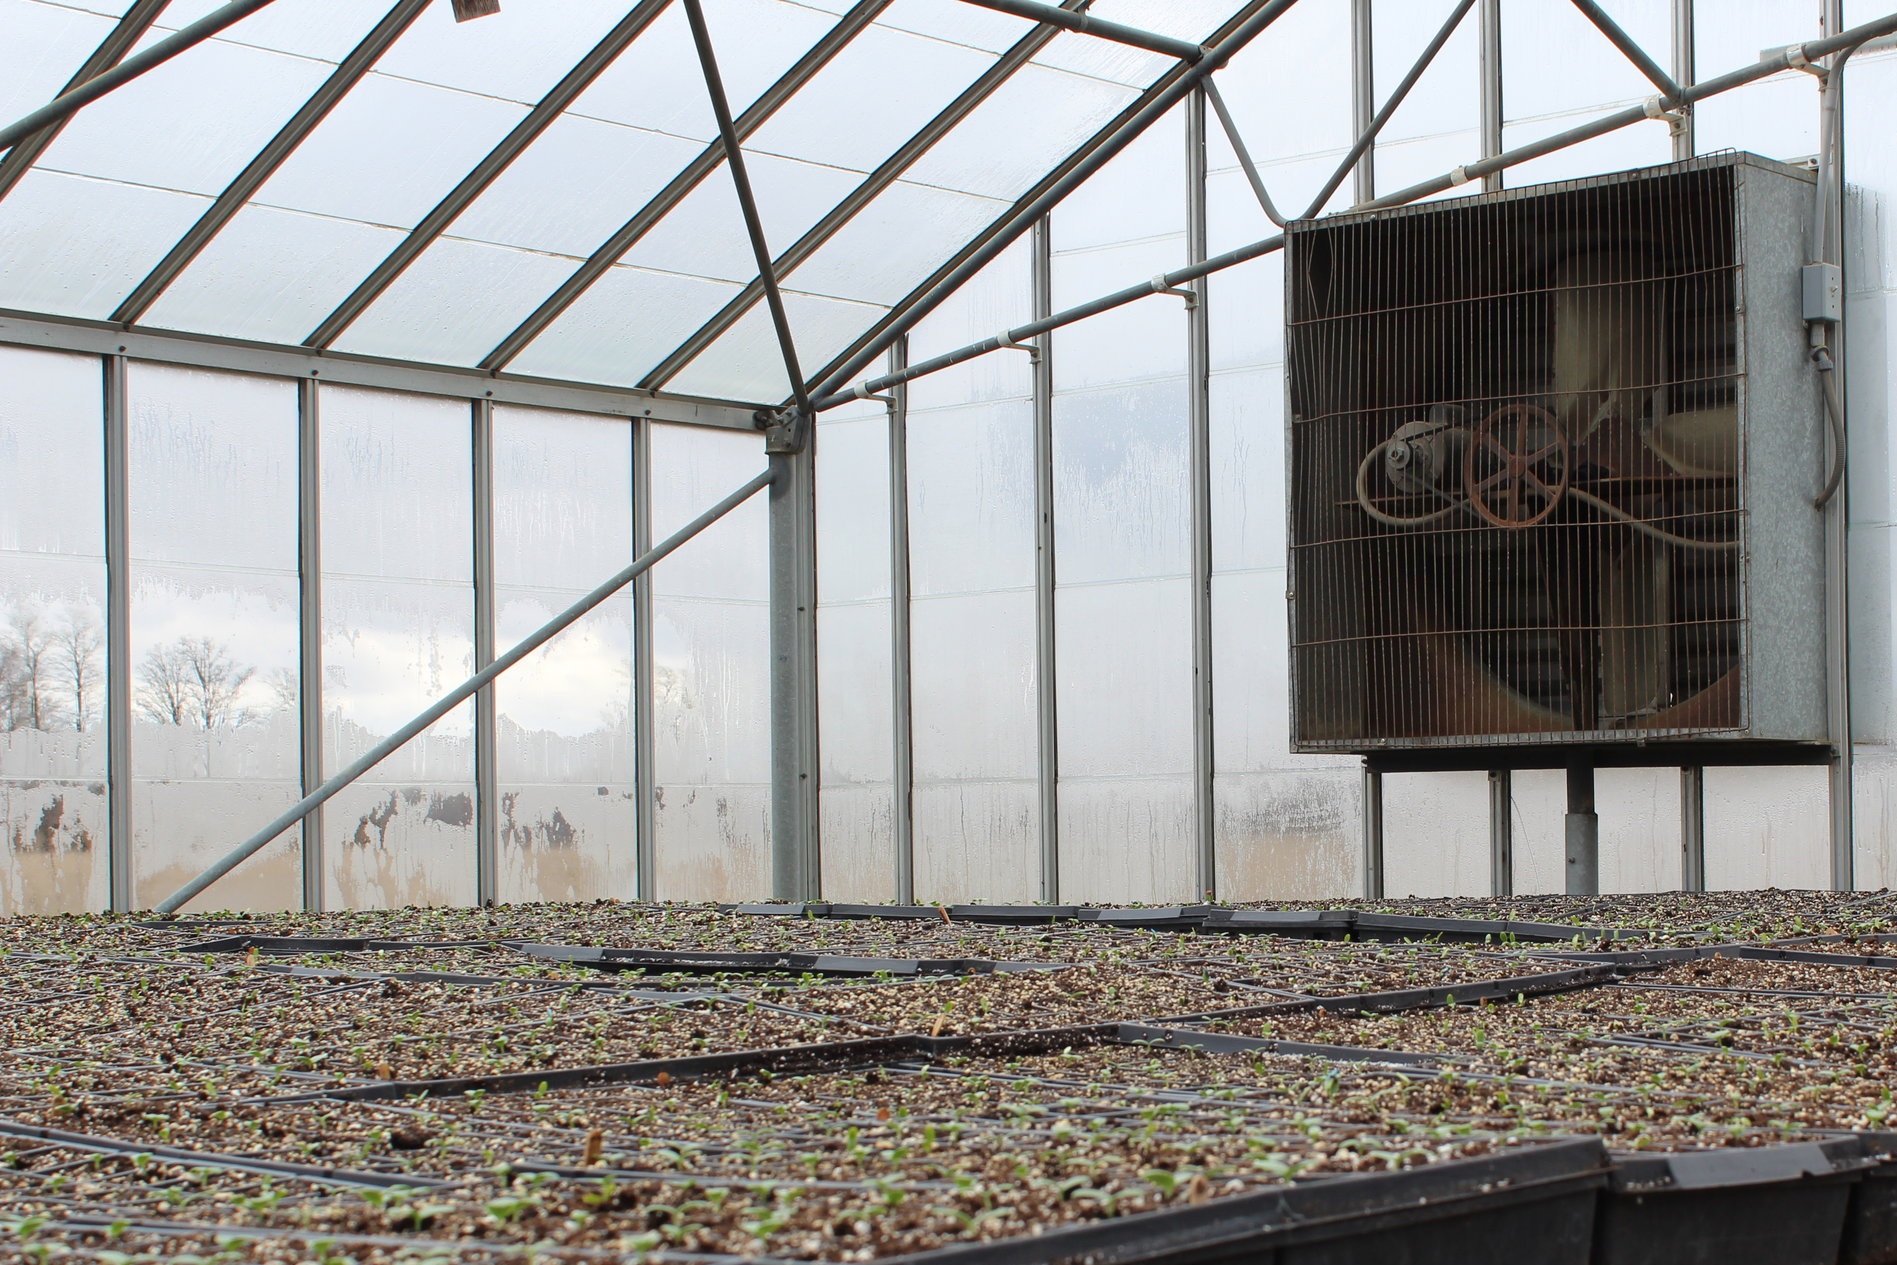
First up, melons! The melons have been growing away in the greenhouse for approximately six weeks now. You may remember back at the end of March, when we shared photos of the tiny seedlings in greenhouse. Now, they are all grown up and ready to be transplanted outside! The planting process is like what we described a few weeks back: we make the beds in the fields, lay plastic, poke holes in the plastic, insert the plants in the holes, and then cover the rows with tunnels to create a mini in-field greenhouse which will keep the plants toasty warm, and help speed up their growth.

The plastic we’re using for the melon tunnels is light green in colour, versus the clear plastic we’ve used for some other crops. This colour variation is intentional, as it helps control the heat: clear plastic heats things up much more than green does. We don’t want to “cook” the melons, so we’re using green plastic to encourage more moderate temperatures. The tunnels will remain in place until the melon plants start to flower. At this point, we remove the plastic so that our favourite little flying friends can pay a visit – honeybees! The bees visit the melon blossoms, gathering pollen as they go, transferring it from plant to plant. This cross-pollination is required to produce fruit (melons!). And the most wonderful side effect of pollination is the creation of our sweet and golden melon blossom honey.

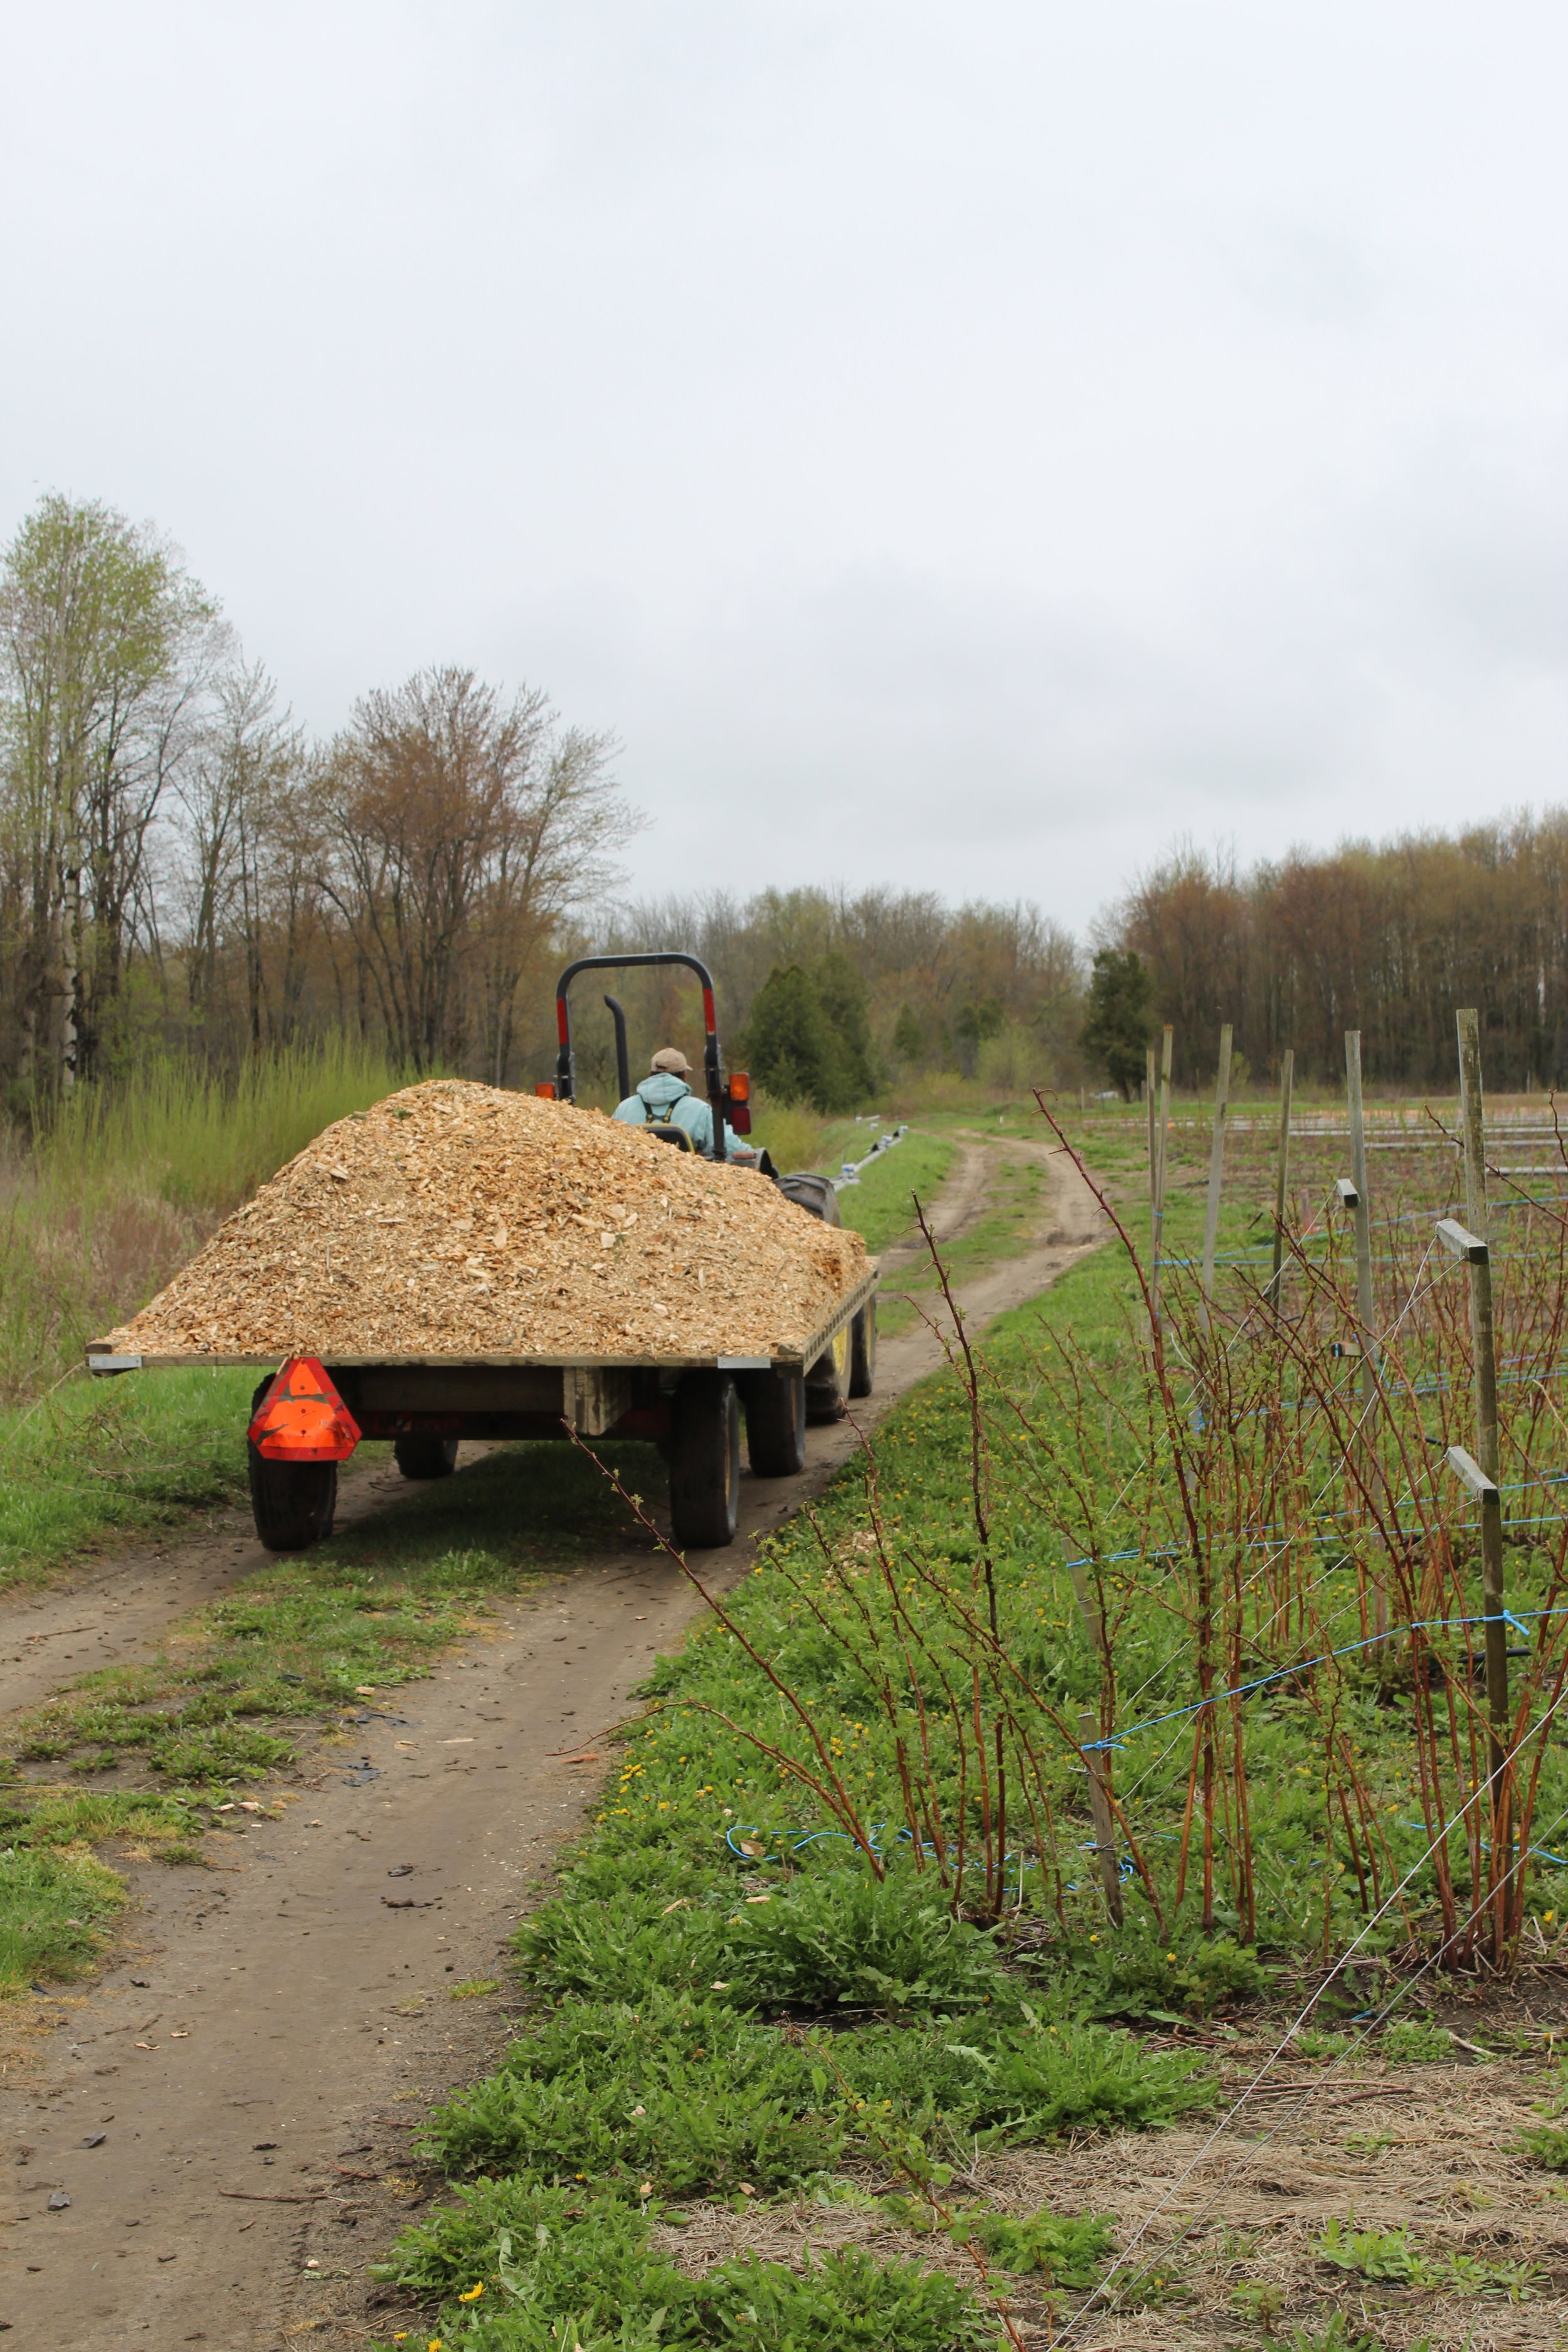
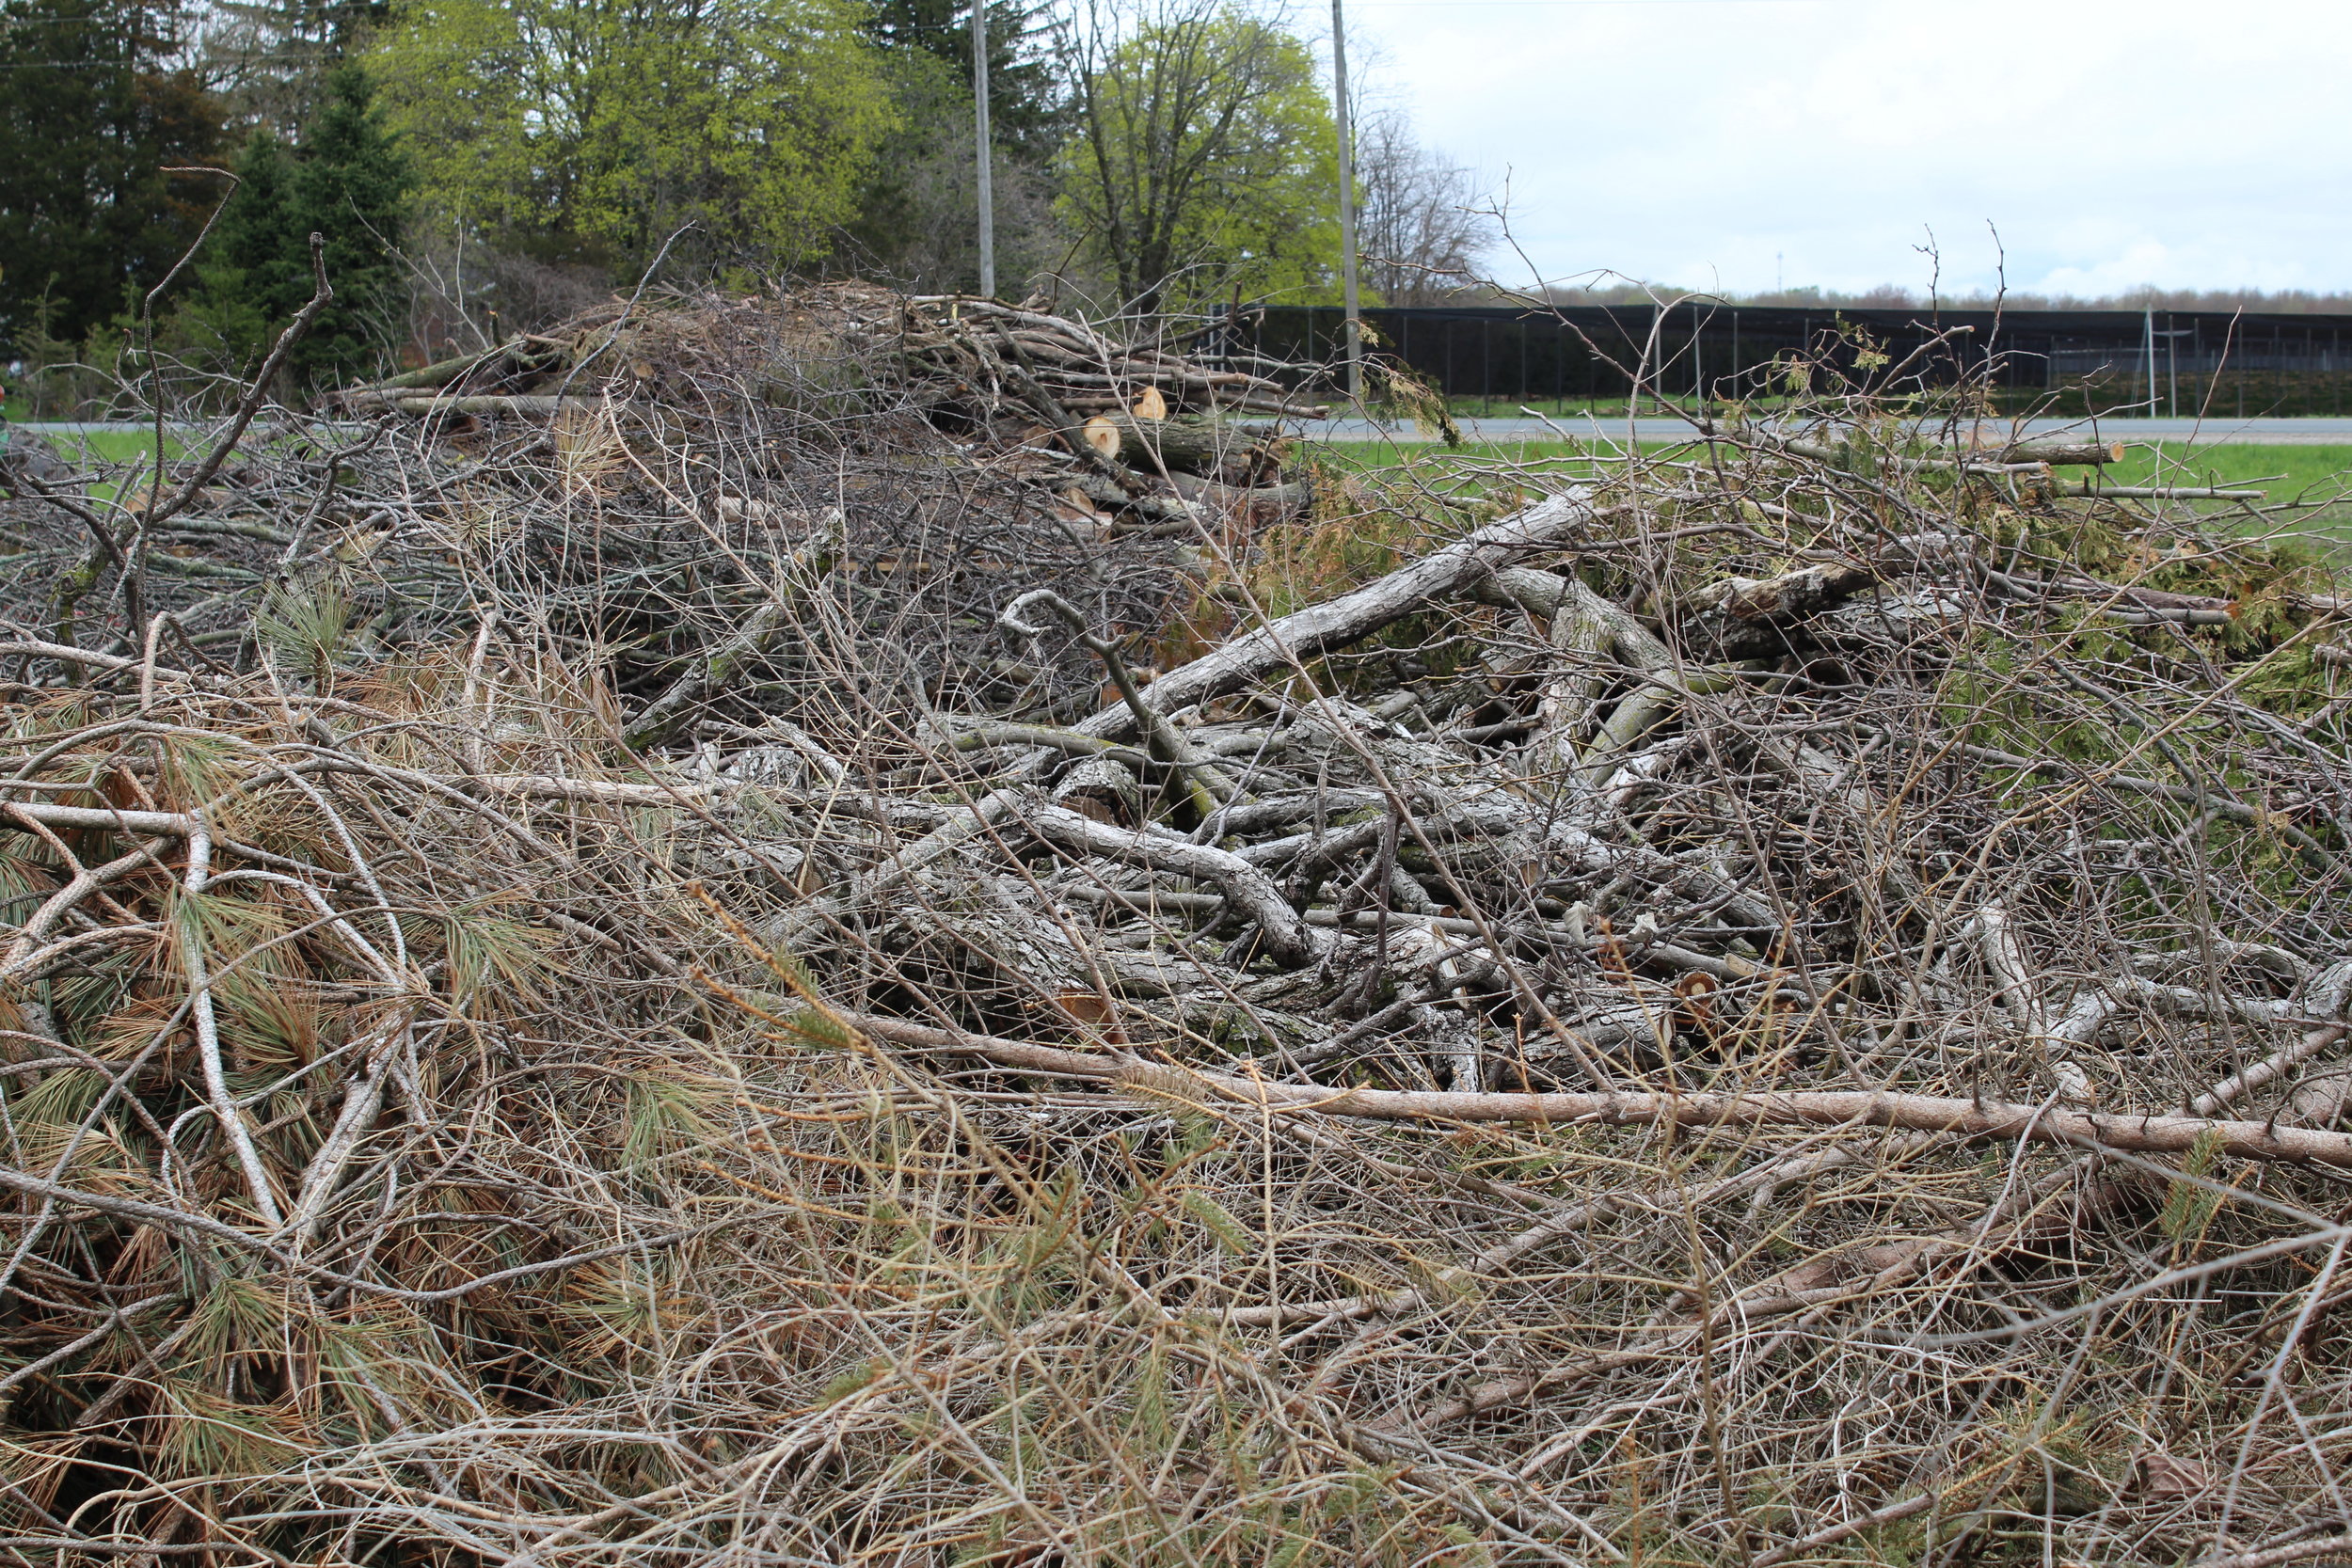
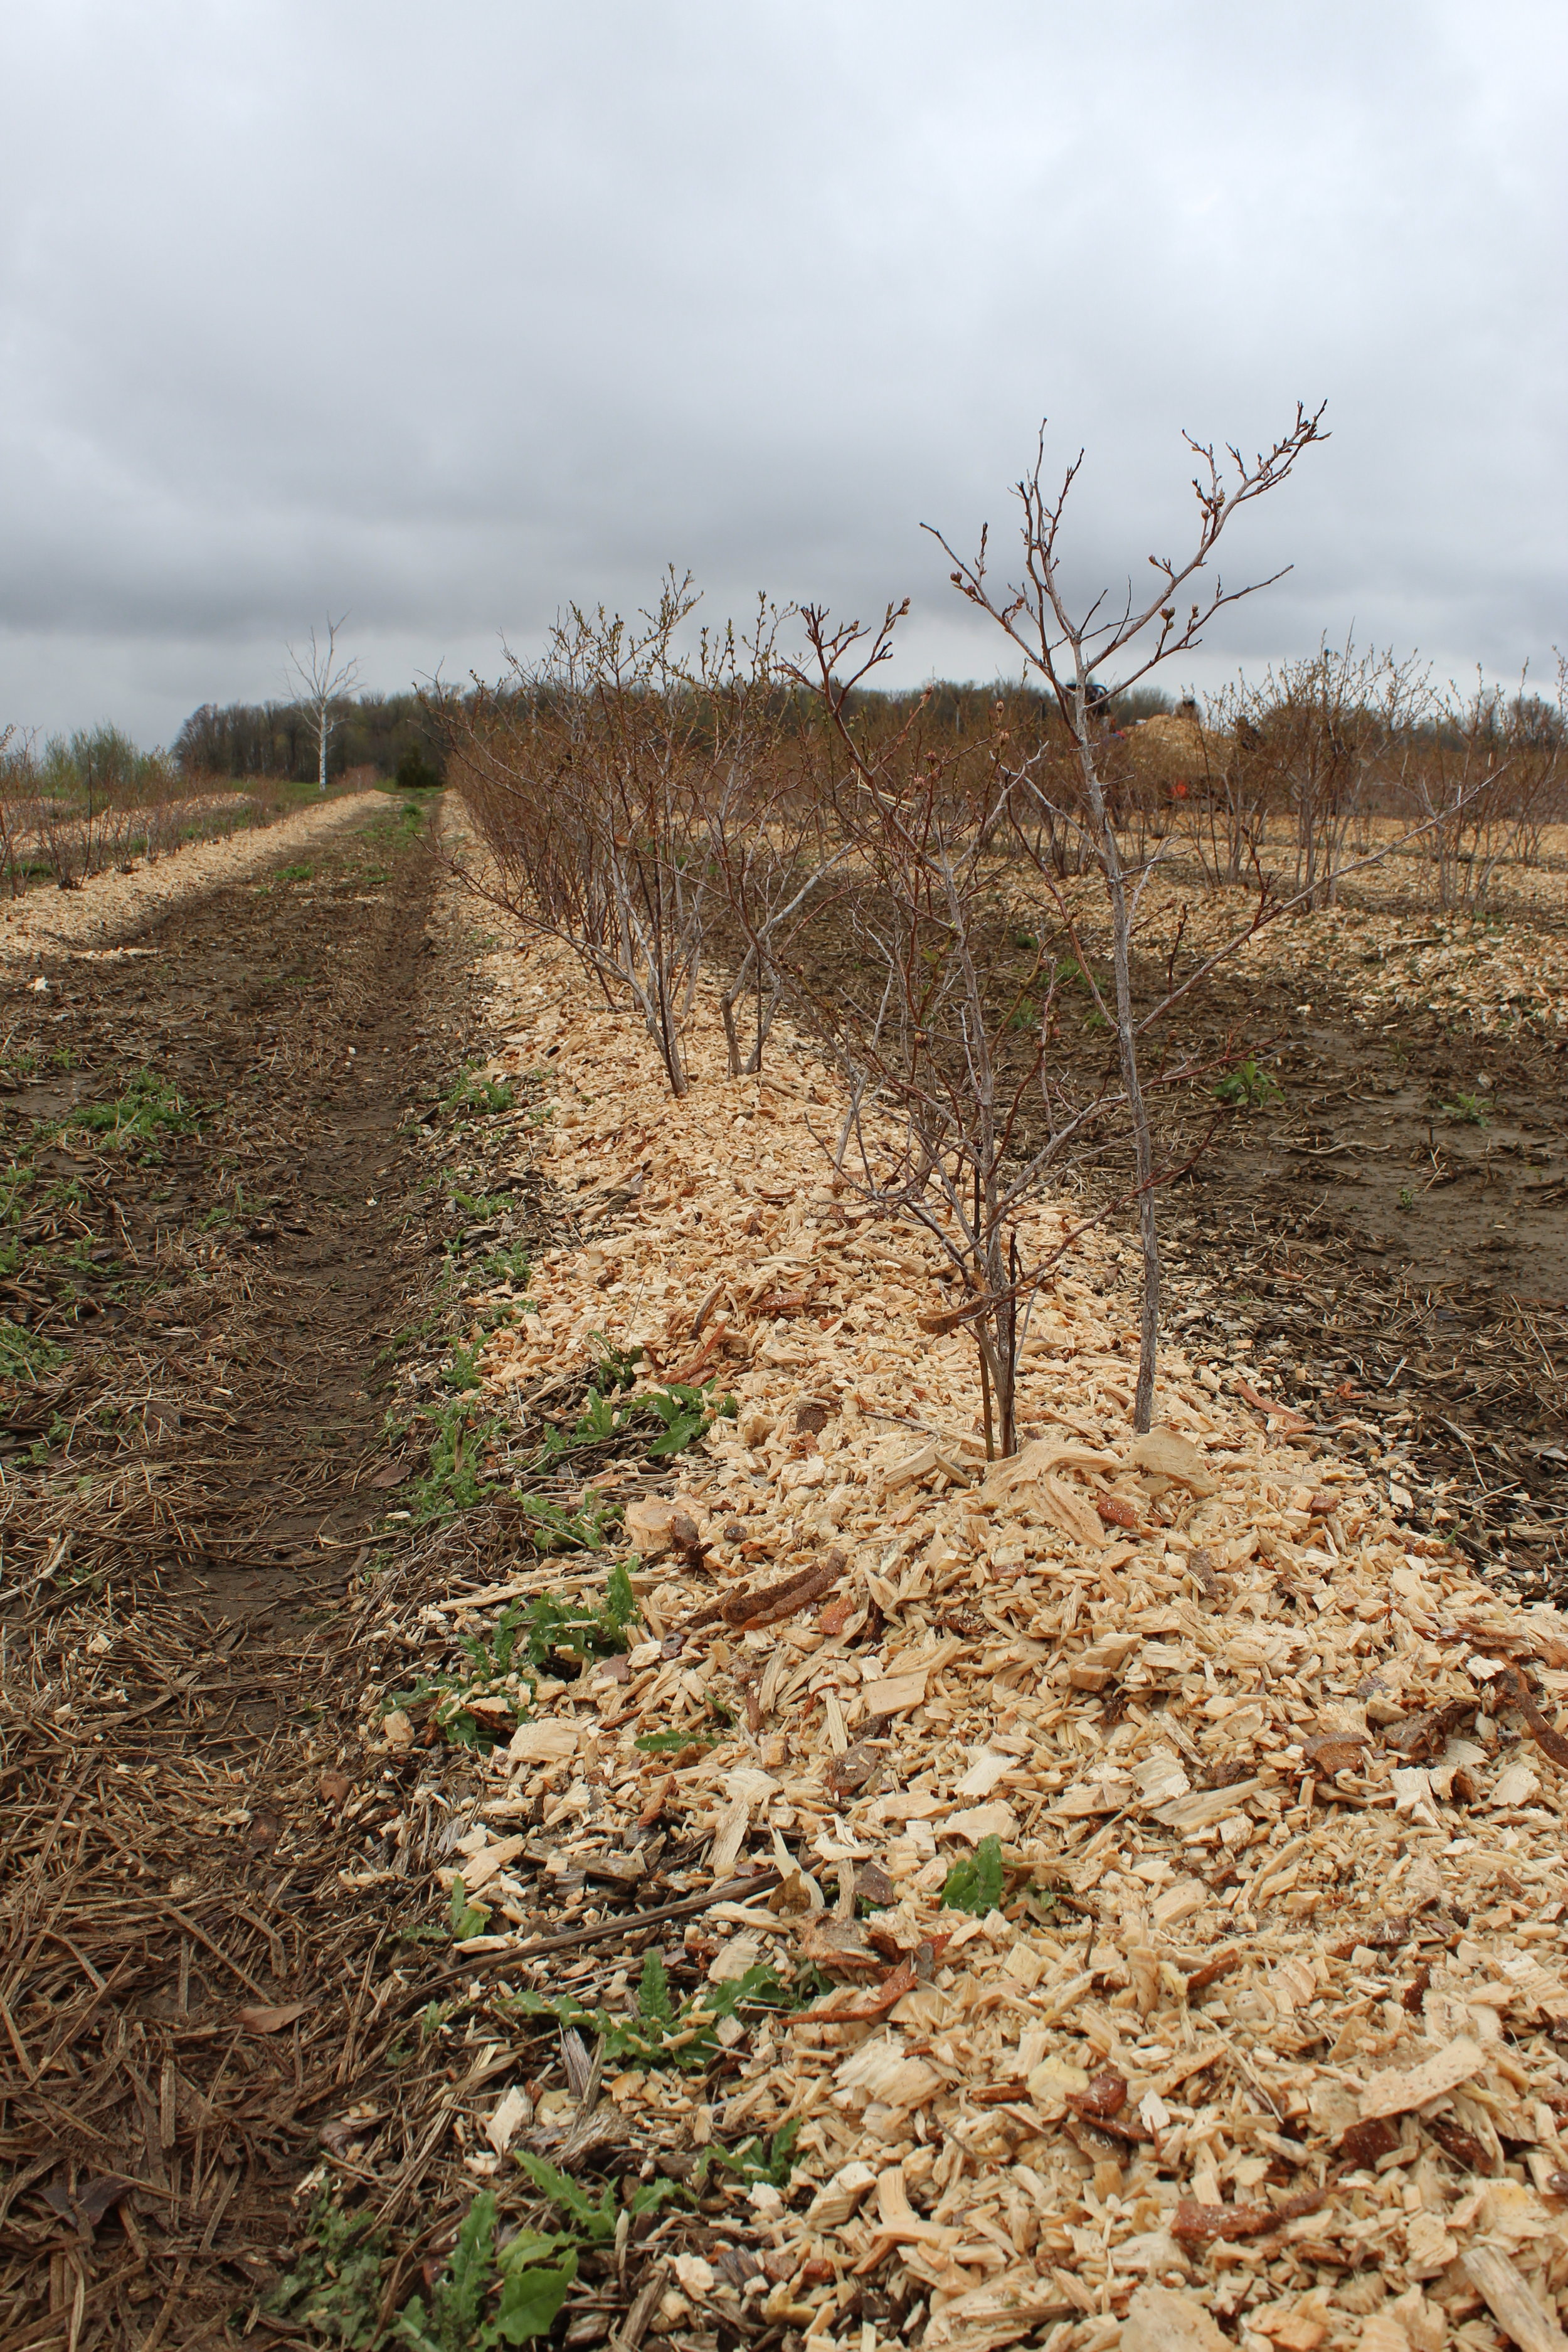
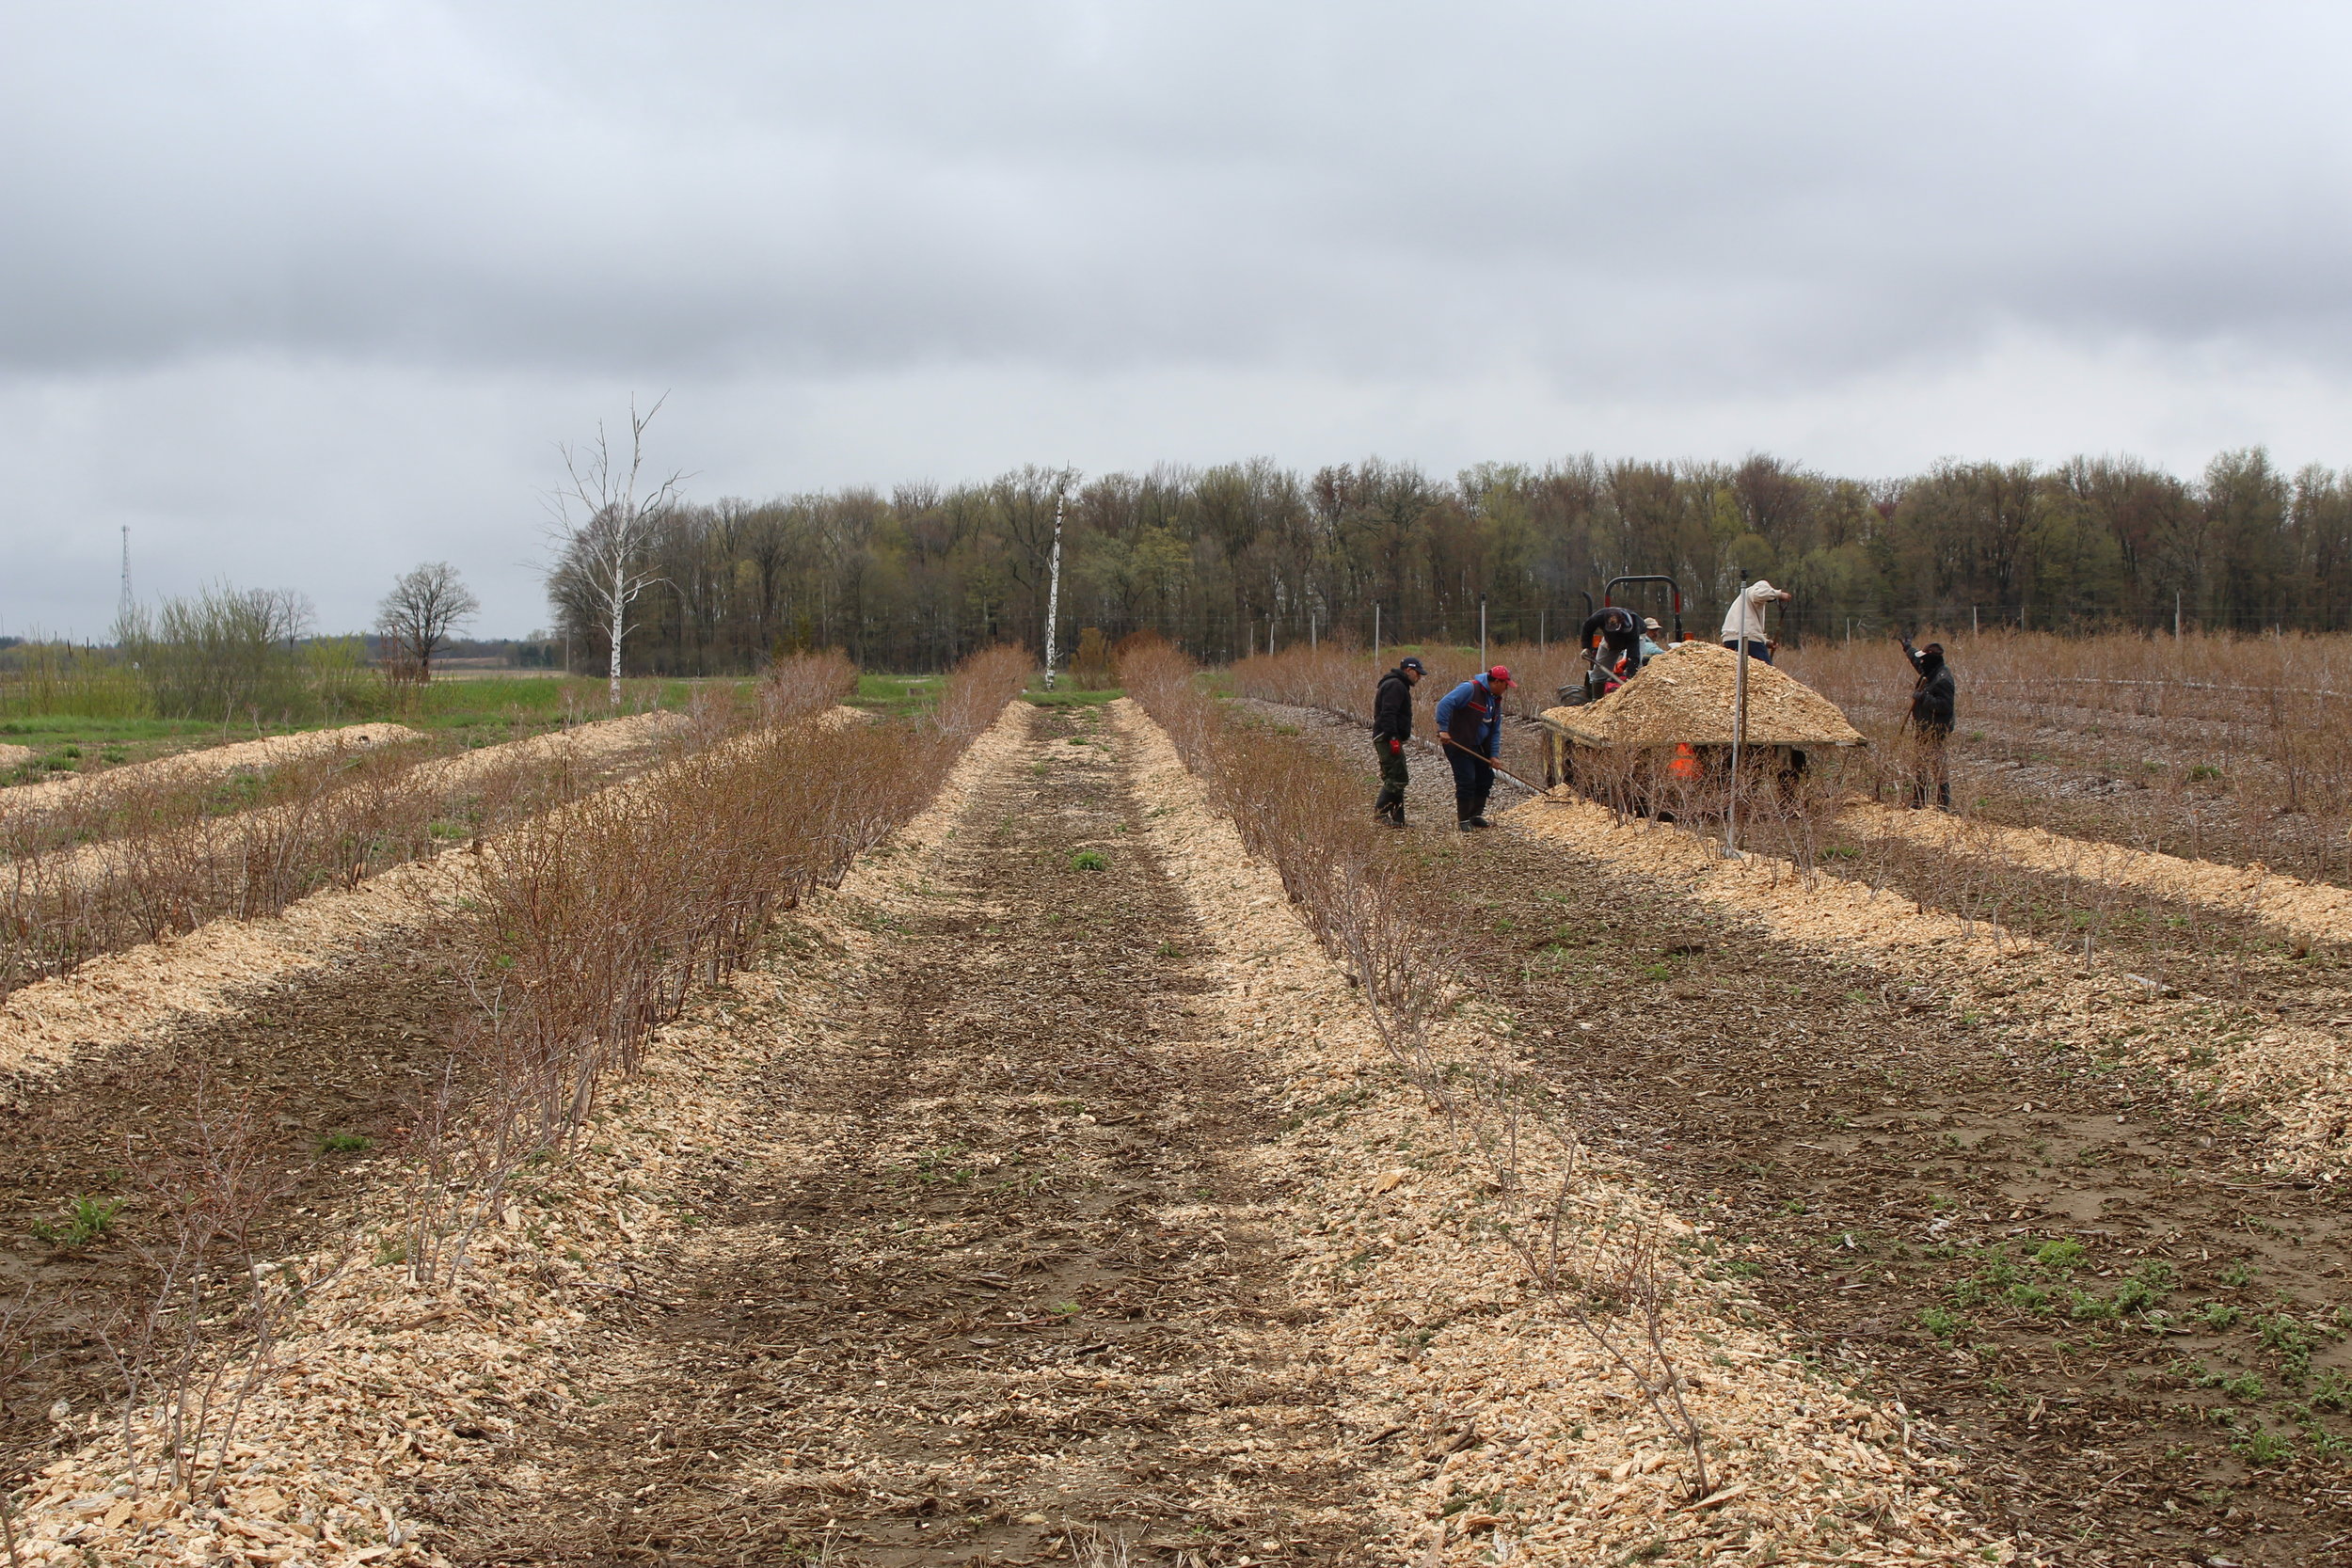
On the other side of our farm, our field crew is hard at work manning the wood-chipping machine! Over the winter we gather up wood from all over the farm; fallen trees, branches, and also a few Christmas trees! We make a pile and save them up for chipping. Once May rolls around, we chip it all up and add it to the base of the blueberry plants. As the wood chips slowly break down over the season, they add a healthy dose of organic plant matter. Blueberries have very shallow root systems, so this is a big help! The wood chips also help control moisture and weeds. We typically only have enough wood chips to do half to a third of the field at a time, so this season we’re picking up where we left off last year.

Blog post written & photographed by Alex Chesney, RD


Quick & Easy Asparagus Benny

Sunday morning brunch is one of my favourite meals of the week. I typically have more time to prepare it than I do for a weeknight dinner, which makes for a more relaxed cooking experience. I also love to cook with a coffee in hand, music in the background, and morning sunshine streaming in through the windows. And this weekend, eggs benedict is on the menu! Except… not really. I’m making a sneaky, super quick & easy version. Don’t get me wrong, I adore Hollandaise sauce, but it’s not something I make on the regular. It’s pretty labour intensive, and very rich. In my quick & easy version, I swapped out the Hollandaise for a simple white sauce + Swiss Cheese. And I’m giving you options for the eggs — you can poach ‘em if you feel up to it, but a simple sunny-side-up will work just fine!

Most importantly, though, this eggs benedict features the spring veggie we’ve all been waiting for: asparagus! It pairs deliciously well with eggs, and the cheese sauce ties it all together perfectly. Choose whole wheat English muffins for an extra dose of fibre, and you’ve got yourself a tasty and balanced brunch. Give it a try and let me know what you think!

*Serves 6

Ingredients

6 whole wheat English muffins

12 eggs

2 bunches Thames River Melons Asparagus, washed & trimmed

2 tablespoons butter (plus more for buttering)

2 tablespoons all-purpose flour

2 cups milk

1 ½ cups Swiss cheese, shredded

6 slices deli ham, sliced in half (optional)

Pinch of salt

Pinch of pepper

Fresh parsley, minced, for serving (optional)

Instructions

  1. Wash & trim the asparagus, then set aside.

  2. Begin to make your Swiss cheese sauce: melt the butter over medium heat and cook until sizzling. Sprinkle the flour over top and mix together to form a thick paste. I like to use a rubber spatula for this step, to ensure I get into all the corners of the pot.

  3. Cook the butter-flour mixture for 1 – 2 minutes, until fully thickened. At this point I typically switch to a whisk. Next slowly add some of the milk, whisking constantly to combine. Add a little milk at a time, whisking until combined. Once all of the milk has been added, continue to whisk constantly.

  4. Continue to cook for 5 – 6 minutes. Watch the pan closely and monitor the heat. You want the sauce to heat at a slow and steady pace – too fast, and it will boil, which could cause the mixture to separate! You want a silky smooth sauce for this delicious breakfast.

  5. While the sauce cooks, prepare the asparagus. You can steam, sauté, or roast – any method will work! Cook until the asparagus is tender, but still holds its shape. Regardless of cooking method, this typically takes between 4 and 6 minutes, depending on the thickness of the stalk.

  6. The sauce should begin to thicken by now. Once it has, sprinkle in the shredded cheese, salt, and pepper, and whisk to combine. Once the cheese has melted, the sauce should be thickened and ready to eat! Reduce the heat to low and whisk occasionally as you continue to prepare the remaining ingredients.

  7. Toast the English muffins and cook the eggs. Again, how you cook the eggs is up to you! A traditional eggs Benedict calls for poached eggs, but for this quick and easy recipe I would recommend a simple sunny side up. Alternatively, check out this handy guide to oven-poached eggs.

  8. Now, you are officially ready to assemble!

  9. Lightly butter each side of the English muffins, then top them with the ham (if using) and several stalks of the prepared asparagus. Next, add an egg to each half, and finish it off with a generous drizzle of the Swiss cheese sauce.

  10. Sprinkle with a pinch of fresh parsley, and you’re ready to eat! Enjoy.

Rhubarb Custard Bars

What a strange time of year — spring is clearly here, and we’ve had some gloriously warm & sunny days! But we’ve also had some very chilly, windy, and rainy ones. It seems to go back and forth, teasing us with warmth, then sending us running back inside with the cold.

This mix of temperatures allows for time with the oven on, though! And turning on the oven inevitably leads to baking for me. This week I whipped up some rhubarb custard bars: a delicious combination of creamy, tangy, and sweet flavours. If you can, try to snag a corner bar, as they get extra caramelization, and are even more delicious.

I found this recipe on a popular baking blog, and made a few tweaks: added some oats to the crust for extra texture and a bump of fibre, halved the sugar in the filling, and added vanilla for an increased depth in flavour. Although these adjustments do make these bars a little more healthy, they’re definitely still a dessert. And that’s okay! There’s more than enough room for desserts in our diets. It’s all about balance: maybe don’t eat the whole tray, but enjoy one or two without guilt, just enjoyment!

They don’t take long at all to whip up, but you do have to have some patience to allow them to fully cool and set. It’s worth the wait, though! Give them a try and let me know what you think.

Ingredients

For the crust

1 cup all-purpose flour

½ cup oats

3/4 cup cold butter, cubed

1/4 cup sugar

For the filling

3 large eggs, beaten

¾ cup white sugar

1 teaspoon vanilla

1/2 cup flour

1/2 tsp salt

4 cups rhubarb, diced

2 tablespoons icing sugar (optional)

Instructions

  1. Preheat oven to 350 F. In a medium bowl, combine the flour, oats, and sugar. Using a pastry blender, cut in butter until the mixture resembles coarse crumbs.

  2. Pat the crumbs into a well greased 9 x 13 in baking pan. Bake the crust at 350 F for 10-12 min or until lightly browned.

  3. While the crust is in the oven, mix together eggs, sugar, vanilla, flour and salt.

  4. Gently stir in the diced rhubarb. Pour the rhubarb mixture over the hot crust. Return bars to the hot oven. Bake for 30 minutes, or until the filling is set and no longer jiggly

  5. Cool for 30 mins on the counter and then refrigerate until chilled before cutting into bars.

  6. Before serving, sprinkle with icing sugar for an extra hint of sweetness and a pretty final touch.

Recipe modified from http://chocolatewithgrace.com/rhubarb-bars/ by Alex Chesney, RD

Planting Strawberries

This week we’re planting our day-neutral strawberries! Thinking about those deliciously juicy and fragrant berries is such a treat on a dreary day like today, and we’re leaning hard into the memory of that taste to help us through the rest of this month!

Day-neutral strawberries, also sometimes called everbearing strawberries, are a variety of berries that are just that – day neutral. Conventional strawberries (the ones typically available for just the month of June, commonly called “June berries”) respond to the length of daylight. We’re planting these berries next week, and we’ll fill you in on that process then! Once the days get too long, and the sun gets too hot, the conventional strawberry plants stop producing fruit. On the other hand, day-neutral berries have no such response, and will continuously produce berries from July through to the first fall frost, which is usually not until October, if we’re lucky!

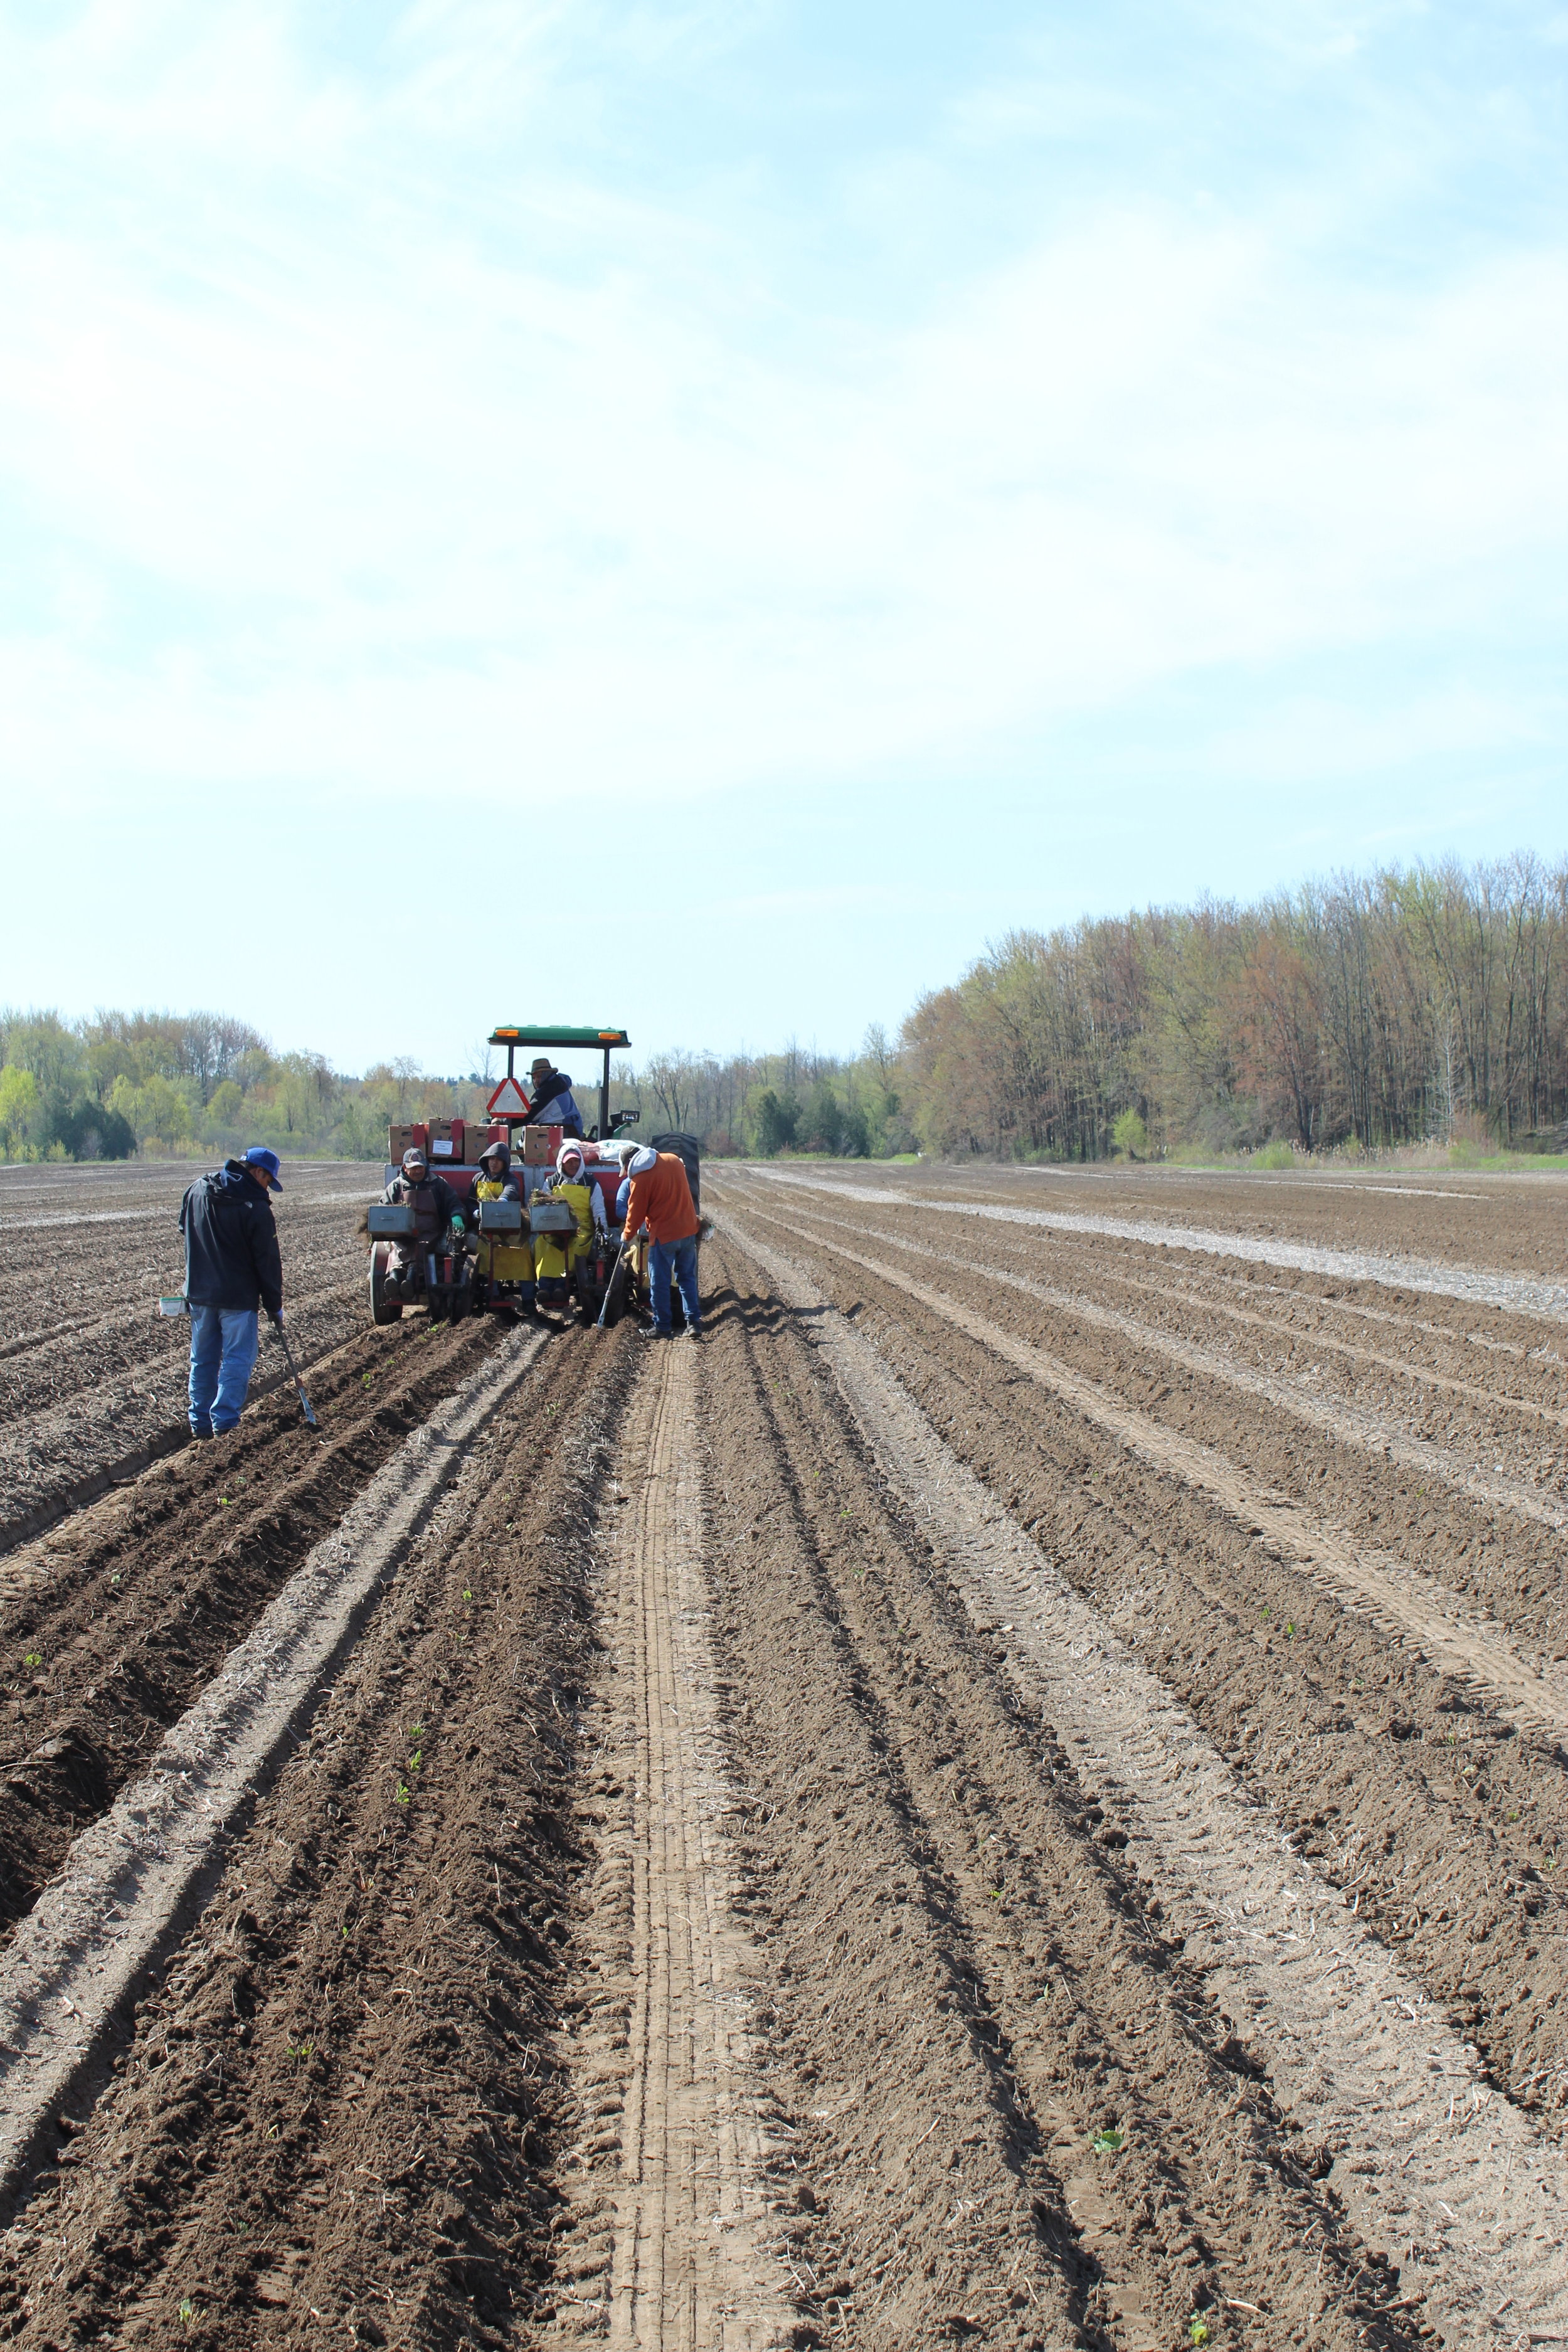
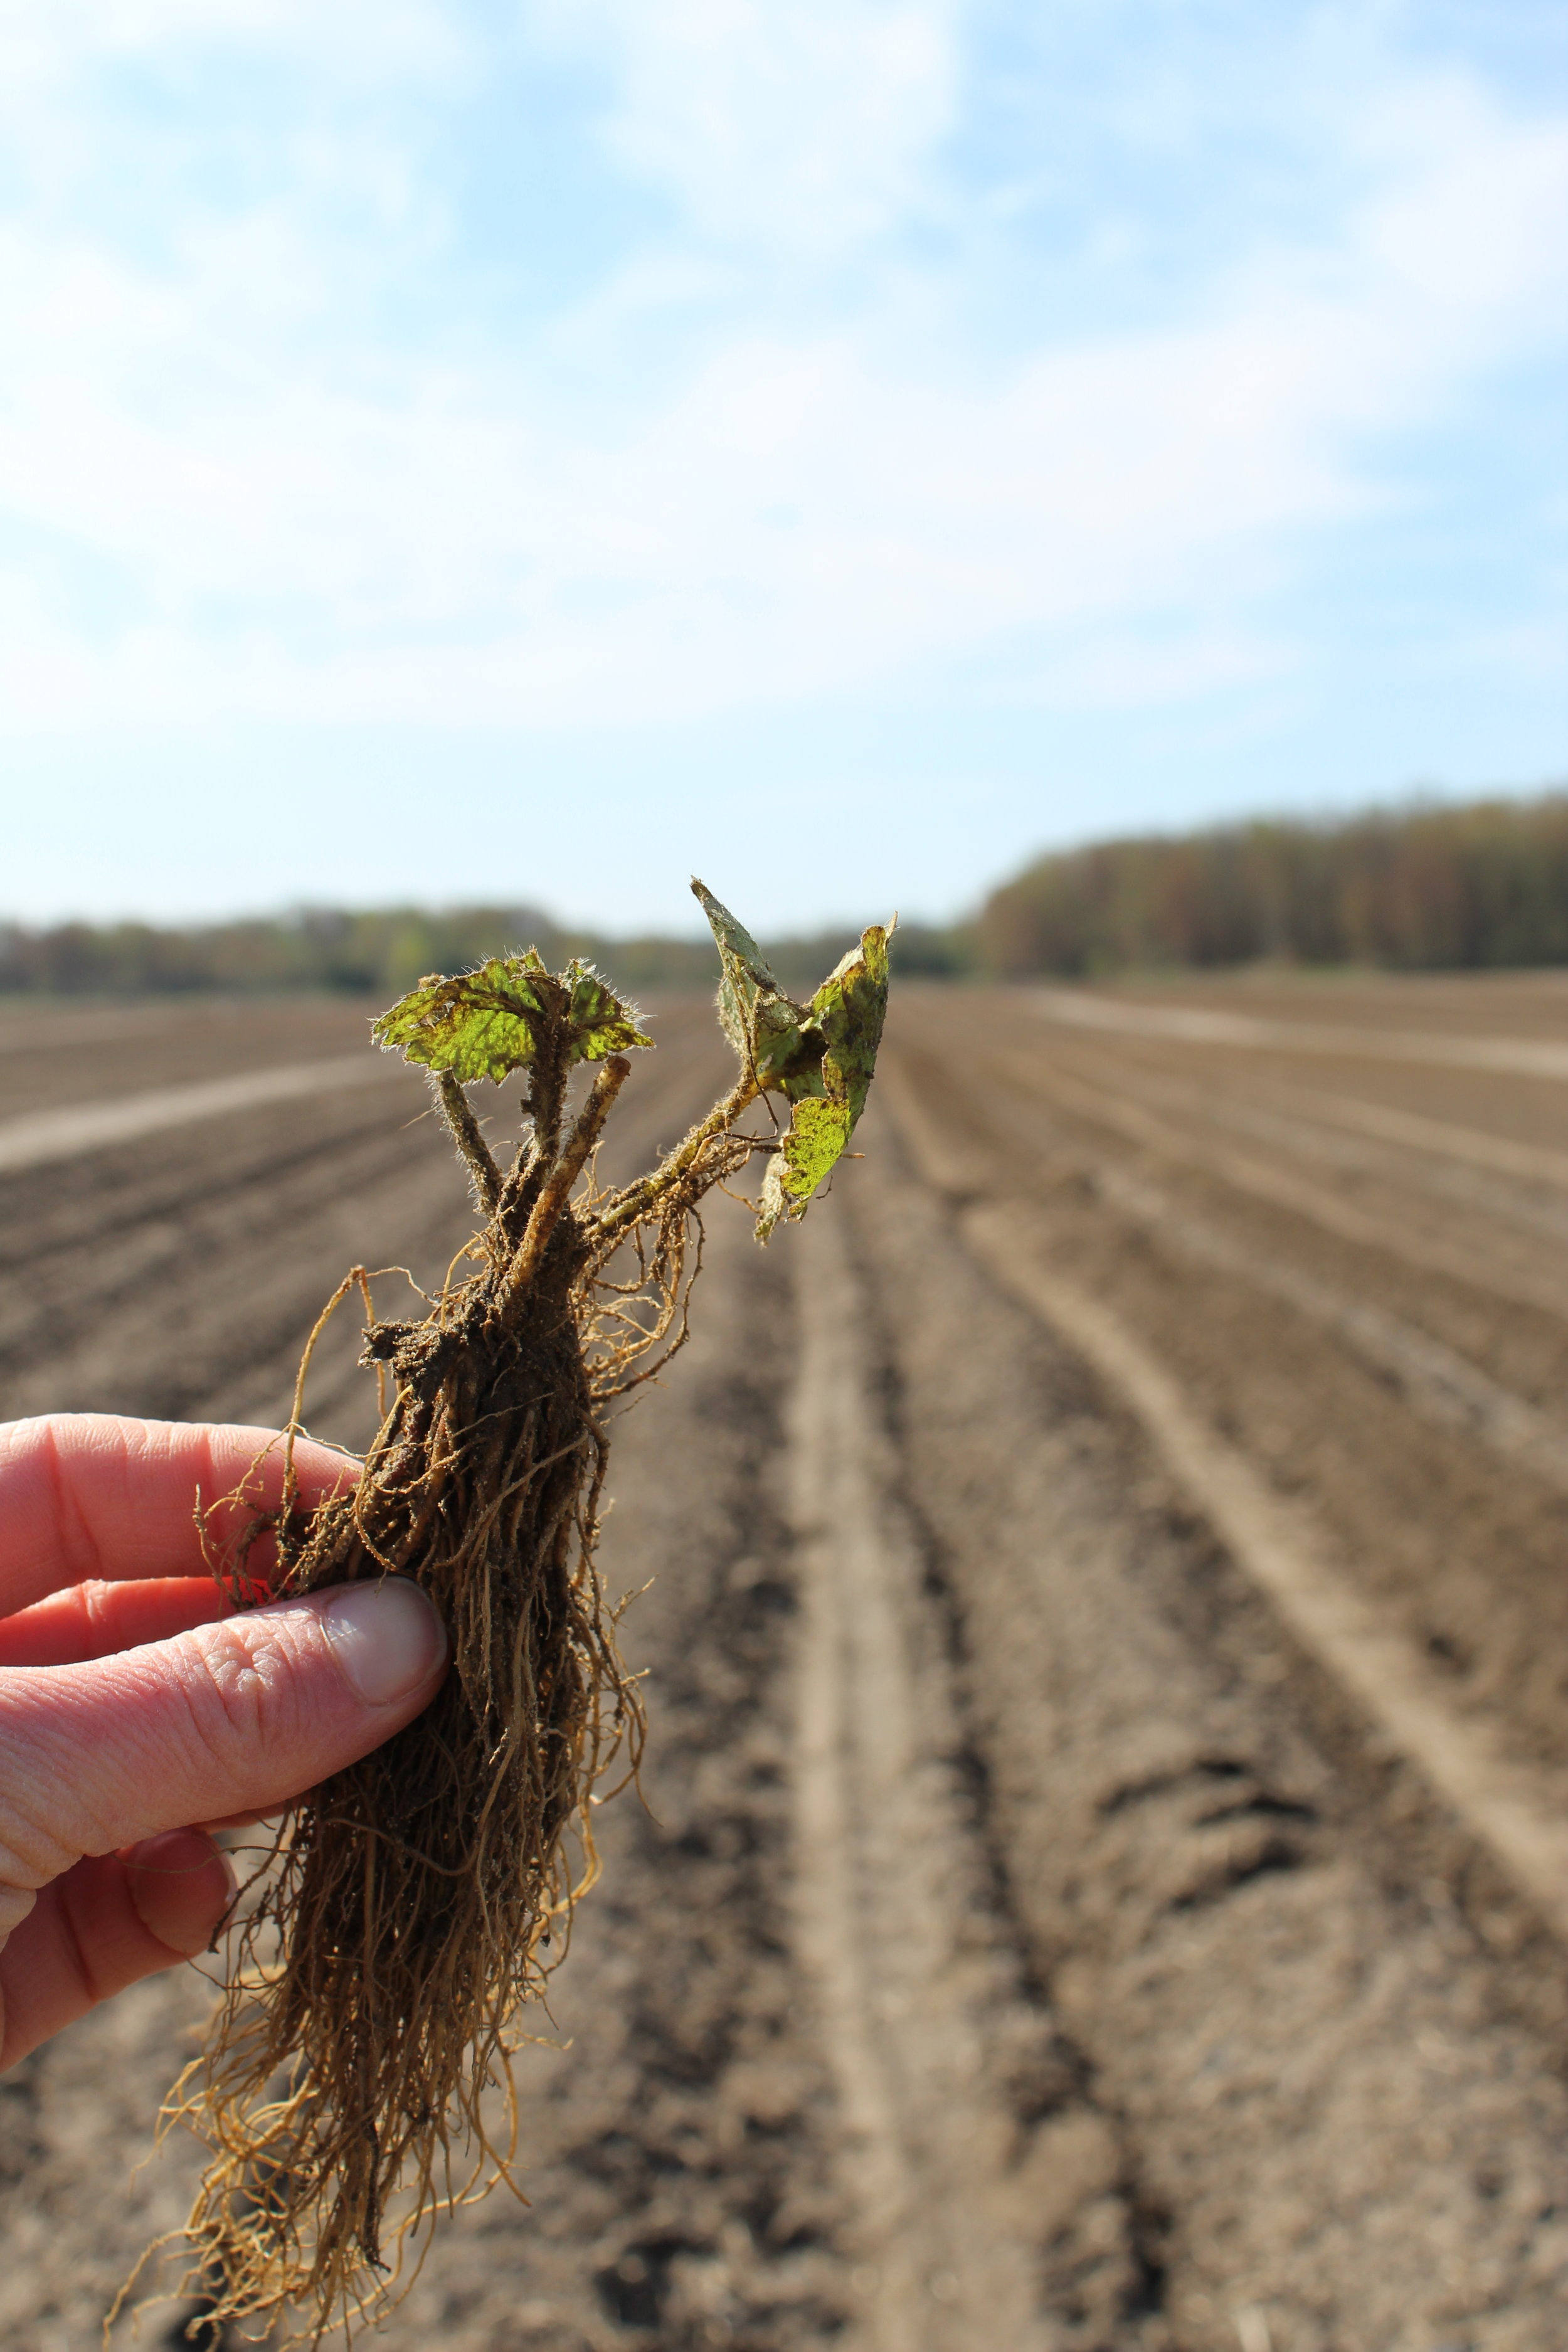
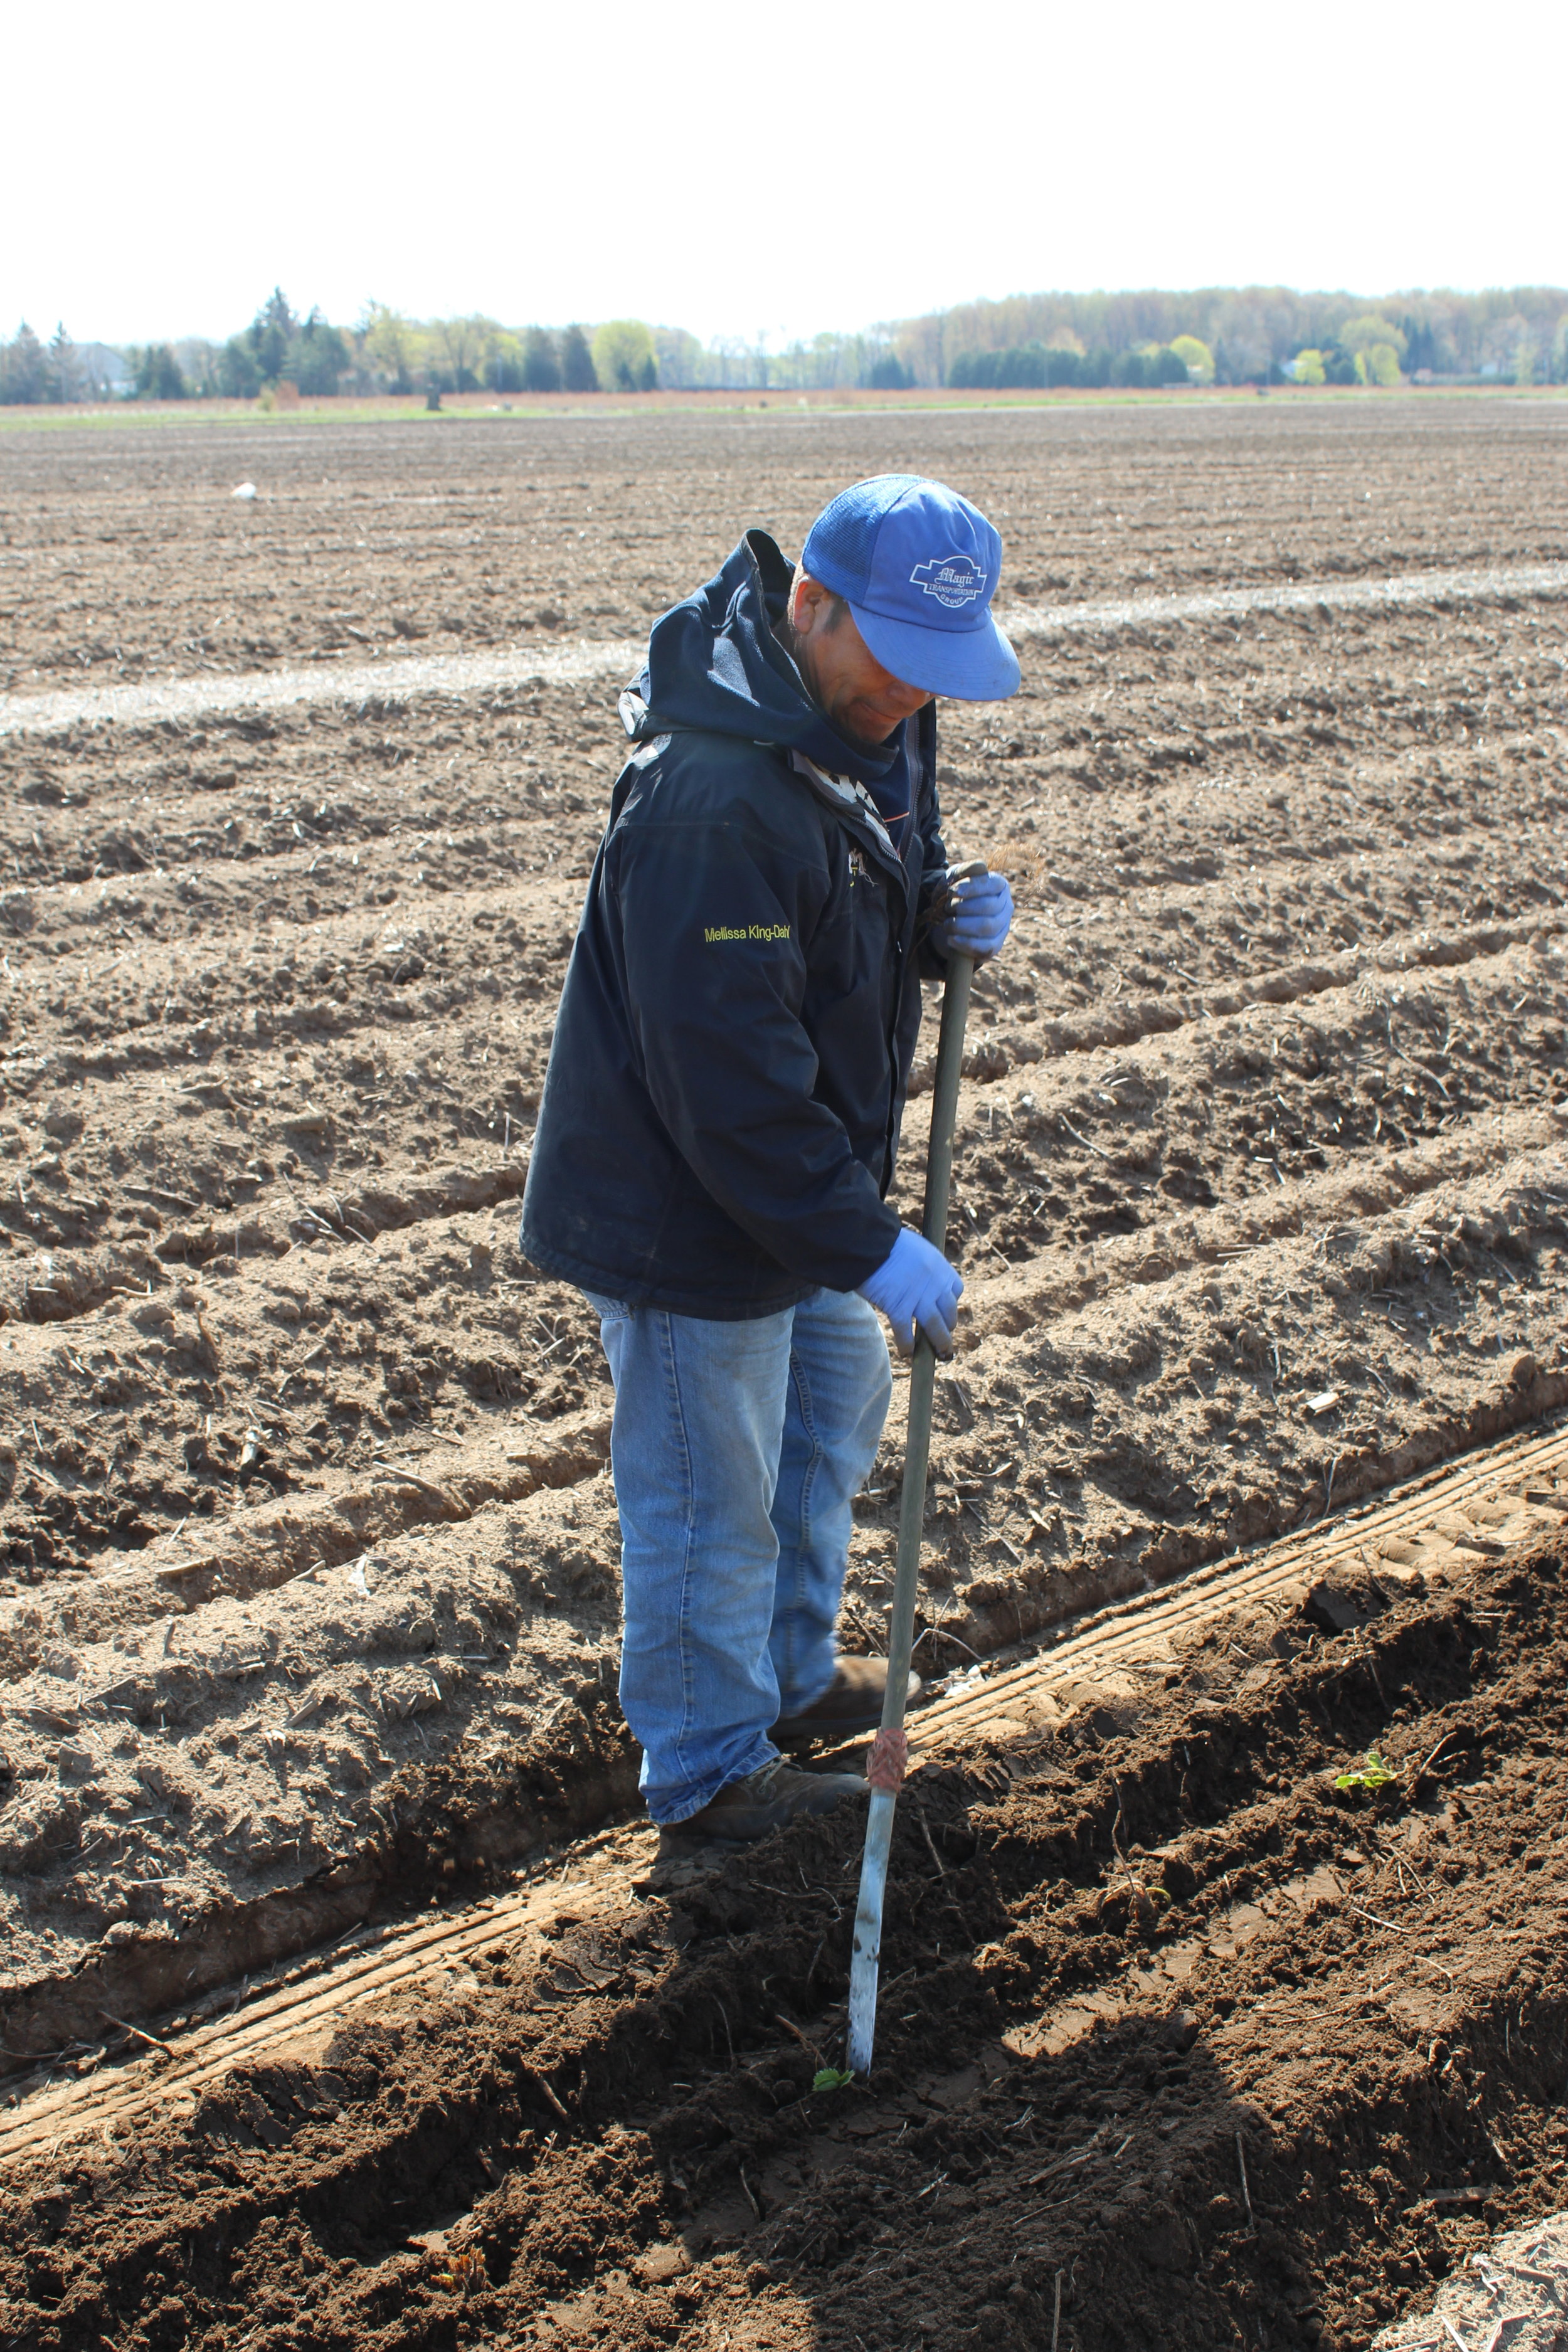
Our day-neutral strawberry plants come to us all the way from California. There is a special growing and breeding program there that focuses on these day-neutral varieties. The variety we plant is called Albion. There are other options too, but we’ve had good luck with Albion and customers seem to like it! We receive the plants when they are just 2 inches tall. We plant the day-neutral strawberries as early as possible in the spring, once the risk of spring frost has passed. To plant them, holes are poked in a staggered pattern, to allow for adequate plant growth, in our bedded & plastic-covered fields (remember the bedding we talked about last week?). From there, a field worker walks along the rows and gently drops a plant in front of each hole. Another field worker follows, and places the plant into the hole, using a spade to guide it in, cover it with soil, and ensure it’s secure.

Right after planting, we irrigate the plants. This may seem funny, given the rain we’ve gotten recently, but research has shown that a burst of irrigation immediately following planting directly relates to improved production. It helps the plant “set”, or helps the dirt settle in around the roots.

After planting, the plants hang out in the field until July, when they will begin to produce berries. We will continue to harvest from these plants until that fall frost that I mentioned earlier, and we’ll get another small harvest next spring.

Strawberries are perennial plants, which means that they can survive through the winter and produce fruit again once the soil warms in the spring and the plants revitalize. To help them make it through the cold months, we’ll cover them up with a big old berry blanket. This blanket, along with the snow that falls on top of it, will provide a protective layer of insulation.

After that, we repeat the process all over again, with new plants, more planting, and another harvest. Some farmers do things slightly differently: some plant in the fall, some only keep the plants for one season, and some try to extend it further (this can lead to production issues such as bushy plants and disease, though!)

Overall, growing strawberries a labour-intensive process, and takes a lot of planning, time, and energy. But we have to say, it’s so worth it. We can’t wait for the first taste of fresh-from-the-field strawberries!

Speaking of taste, there are a few key differences between June berries and day-neutral berries. Personally? I prefer the day-neutrals. This raises quite the controversy when I’m chatting with farmers’ market customers, but honestly it’s true! Day-neutral berries are more firm, so they last longer in the fridge and don’t squish as easily. This feature can also come in handy for jam-making, as it gives you jam that sets better, and is less runny. I also absolutely love the flavour of the day-neutrals. It’s hard to explain, so you’ll just have to try them yourself!

Well, that’s it for now! Check in with us next week to learn about the life cycle of conventional berries!

Blog post written & photographed by Alex Chesney, RD

Strawberry photo credit to 2018 Marketeer Brie

Making our Beds

One of the most satisfying feelings is a freshly made bed, don’t you think? Starting the day by making the bed is an instant accomplishment. And we’re not just talking about the beds that we sleep in. Around here, making our bed has a whole other meaning!

Beds are what we plant into: raised, formed, rows of soil that are created using a special tractor attachment. After forming the beds, we have to cover them up with the field equivalent of sheets – plastic. This plastic plays three important roles:

  1. It traps heat in the soil, allowing for faster root development and plant growth.

  2. It helps keep weeds at bay, by limiting available soil space.

  3. It limits evaporation of moisture from the soil and traps the extra water around the plant.

The plastic is applied to the rows using another tractor attachment. The rolls of plastic are loaded onto this attachment, and one field worker sits behind the roll, to guide it. Another field hand drives the tractor. To start, the driver lines the tractor up at the end of the row. Once aligned, the seated field hand tucks the plastic under a pile of soil to secure it. The tractor starts to slowly drive, and the plastic is slowly unraveled and pulled tight. Two disks, one on either side of the bed, pile dirt on top of the plastic to hold it in place. This process is repeated for each individual bed.

Next, holes are punched into the plastic, and a seed is dropped into the hole. After planting, metal wires are inserted over top of the rows, evenly spaced apart every 10 feet.

From here, a different attachment is used to apply a tunnel layer over top of the metal hoops. Because these hoops are taller, the attachment needs additional clearance. This time around the plastic has a series of ventilation holes (we talked about this in a blog post a few weeks ago!), and it is applied over top of the hoops, forming the tunnel layer. These tunnels are mini greenhouses, and they cover the newly planted seeds or transplants and provide them with an extra bit of heat so they can establish and grow quickly.

Tunnel beds acting as a greenhouse for the produce at Thames River Melons.

After we finished making our beds last week, we got straight to work planting corn! We plant our sweet corn using two different planters. The first is called a poly-planter – this one is used for planting into the rows covered in plastic that we described above. It’s smaller, and works by punching a hole in the plastic, then dropping a seed in that hole. We also have a larger planter that we use for planting directly into a freshly tilled field. We use both methods because it allows us to have sweet corn throughout the summer, on a continuous schedule. Between the corn stalks planted on plastic and directly into the field, any guesses which will produce ears of corn first?

A poly planter photographed while planting corn.

Poly Planter

…you got it! The ones on plastic. Thanks to that extra heat provided by the plastic, the corn planted there will produce first, with the plants growing up from soil coming along a bit later.

After planting, sweet corn takes approximately 90 days to ripen, so we’re looking at around mid-July for our first taste. Keep your eyes peeled for updates here & on our social media outlets!

Blog post written & photographed by Alex Chesney, RD


First Asparagus of the Season!

This past fall we constructed three new plastic covered greenhouses in the corner of our asparagus field. Plastic greenhouses are faster and more affordable to build than glass ones and work just as well! While they don’t have the longevity of glass, they are a nice happy medium.

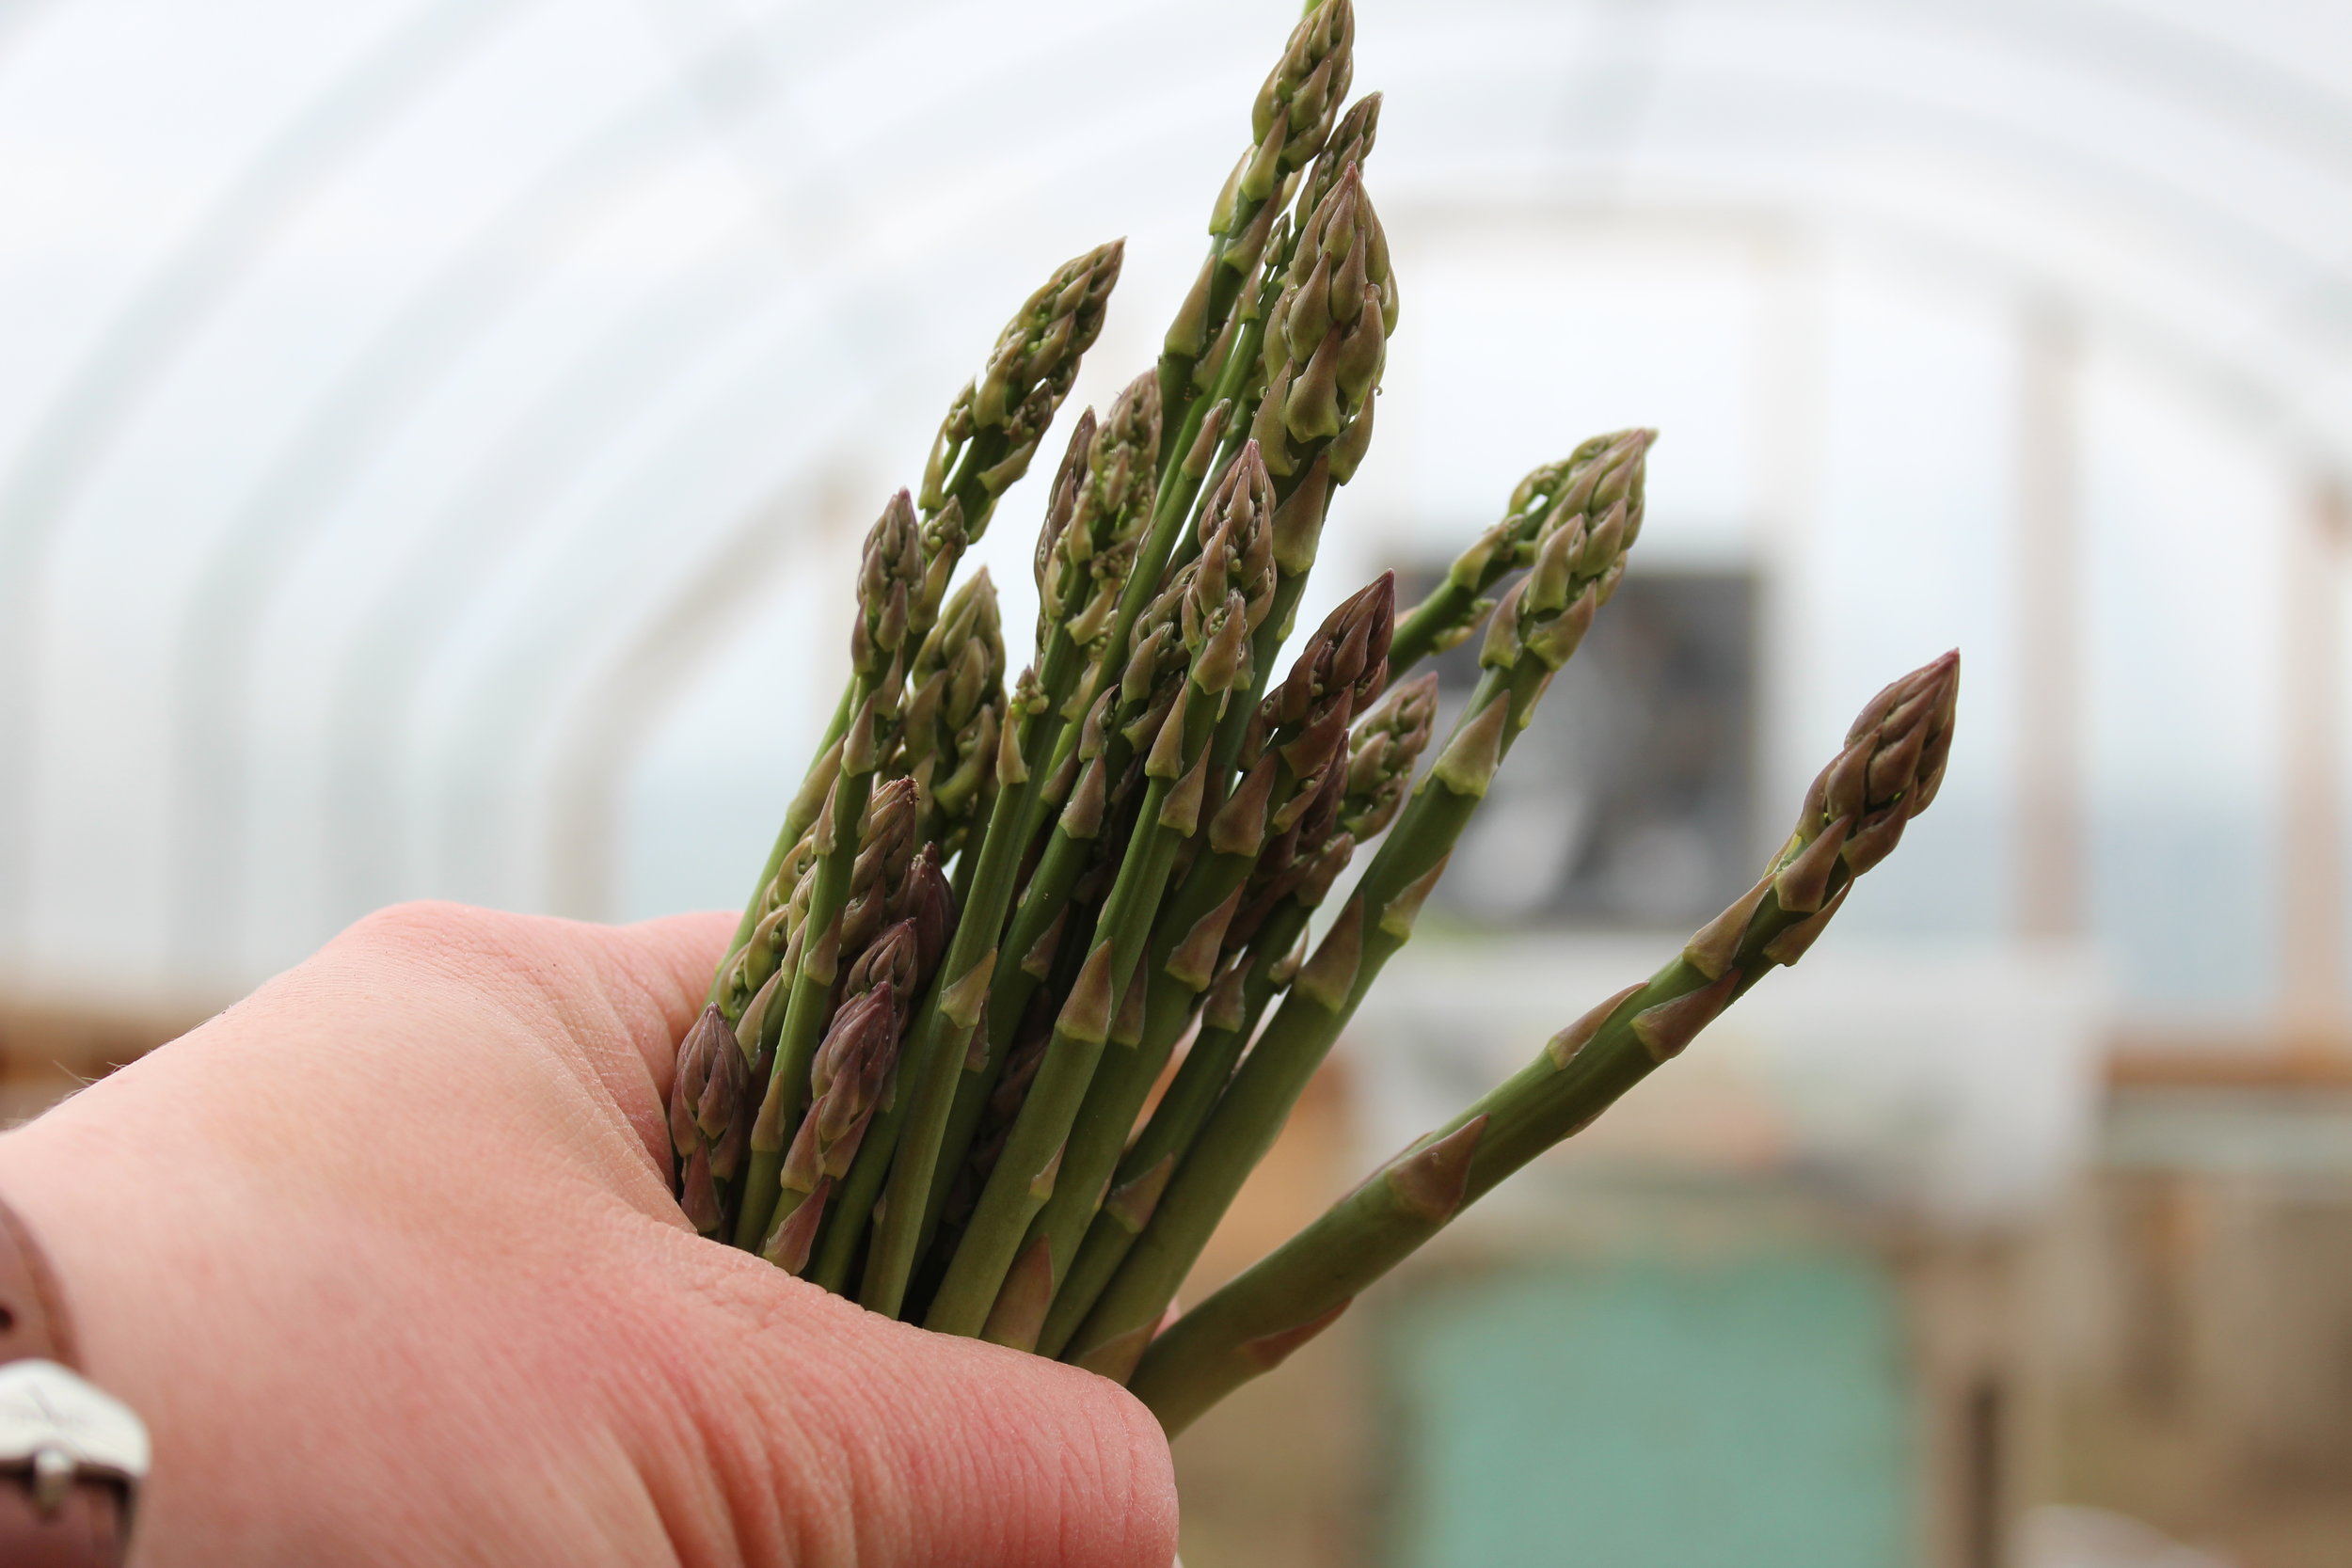
Rather than plow under and dig up the old asparagus plants, we left them alone. And now here we are in the spring season, and wouldn’t you know it, we have some asparagus! The greenhouses helped raise the temperature of the soil enough to coax the asparagus up a full week earlier than last year. We are so excited! We’re not harvesting enough to sell yet, but it won’t be long now — we’re crossing our fingers for late next week!

As discussed on a Facebook post recently, an asparagus crop takes a huge investment of time and patience to come to fruition. We plant asparagus from crowns, which are basically baby asparagus roots. Asparagus can also be grown from seed to transplant, but it’s a much longer process. For the first 2 years after planting the crowns, we don’t harvest at all. In year 3 we harvest for just 2 weeks, and by year 4 we can begin to harvest at full capacity. From there we continue to harvest for 10-15 years! Some newer varieties are able to be picked for even longer, close to 20 years.

And so, because of the long-term investment we’ve made into our asparagus crop, we were hesitant to dig up the field under the new greenhouses. And now we’re glad we didn’t, because it’s given us an early taste of our favourite spring veggie! We’re not harvesting enough to sell yet, but it won’t be long now — we’re crossing our fingers for late next week!

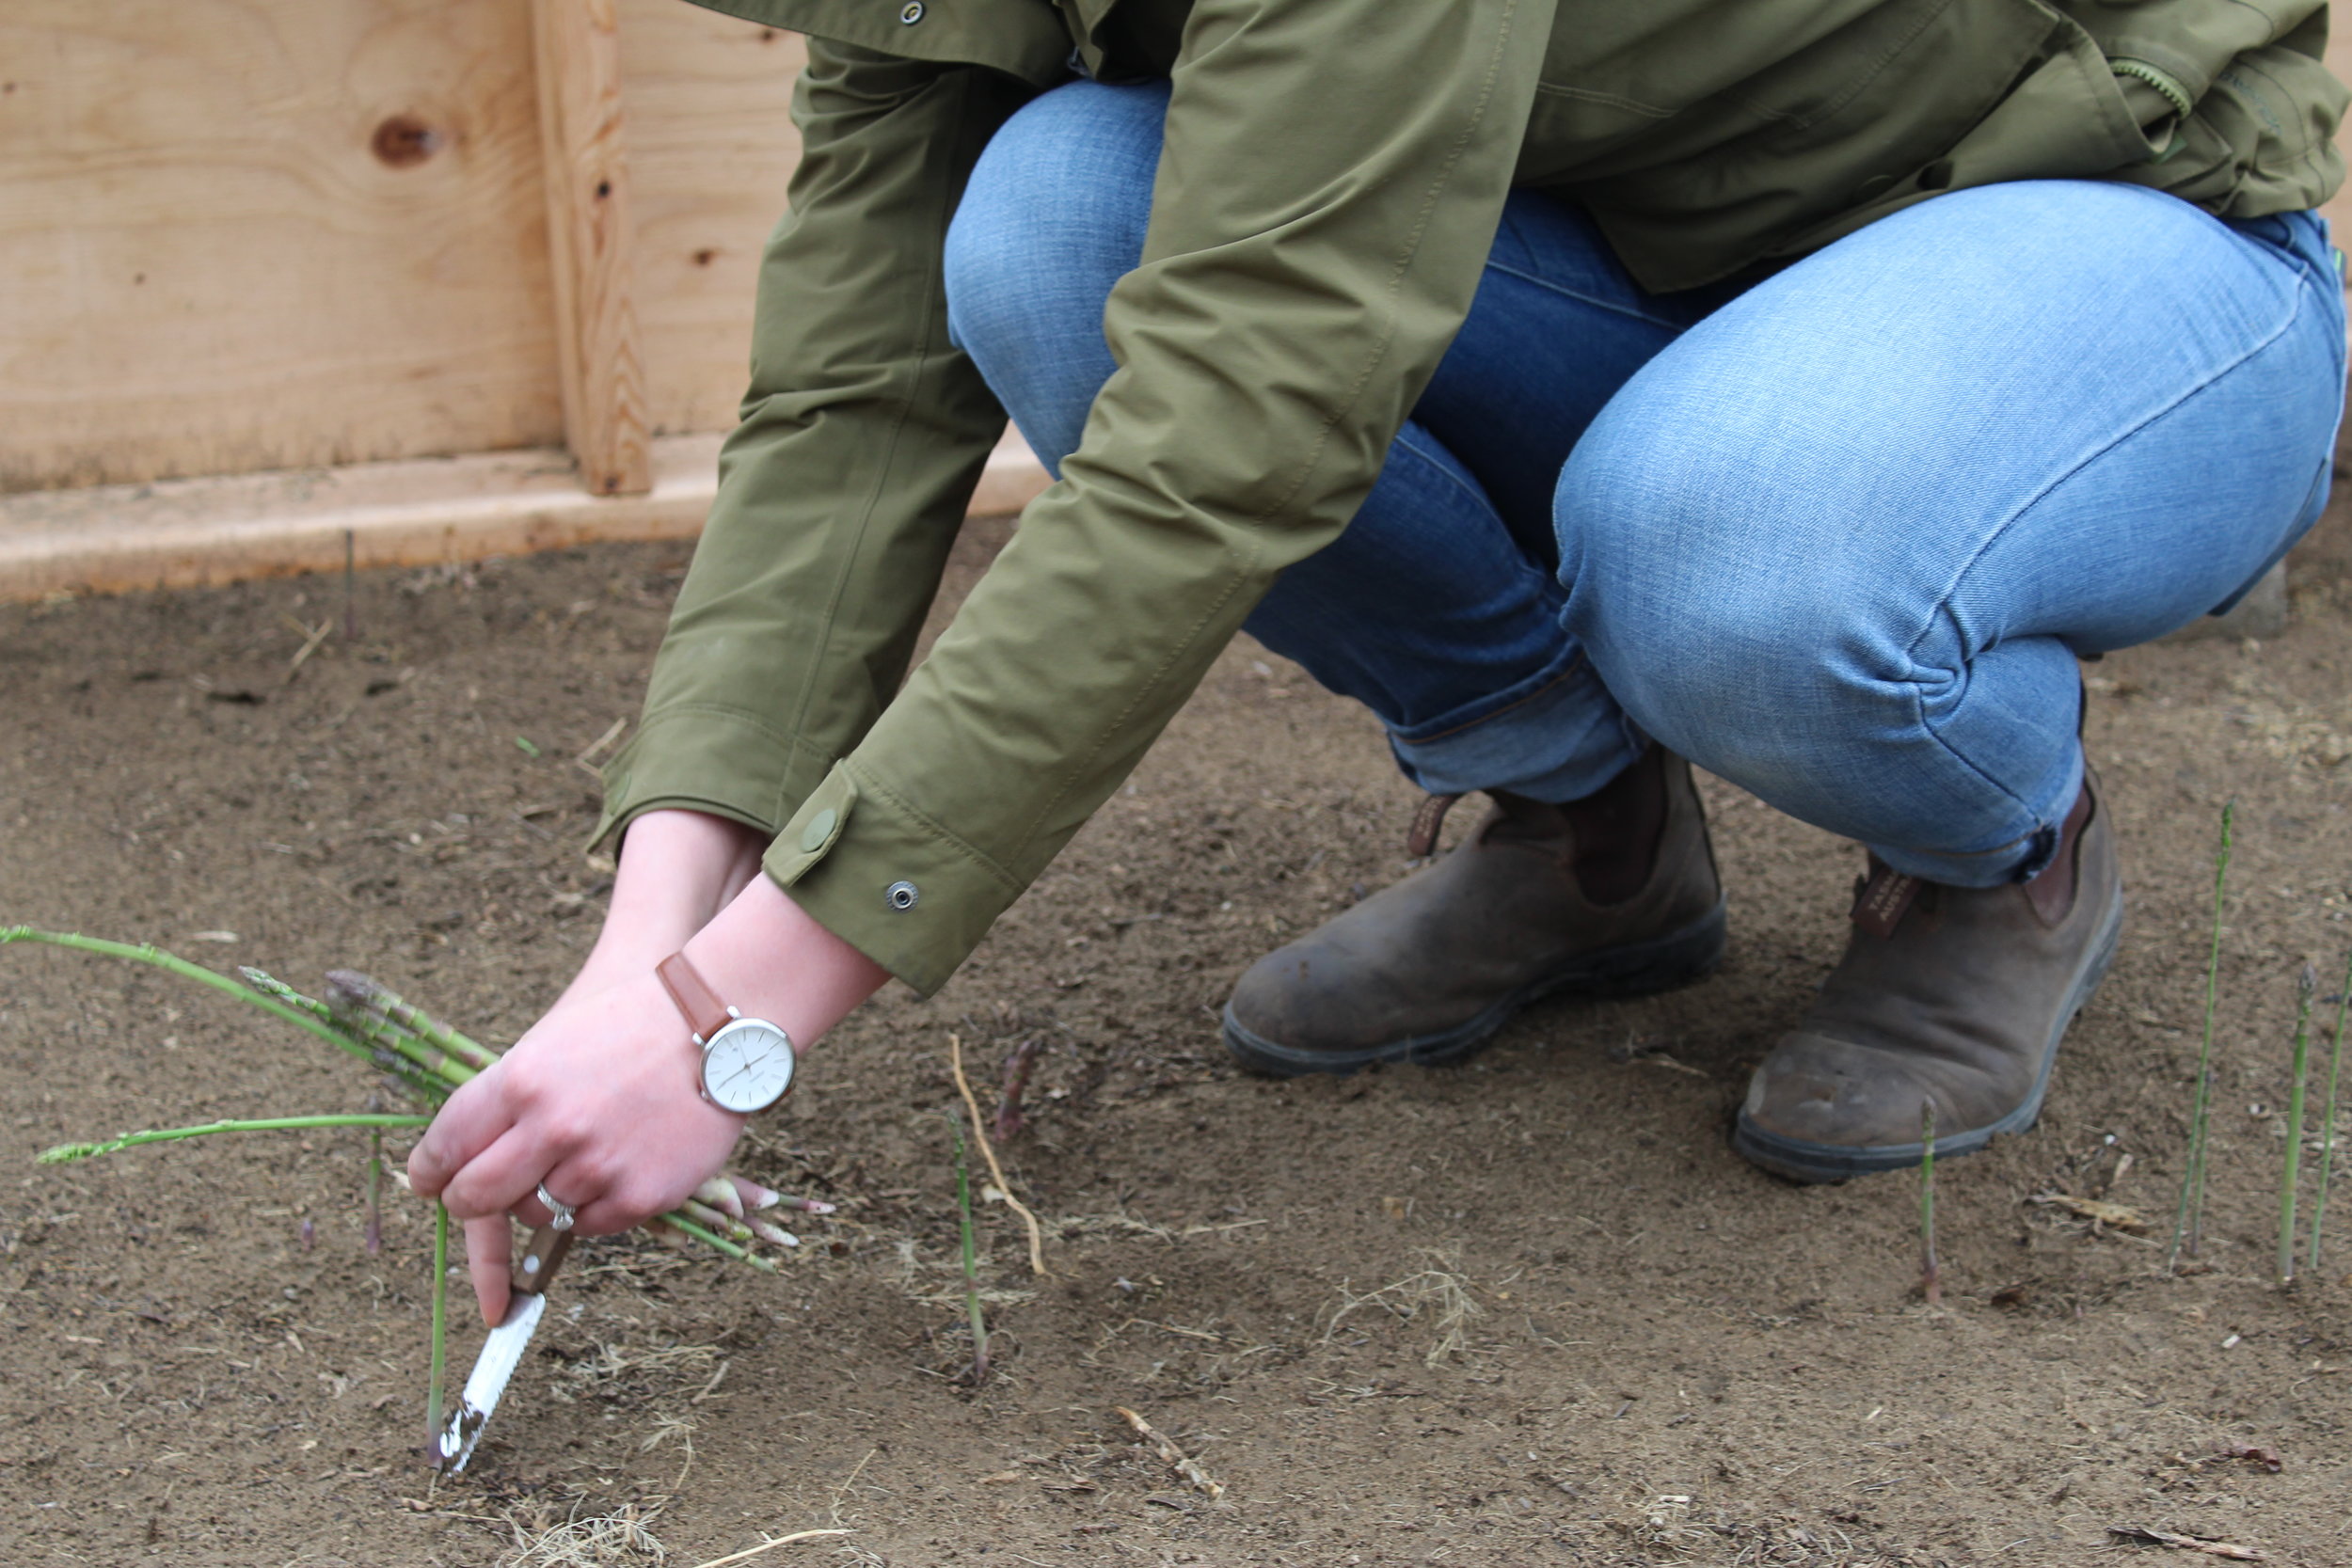
Are you familiar with the asparagus harvesting process? Most people are surprised to learn that asparagus is harvested entirely by hand. Our field crew walks up and down the rows with a small knife in one hand, and a collection basket in the other. To harvest a stalk of asparagus, the knife is inserted into the ground on an angle, and a quick, smooth cutting motion is used to cut off the stalk at its base. Each crown (that root system underground) produces approximately 10-12 stalks. And when harvesting, we have to be careful not to damage any of those surrounding stalks. If one was to be accidentally nicked or cut into, that stalk of asparagus would begin to grow crookedly.

As you may have noticed from the video on social media, asparagus harvesting requires a lot of physical labour. To harvest each stalk by end, our field crew must not only walk up and down the rows, but also bend down & stand up repeatedly. It’s not easy on the back! Next time you pick up a bunch of asparagus for dinner – keep that in mind. A whole lot of hard work went into producing it!

Once we start to harvest our asparagus crop on a larger scale, we’ll check back in and fill you in on how we grade, package, and store our asparagus post-harvest. Stay tuned!

Blog post written & photographed by Alex Chesney, RD

Special thanks to Luke Chesney for his additional photography and the video editing skills!


Bud the Spud

This week was off to a blustery start, with chilly temperatures and flurries in the air – not quite what we were hoping for, but we’re making it work! Our to-do list for the week is already growing, but there are two items in particular that we thought you’d be interested in.

First up is our rhubarb – one of our earliest crops! Rhubarb typically springs into season during the first week in May, alongside its skinny green counterpart asparagus. This year, though, we’re doing a little experiment. In hopes of getting our hands on some rhubarb even earlier, we’ve tunneled 5 rows of rhubarb. Tunnels are a technique used for several of our other crops, including our famous melons. A tunnel is basically a mini in-field greenhouse. They’re constructed by placing small metal hoops in the ground, evenly spaced apart. These hoops are then covered with sheets of clear plastic dotted with holes: the plastic helps trap heat in the soil, speeding up the growing process and the holes in the plastic allow for temperature moderation and air circulation.  

Rhubarb is a spring crop, as most of you know. And that’s not just because we love to eat rhubarb crisp during the month of May (although this is a true statement!). It’s also because rhubarb plants don’t like heat. Once the temperature consistently climbs above 30⁰C, the plants begin to complain and we stop harvesting. That being said, we’ll need to carefully monitor these tunnels, and be careful that they don’t work too effectively, and raise the temperature too high. Overall, our goal with these tunnels is to end up with rhubarb in our hands approximately 5 – 10 days earlier than past years. Fingers crossed!

The next item on our to-do list reminds us of a favourite childhood song… “It’s Bud the Spud from the bright red mud, goin’ down the highway smiling…” You guessed it; we’re talking about potatoes! This week we hope to plant our 2019 crop of potatoes. And did you know that potatoes aren’t actually planted from seed? Rather, they’re planted from other potatoes, called seeding potatoes. At least, if you want to get the same variety of potato, that’s how its done. Potatoes do produce seeds, but if you plant those, you’ll end up with a whole new variety. To ensure consistency, and get the same potato from year to year, you plant another potato!

Our seeding potatoes just arrived, all the way from the East Coast, and we’re getting ready to pop them in the ground. To do so, we typically cut the potatoes in half, ensuring that at least one ‘eye’ remains intact. It’s from these eyes that the rest of the plant will grow. Have you ever forgotten about a bag of potatoes and opened it up to find little alien-like sprouts climbing up towards you? It may be startling at first, but this is actually just what you want if you’re growing your own.

Want to learn a little bit more about potatoes? We’ve got a few more fun facts for you, so keep on reading!

Okay, so potatoes grow under the ground, which makes them a root vegetable, right? …not quite! Potatoes are actually a tuber, which means that rather than sucking up nutrients from the soil and delivering them to the rest of the plant, they store up the nutrients. That’s what makes potatoes so fat and starchy.

Potatoes are laid out on display ready for purchase in Innerkip Ontario Canada.

Another question we often get is “What about green potatoes?! Aren’t they poisonous?” When planting potatoes, we have to make sure they’re deep enough that they aren’t exposed to light. Sunlight causes a chemical called solanine to build up and turn the potatoes green. Solanine is technically poisonous, but you’d have to eat a whole bunch of green potatoes for it to actually make you sick! So, next time you see a green potato, just slice off the green part and keep on cooking.

After planting the potatoes, we’ll need to hunker down and wait until early June until we can start to harvest. By then, tender and sweet baby potatoes should be ready for digging! We won’t dig up our whole crop then, though. We’ll stagger our harvesting, allowing the potatoes to slowly grow larger throughout the season. By fall, the potatoes will be big enough and sturdy enough for storing through the winter. Let’s not get ahead of ourselves, though – we’re still waiting for spring!

Well, that’s it for this week! Stay tuned for updates on our rhubarb & potato crops. Thanks for reading!

Blog post written & photographed by Alex Chesney, RD

Frank & the Bulletin Board

Each year the bulletin board in our farm’s office slowly fills up with memories of the season. Things are tacked up as they arise, first in an orderly fashion and then slowly becoming more jumbled as the days get longer and the fields get fuller. Business cards from other local entrepreneurs, funny signs from our creative farmers’ market staff, quotes, and more all crowd together to help us remember what an adventure-filled summer we had.

As we get ready for the 2019 season, we will take down many of last year’s papers and photos to make room for this year’s. Recently, as we were standing around looking at last year’s board, we were laughing and reminiscing. One memory in particular stood out: an email from Kathy, the daughter of one of our most loyal customers at the East York Farmers’ Market.

Frank has been a customer of ours for years . Last summer he attended the market every single week, bringing a flat of berries home with him without fail. That’s pretty impressive in and of itself, but what makes it even more so is that Frank was 96 years old at the time! We received Kathy’s email last fall, once the market concluded for the season:

“A huge thank you to all your staff for being so incredibly welcoming and attentive to my Dad again this season. His favourite day is Tuesday at the East York market for his flats of strawberries and the smiling faces at your booth! At 96 years old he didn’t miss a single Tuesday this summer. Hopefully he’ll see you all next summer!! 😘😘. P.S. he says your berries are the sweetest!!”

Without committed customers like Frank, our farmers’ markets would not be nearly as successful as they are. And they wouldn’t be as enjoyable, either! We looked forward to seeing Frank’s familiar and smiling face each week, and it meant so much to us that our strawberries were so special to him.

We have been emailing back and forth with Kathy over the winter, and were promised some photos from Frank’s 97th birthday party earlier this month. We just received them today and wanted to share with all of you! Take a look at Frank celebrating with his large extended family. His warm smile, sense of humour, and love for his family are clear.

Sadly, just 10 days after turning 97, Frank passed away surrounded by his children, grandchildren, great-grandchildren, and friends. We were incredibly sad to hear of his passing, and asked Kathy if we could honour Frank and thank him for his commitment to our farm. We hope he knew how much his weekly market visits meant to us. He will be missed.