An Update on Our Onion Seedlings

It’s been one week since our first onions of the season were sown into soil-filled trays. Since then they’ve been transferred to our heated greenhouse, where they’ve been cozying up and germinating.

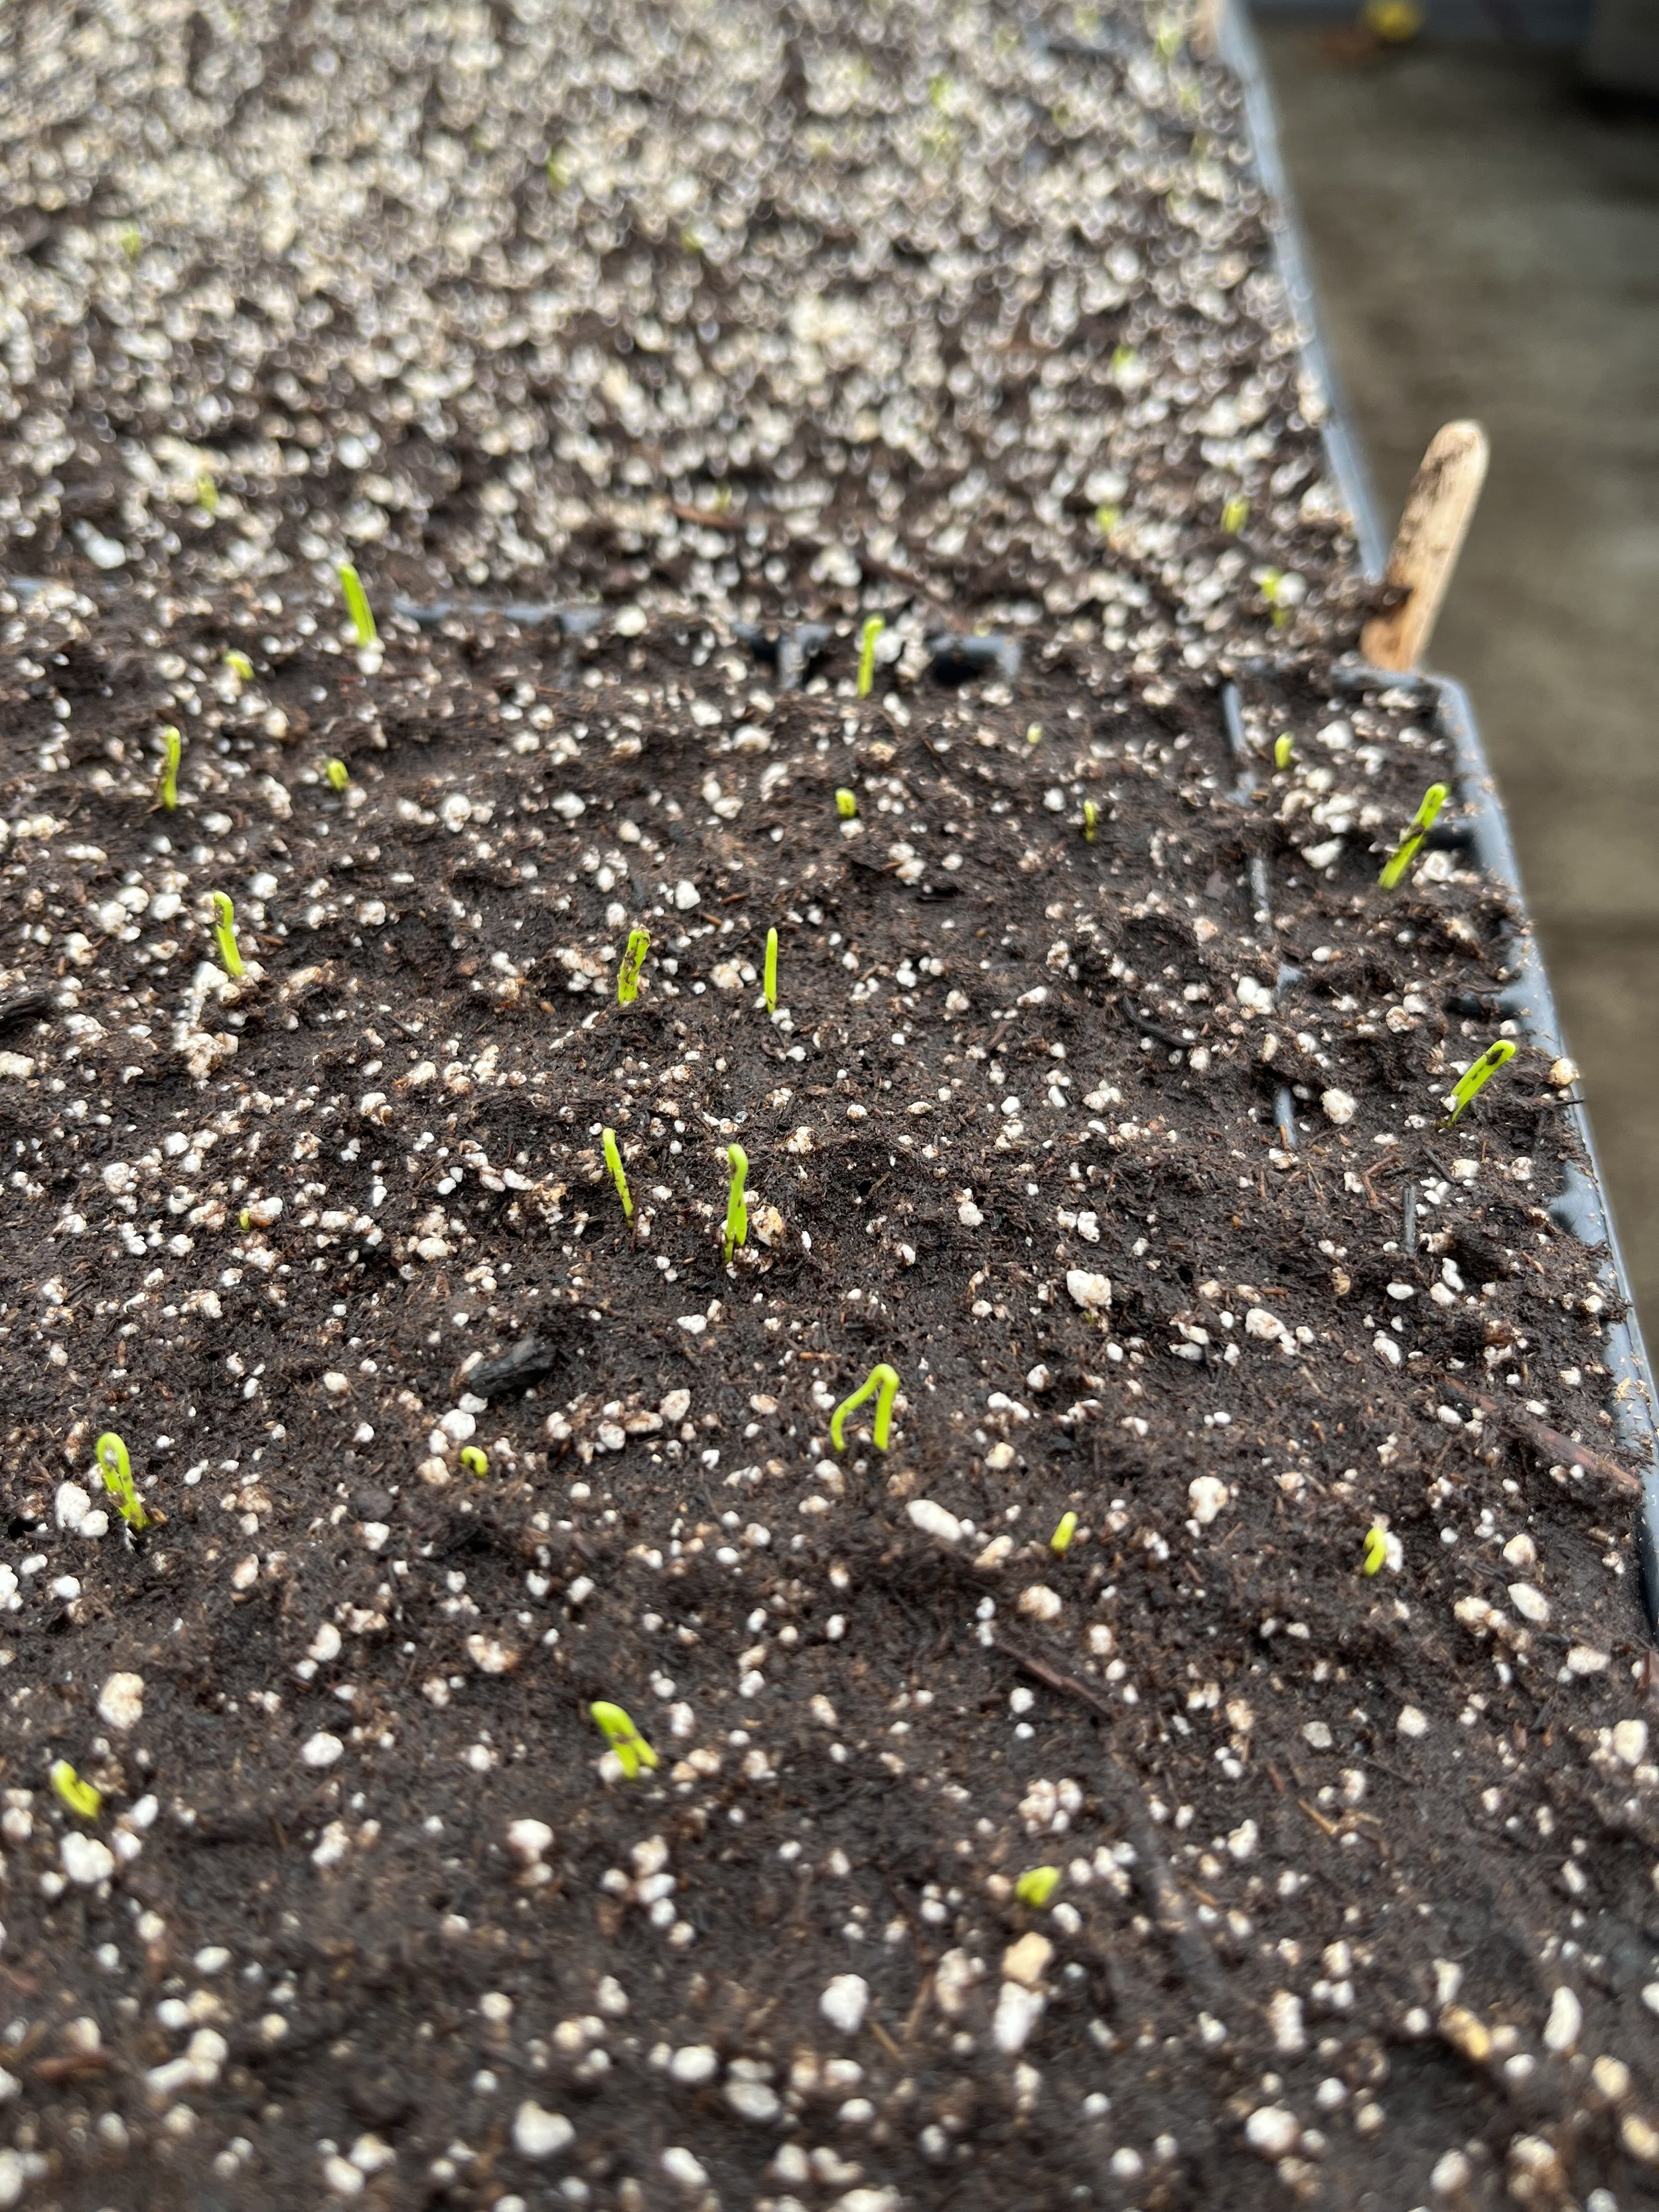
Typically we don’t see much growth until Day 10, but because it’s been unusually warm outside, the seeds have gotten a bit of a boost, and we’re seeing signs of shoots already!

Right now the onions are in what’s called the pre-bulb growth stage. This is a vegetative growth stage, meaning the plant is focused on growing ‘roots and shoots’. What you can see here, poking up through the soil, are radical and flag leaves of the plant. Later on additional leaves will emerge before the plant begins to focus growth on the bulb.

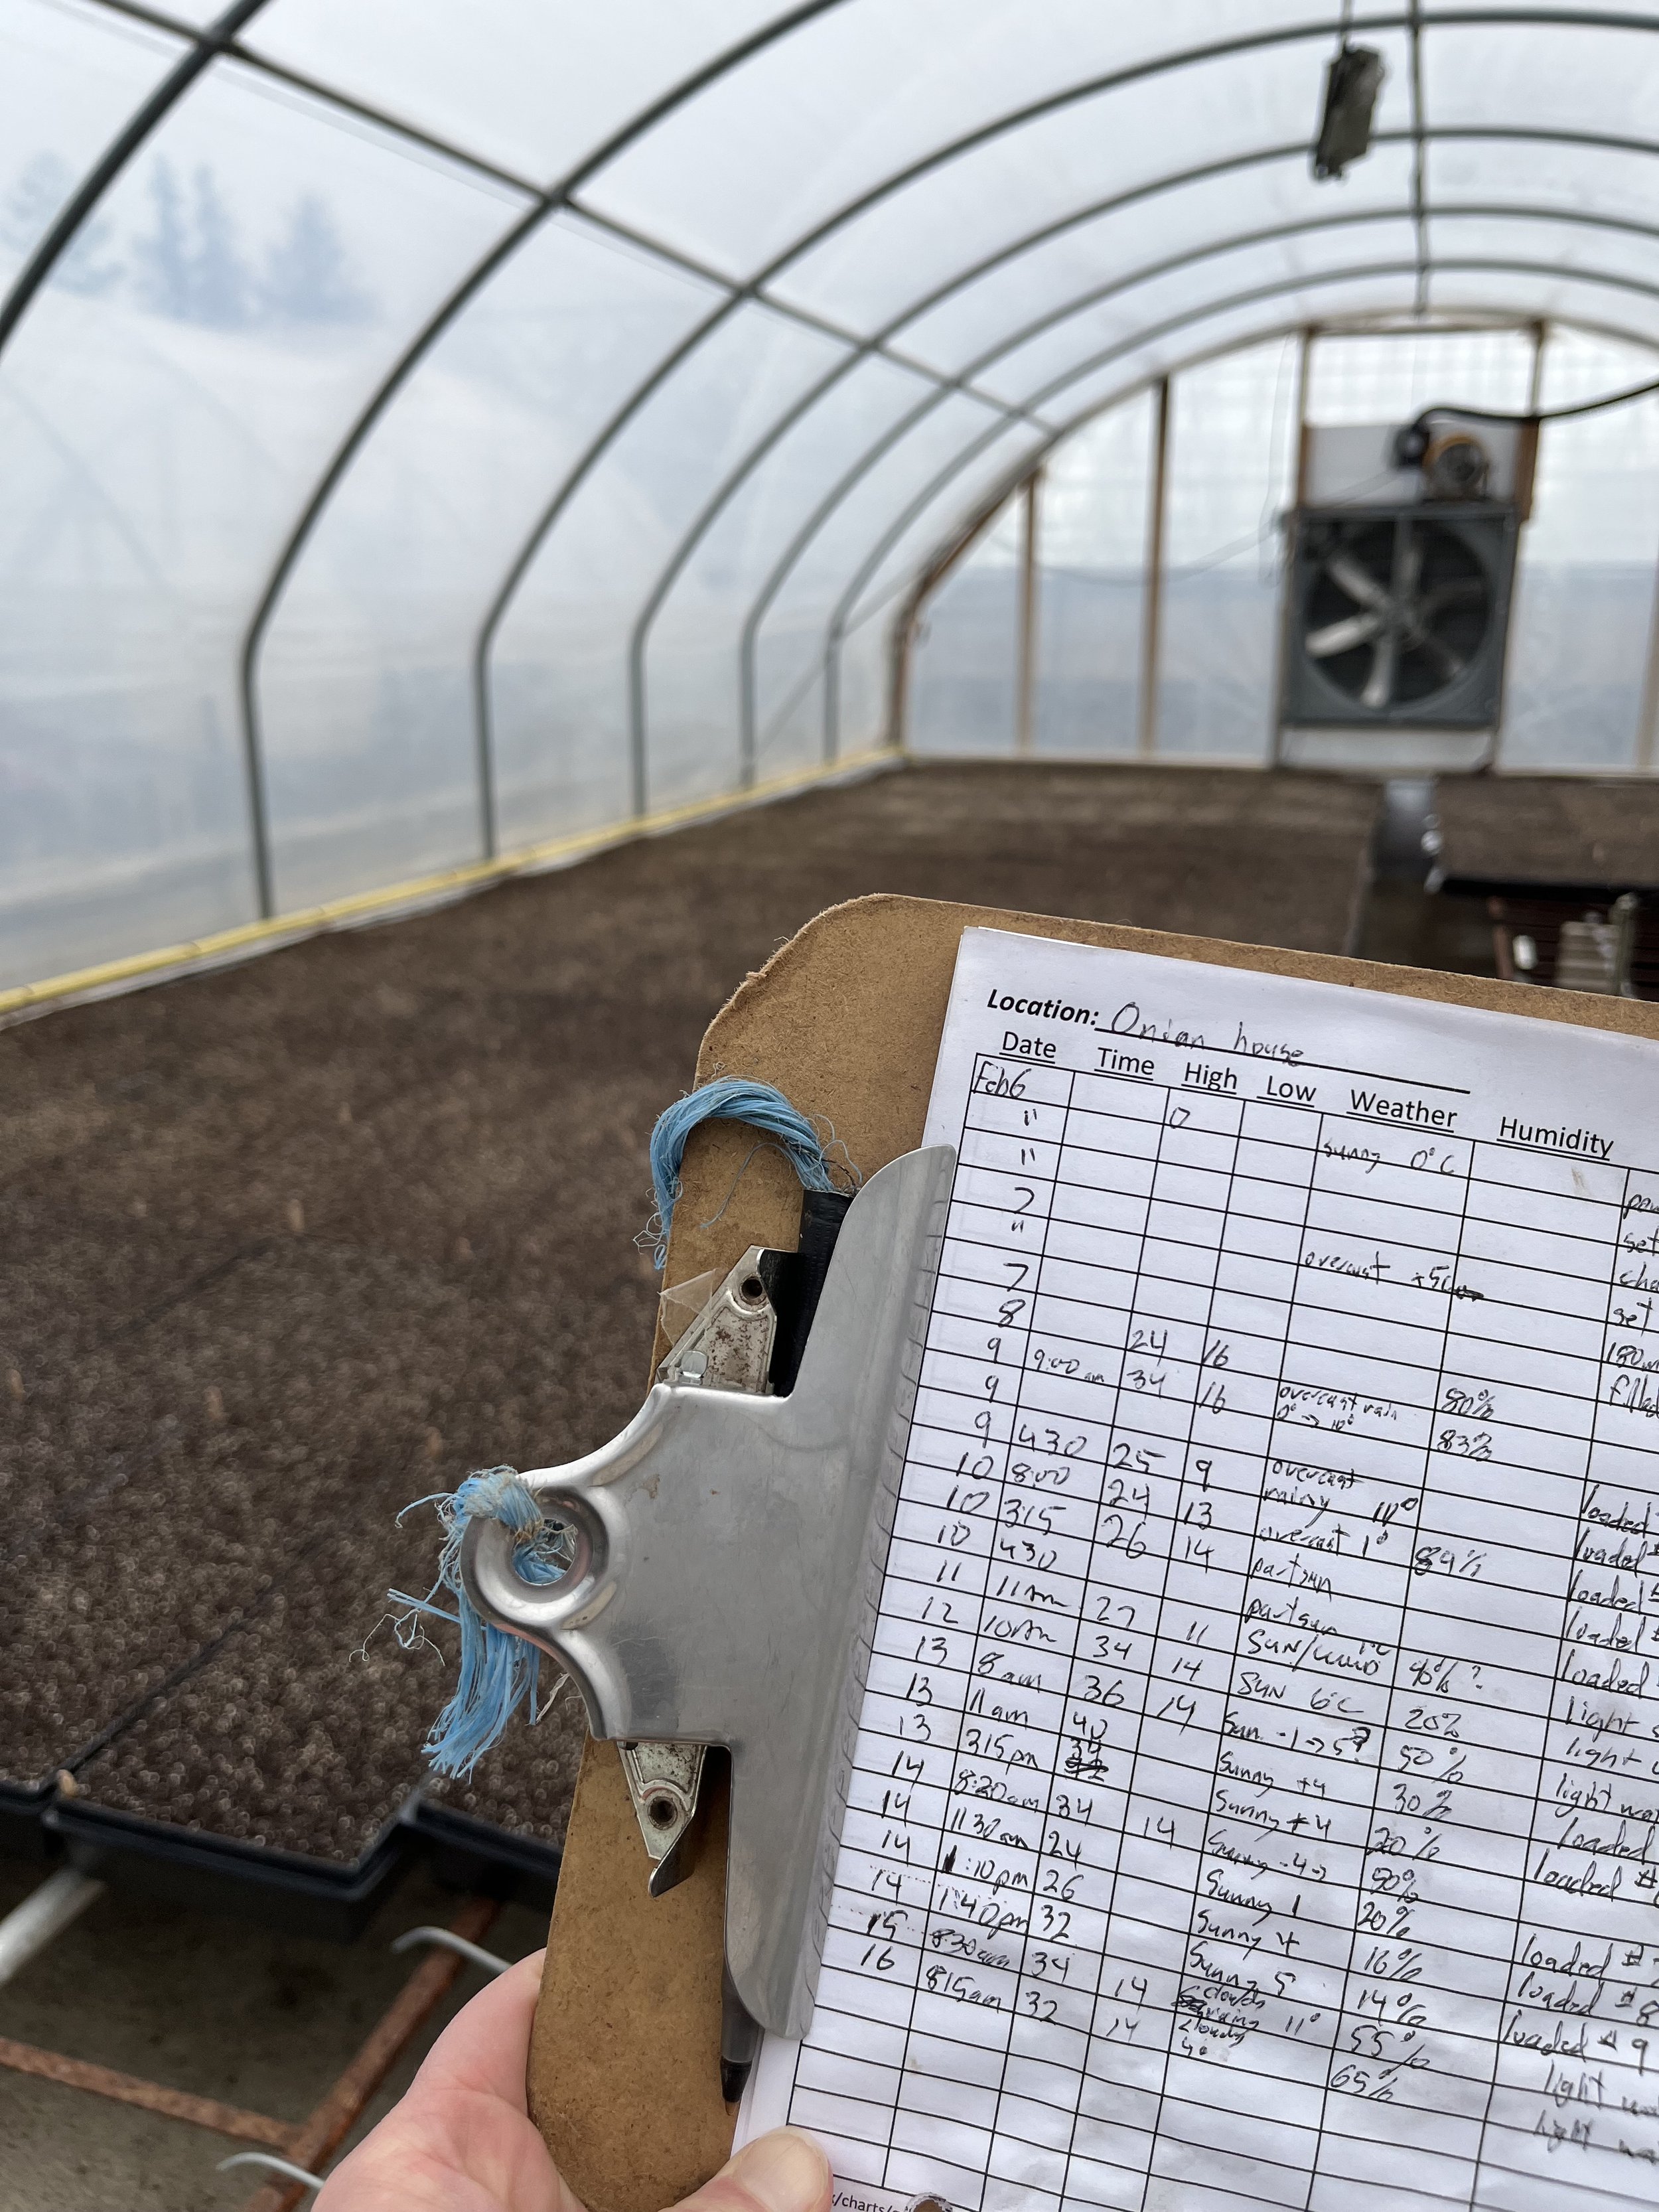
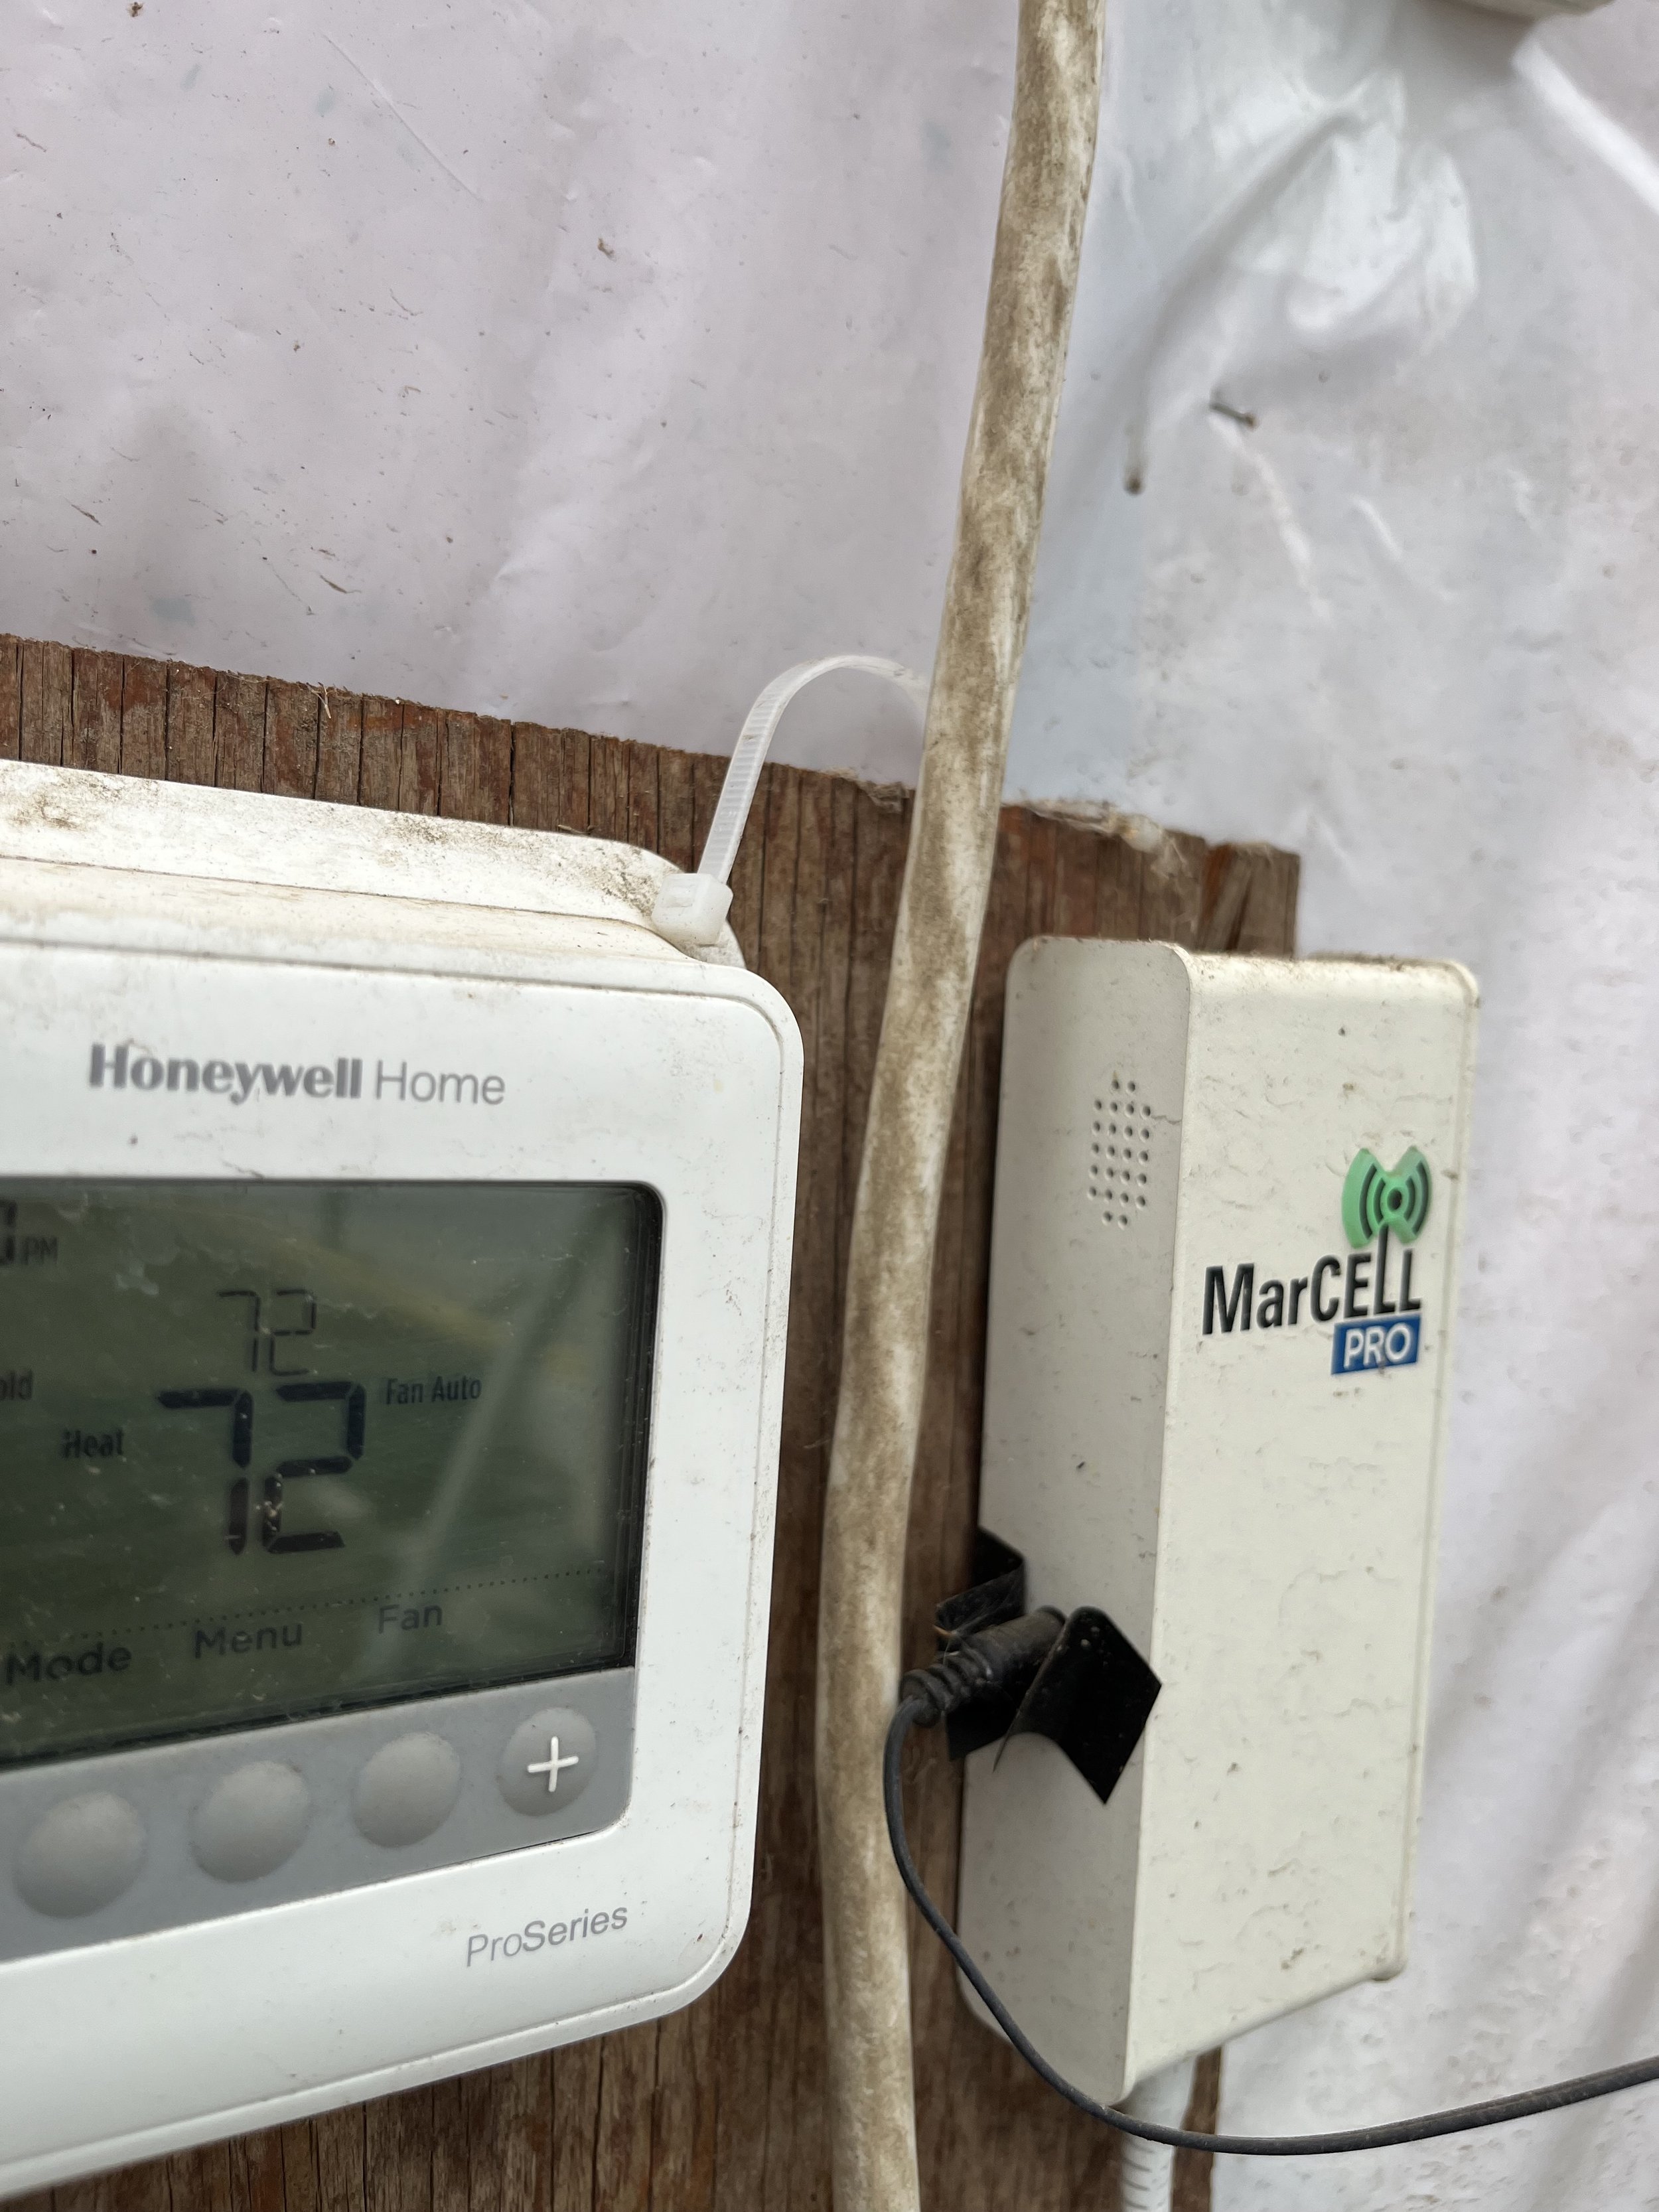
We have been checking on these seedlings daily, monitoring temperatures and moisture level, and keeping track of both in our record log. In addition to our manual checks, we have an alarm system installed that will alert us should the temperatures drop below or exceed our programmed limitations.

Blog post written and photographed by Alex Chesney, RD

Day 1 of 2023 Seeding

The season has officially kicked off around here, with the first seeds of the year making their way into trays. Today we’re working on red, white, and yellow Spanish onions!

The seeding process is quite intricate, with many steps required:

  1. Trays are filled with potting soil.

  2. Next, they are wetted down with water, by running them through a line with overhead nozzles.

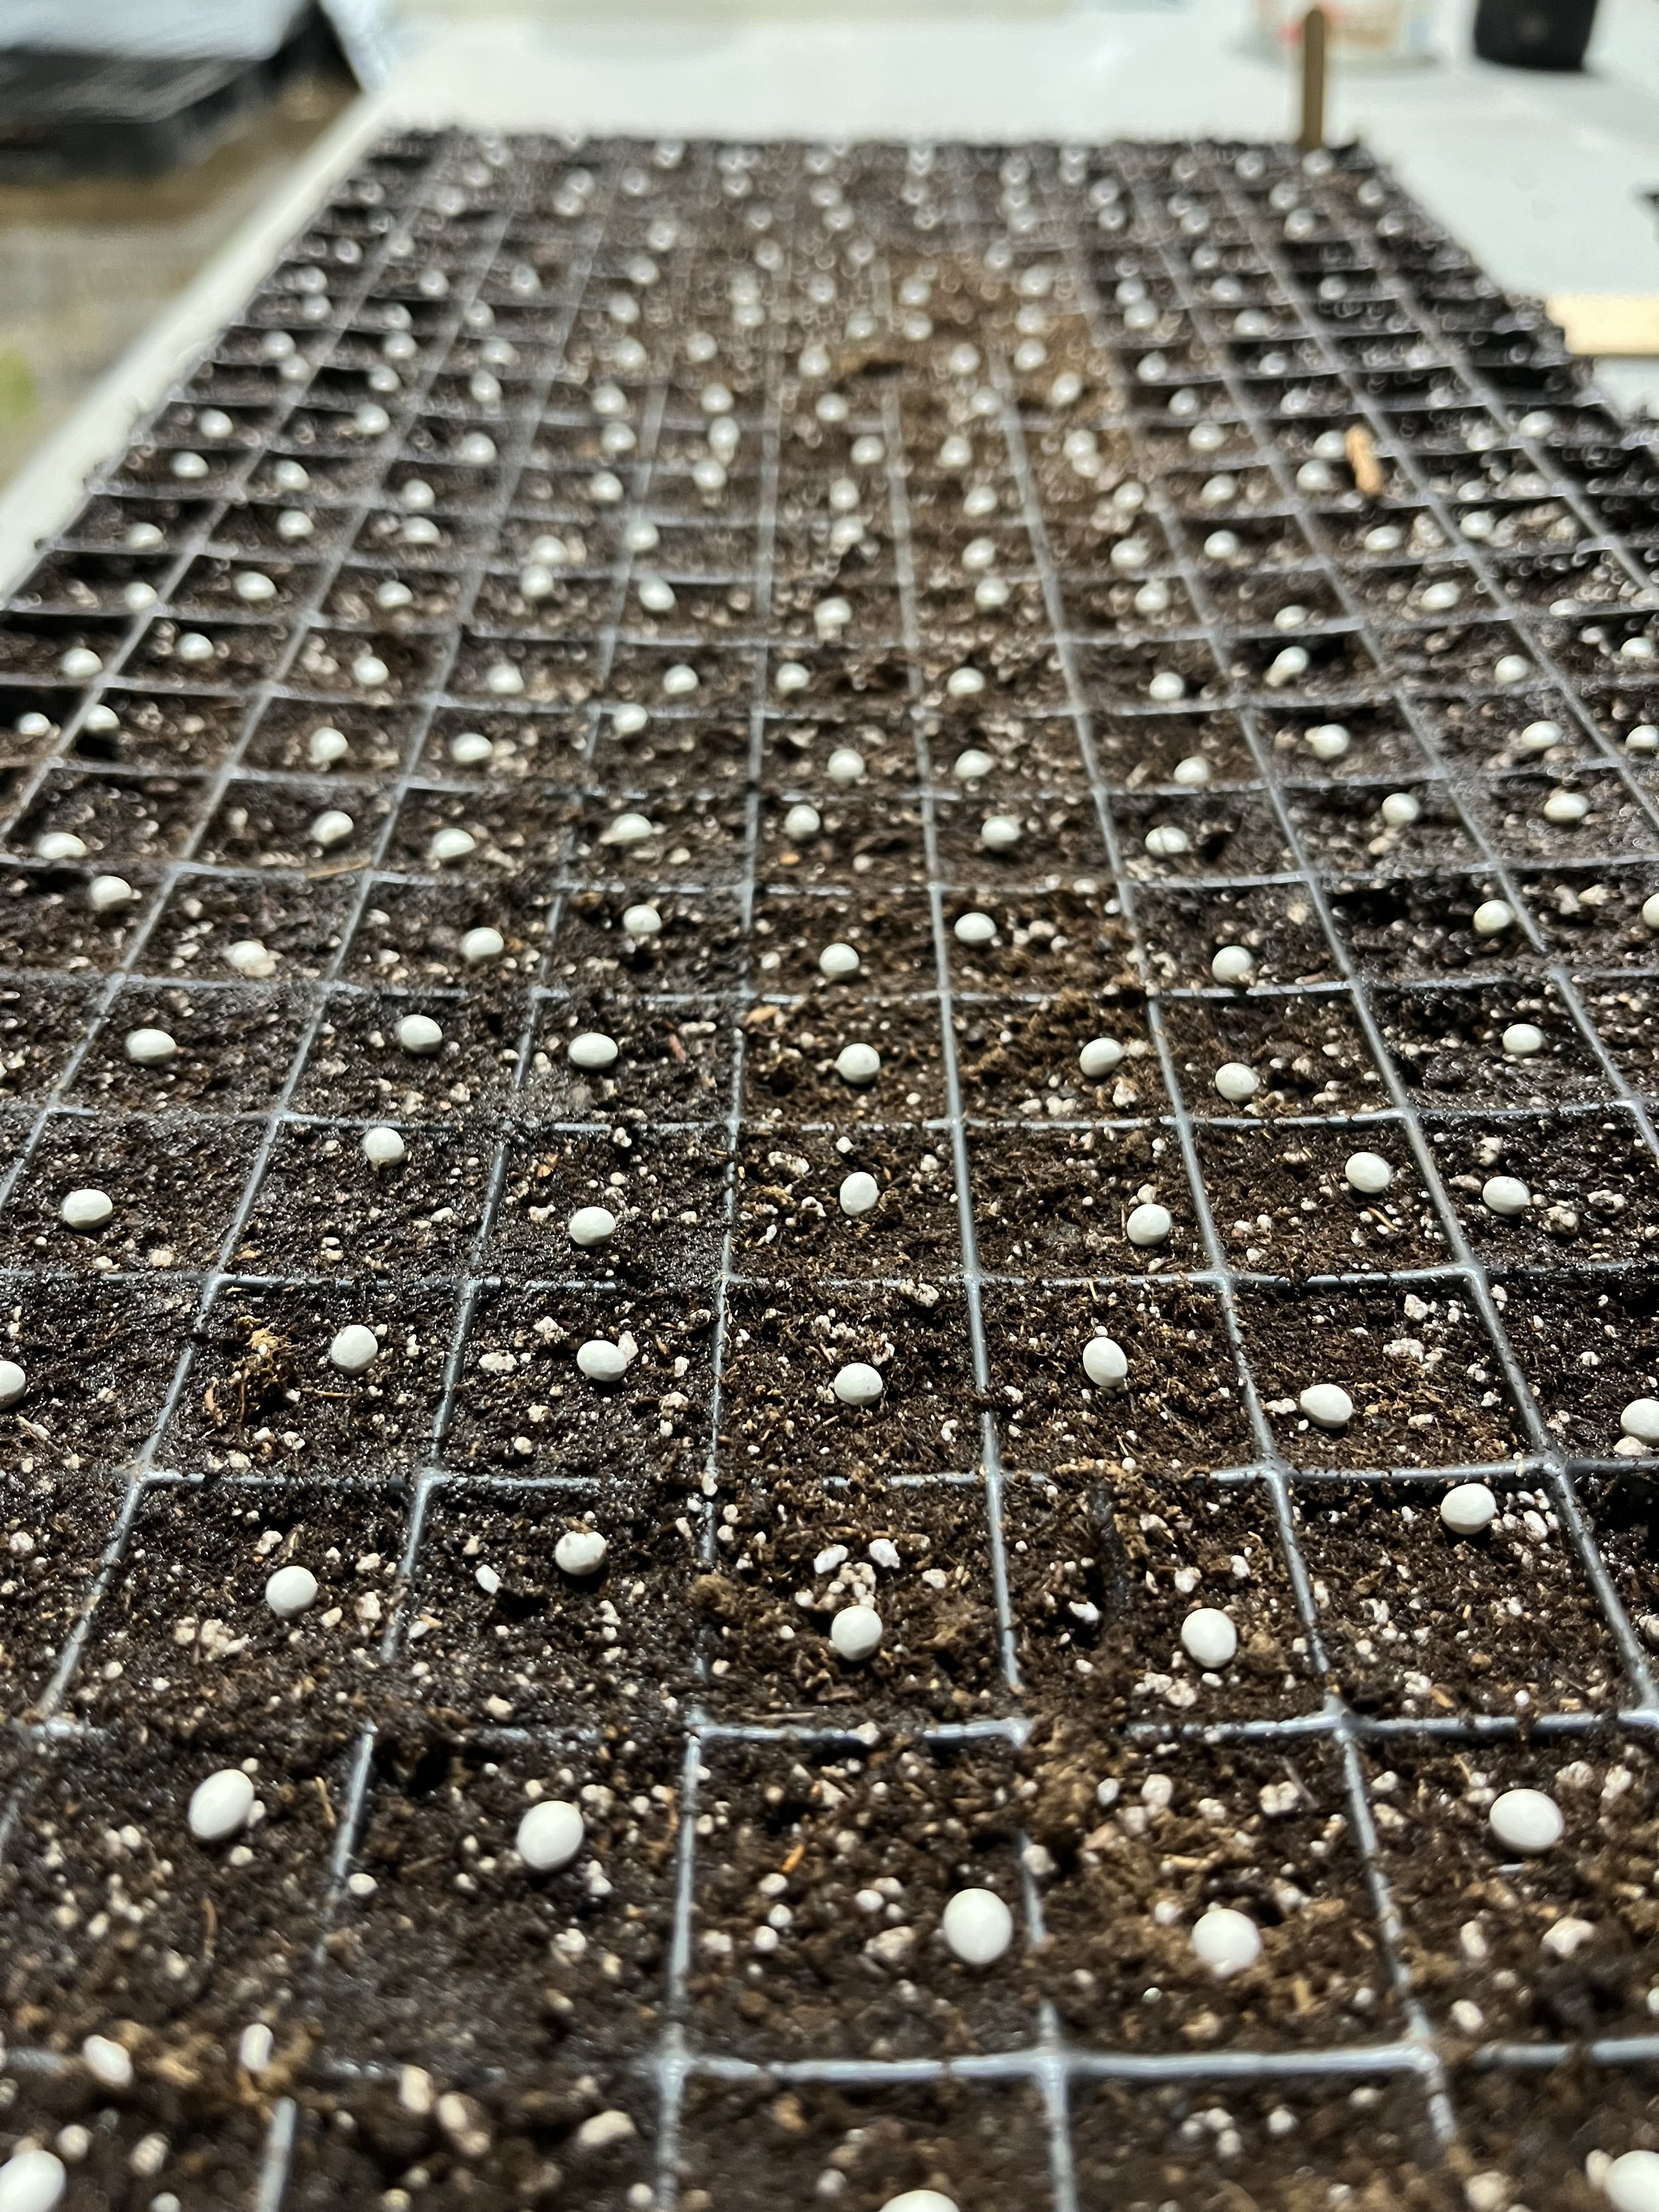
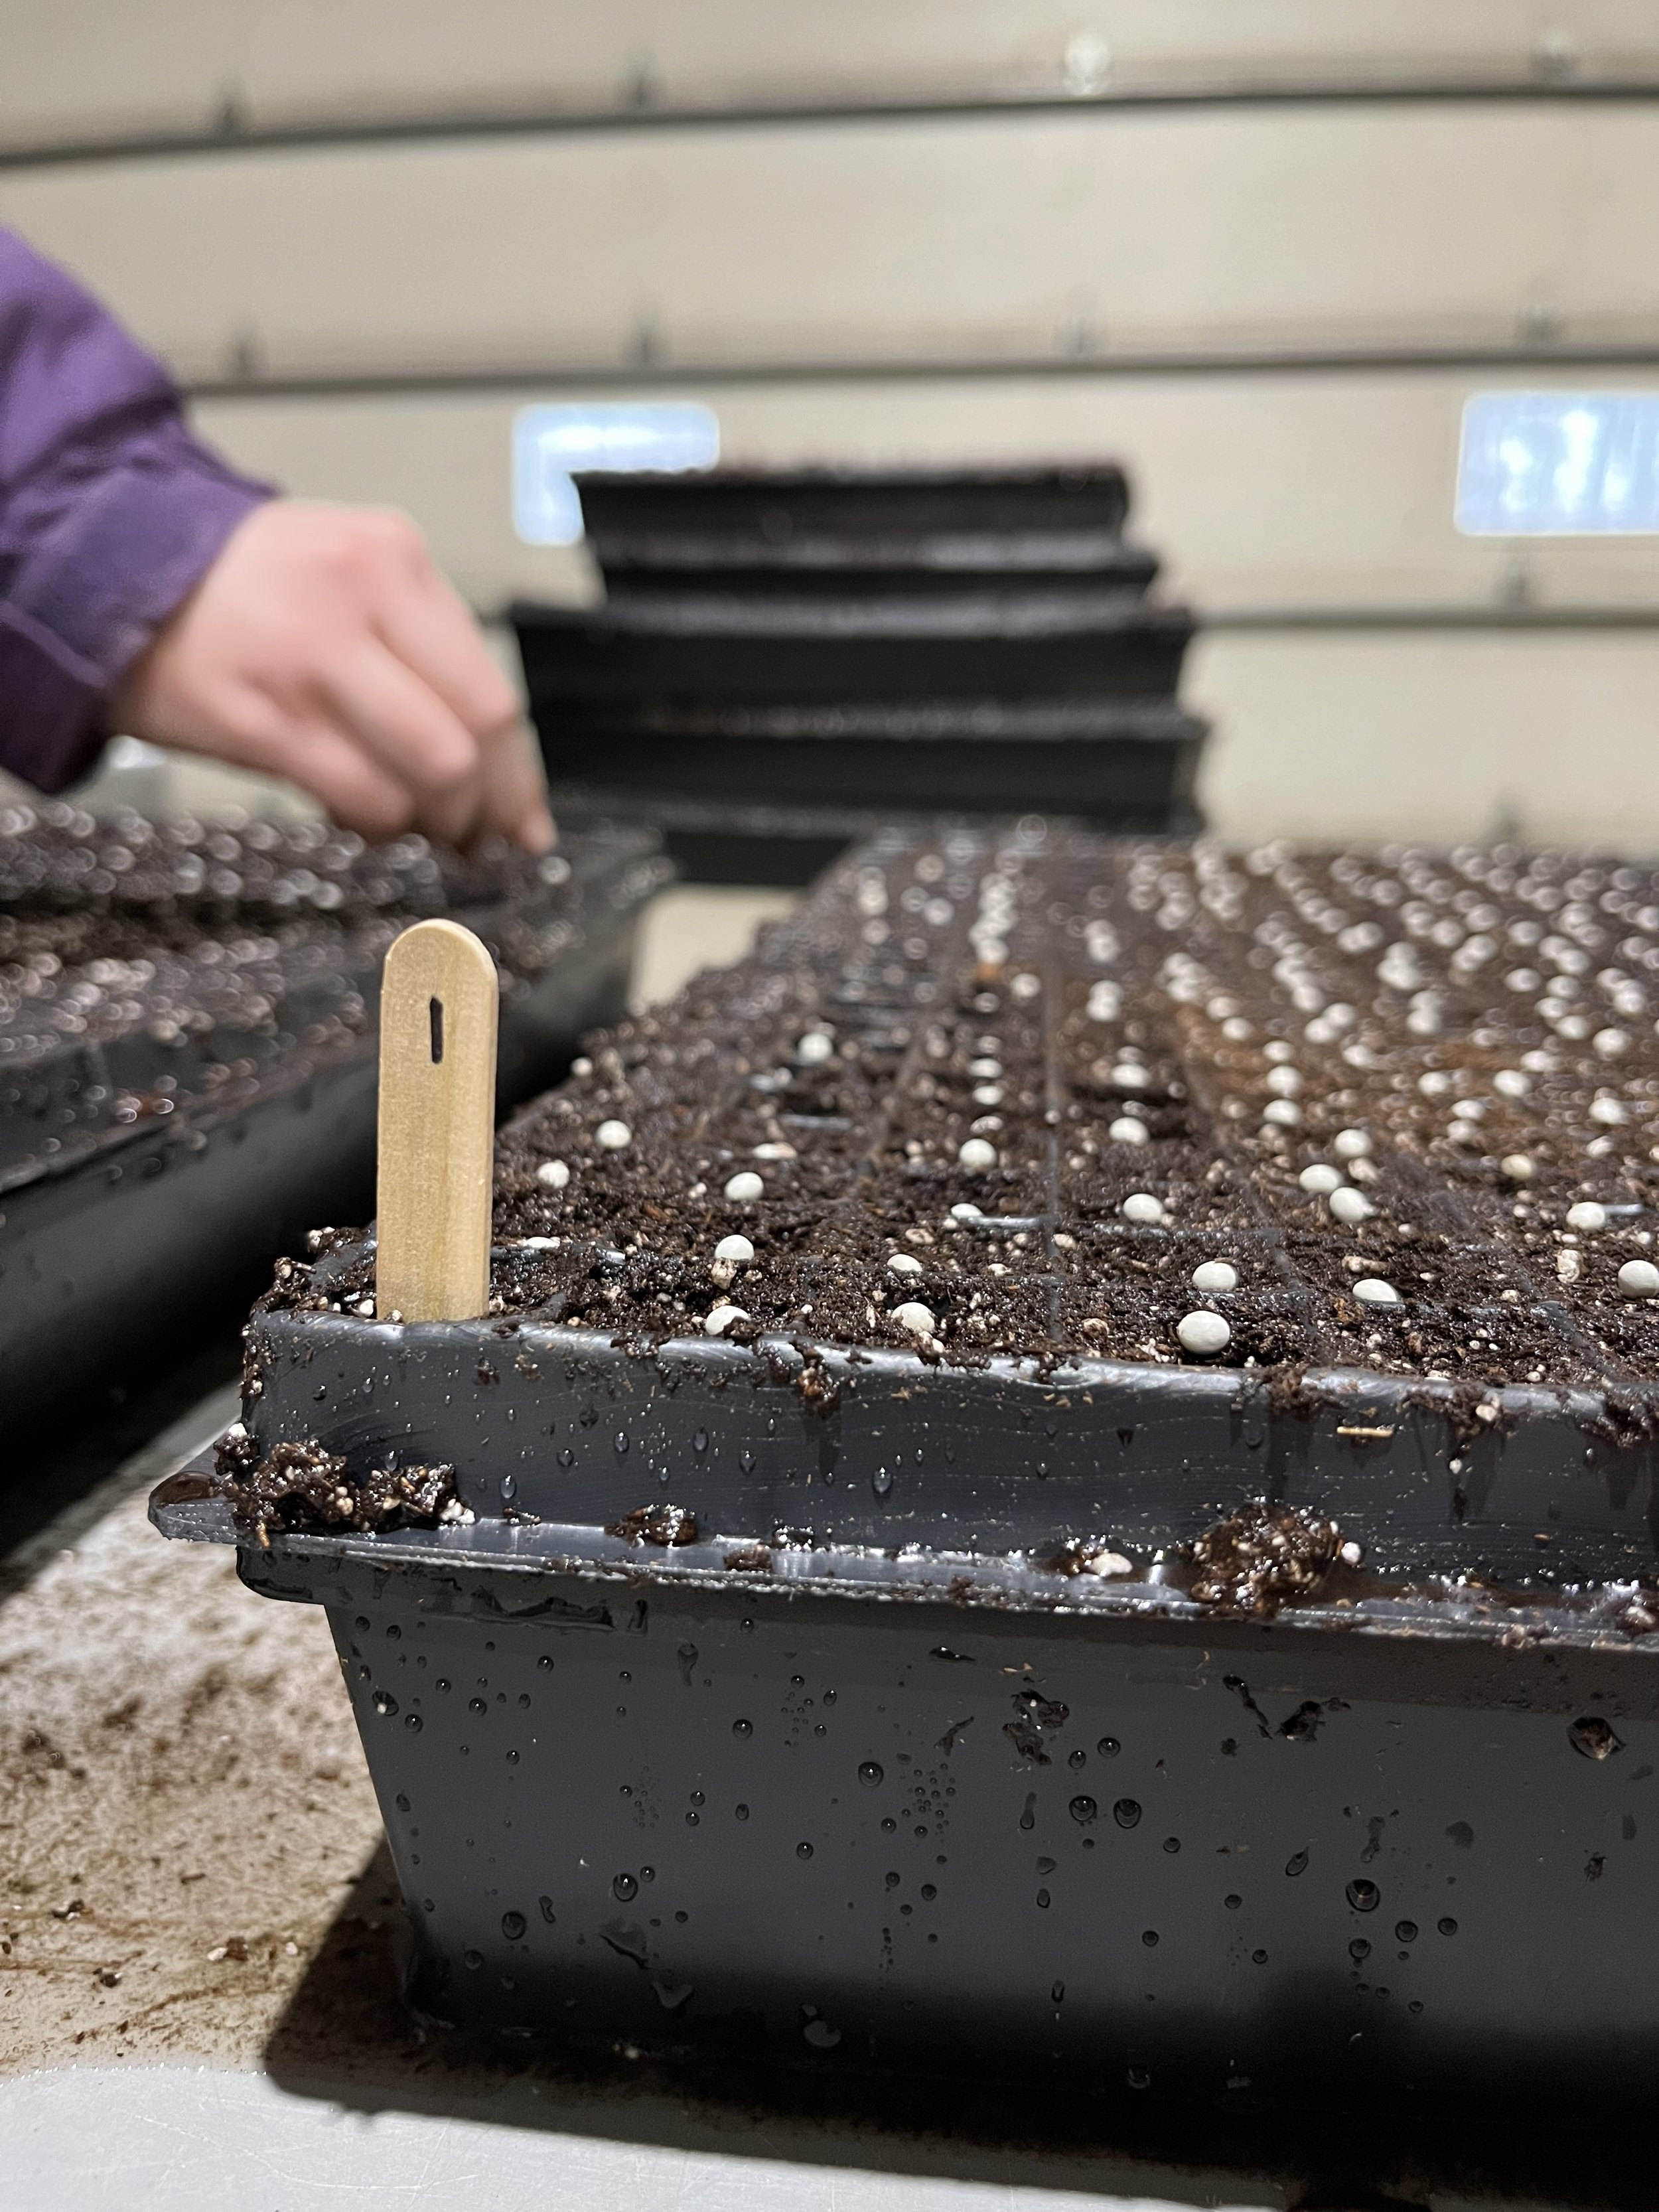
  3. The filled and wetted trays are then transferred to our seeders, who carefully place one seed at a time (by hand!) into the individual cells in the trays.

  4. The seeded trays are then topped with more soil and marked with a popsicle stick with a number that corresponds with the planting. That number is recorded in our seeding binder with a reference to the date and seeds sowed.

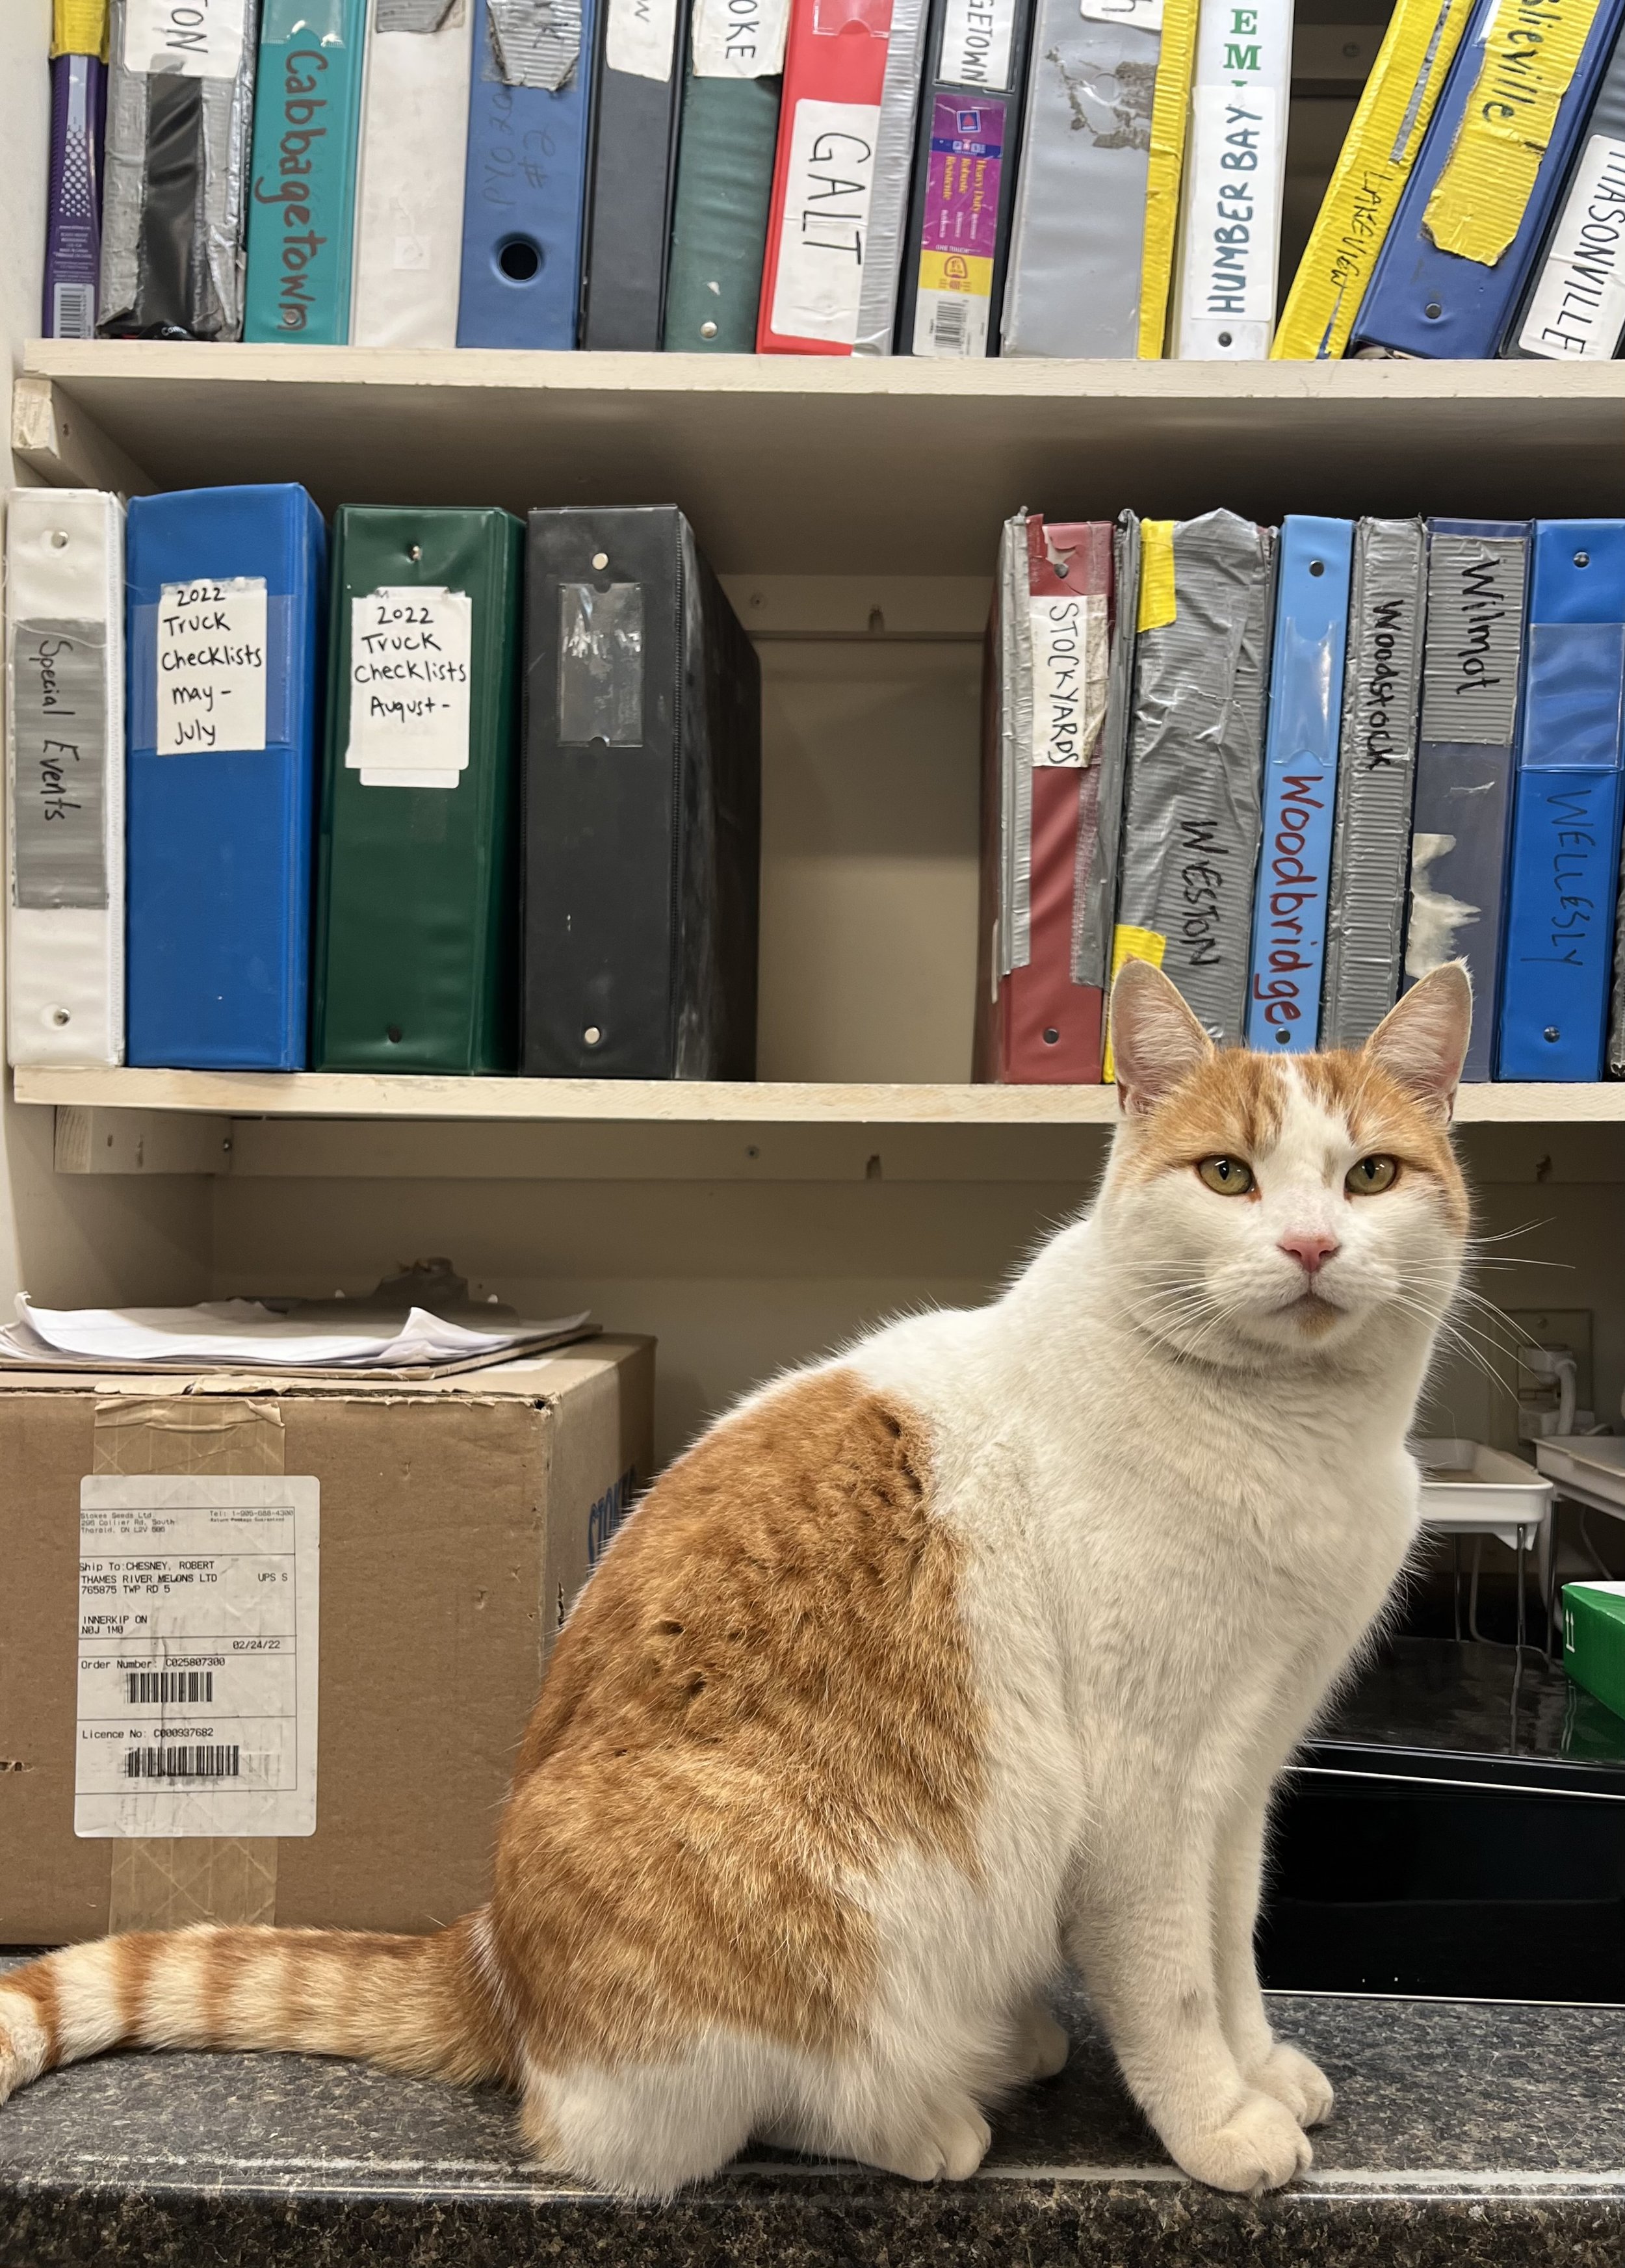
This system is carefully supervised by arguably everyone’s favourite team member, Pumpkin Spice Latte, or Pumpkin for short.

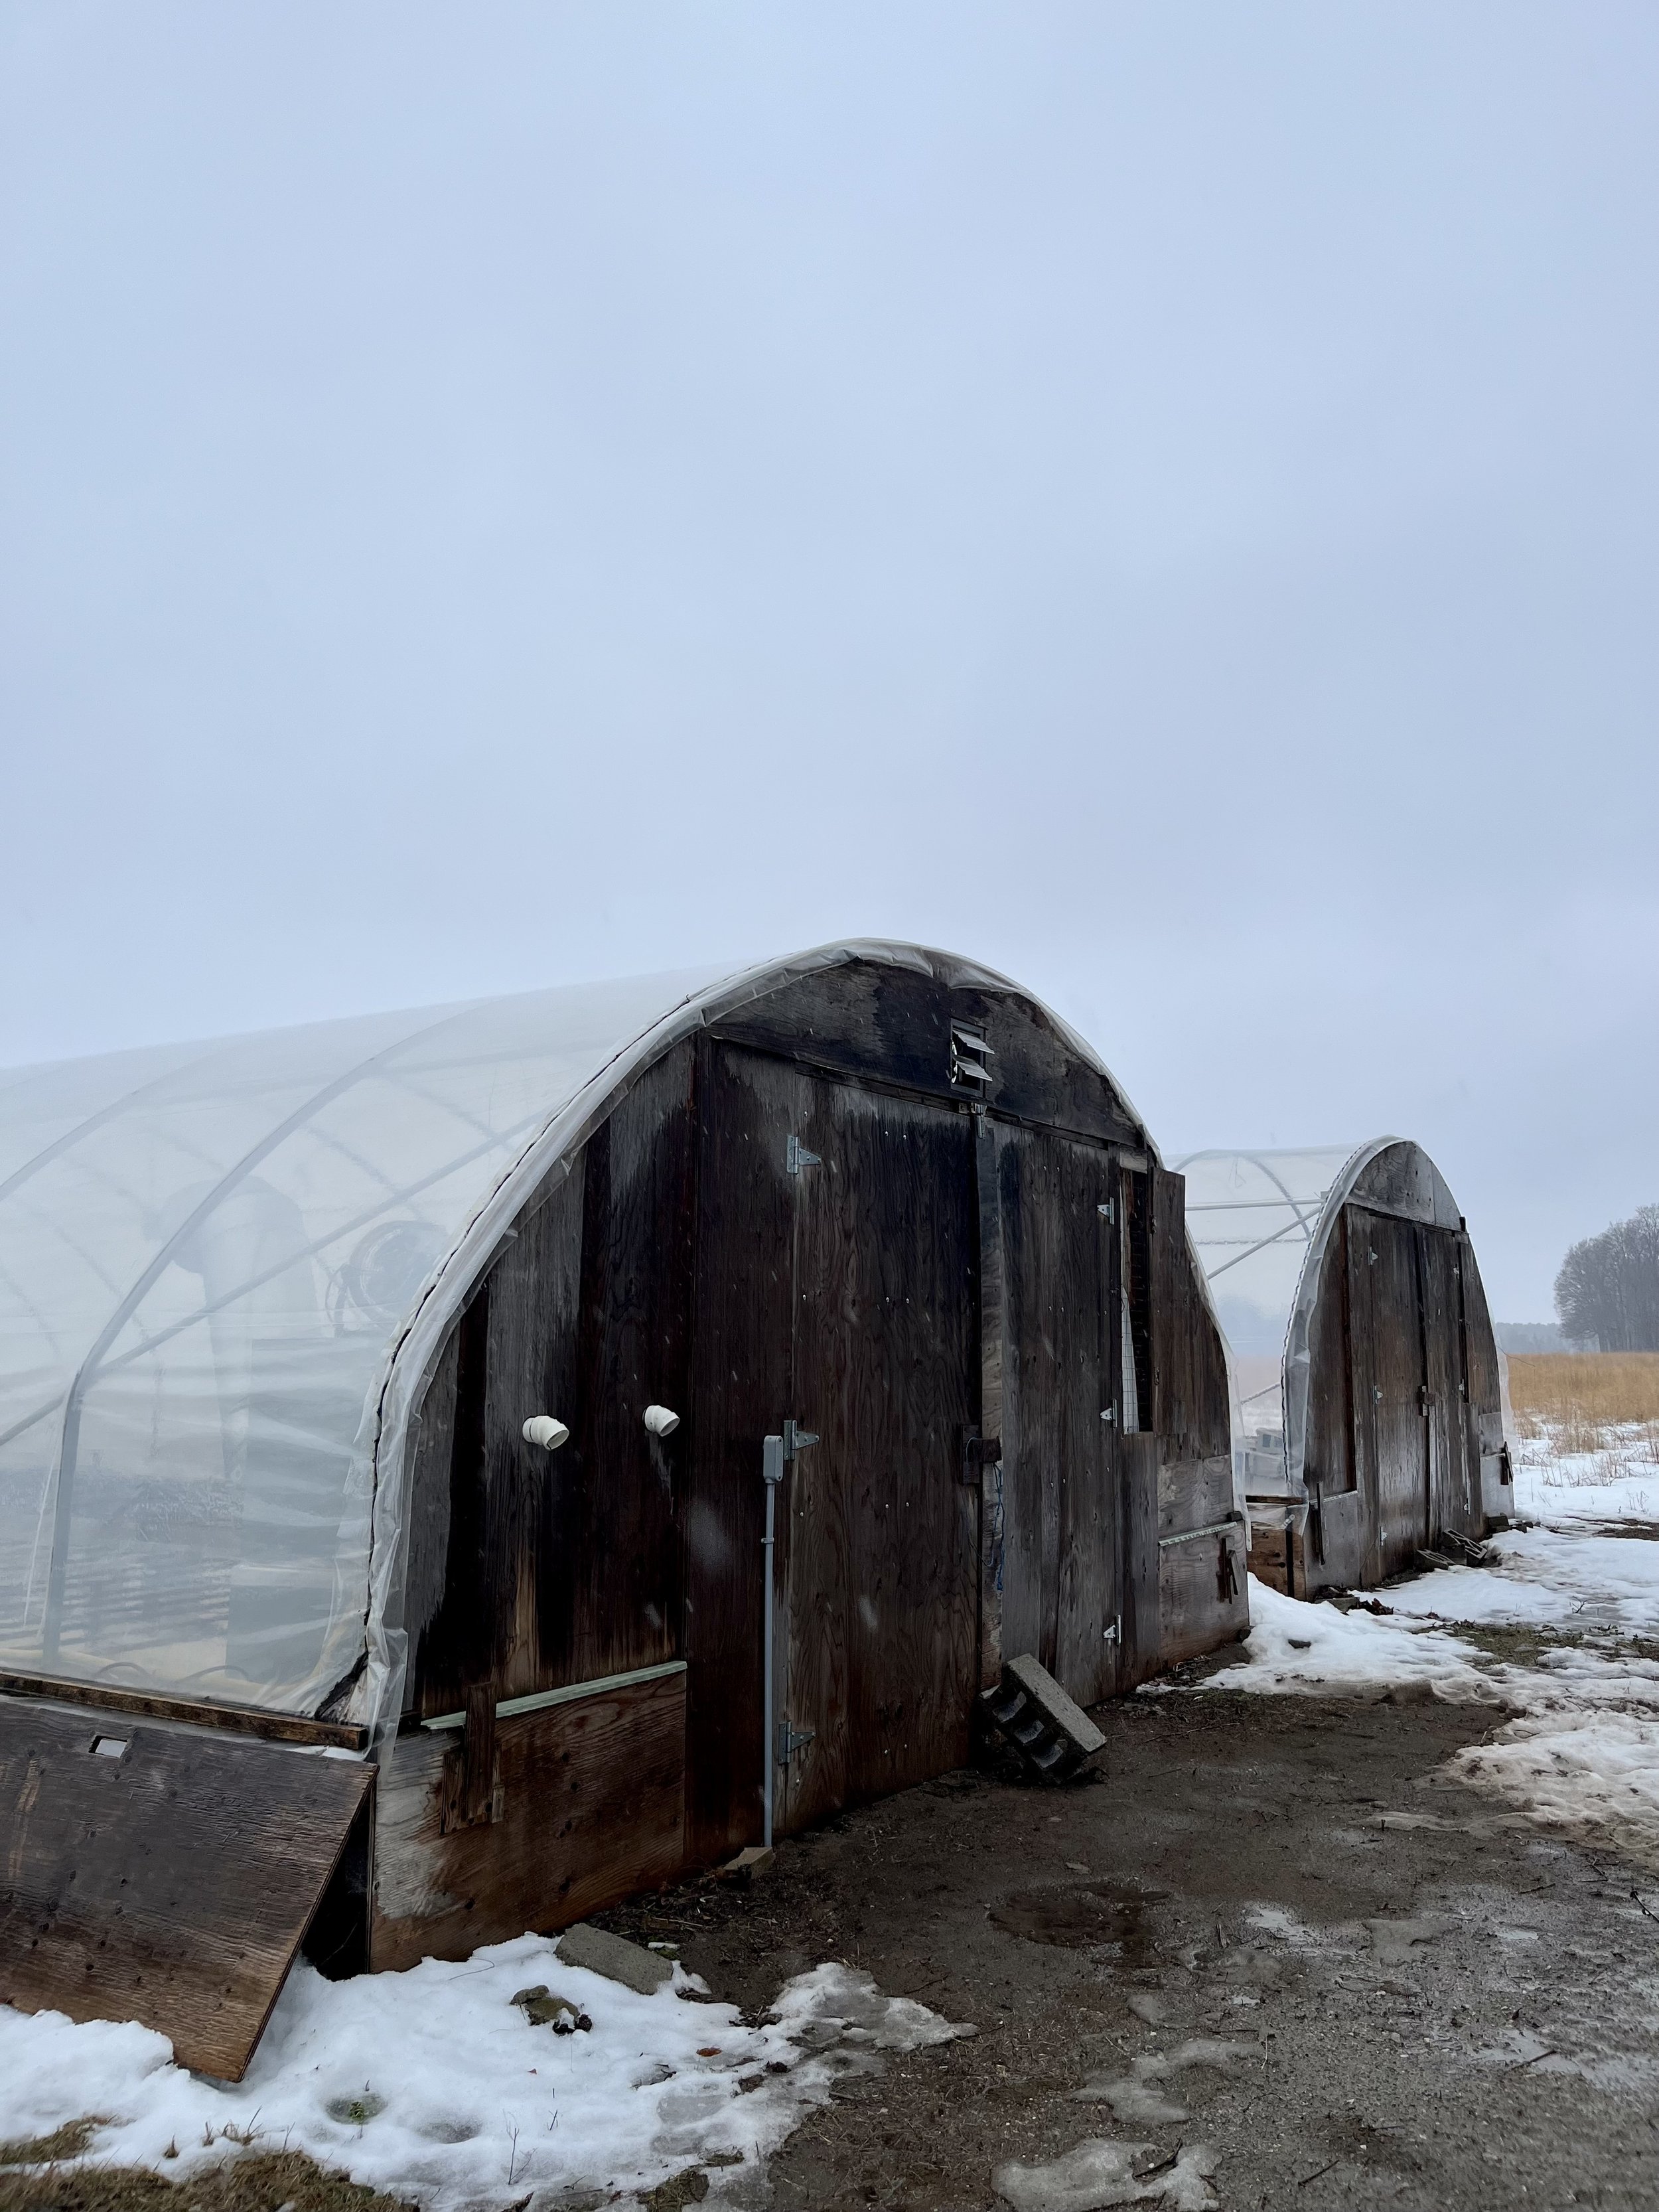
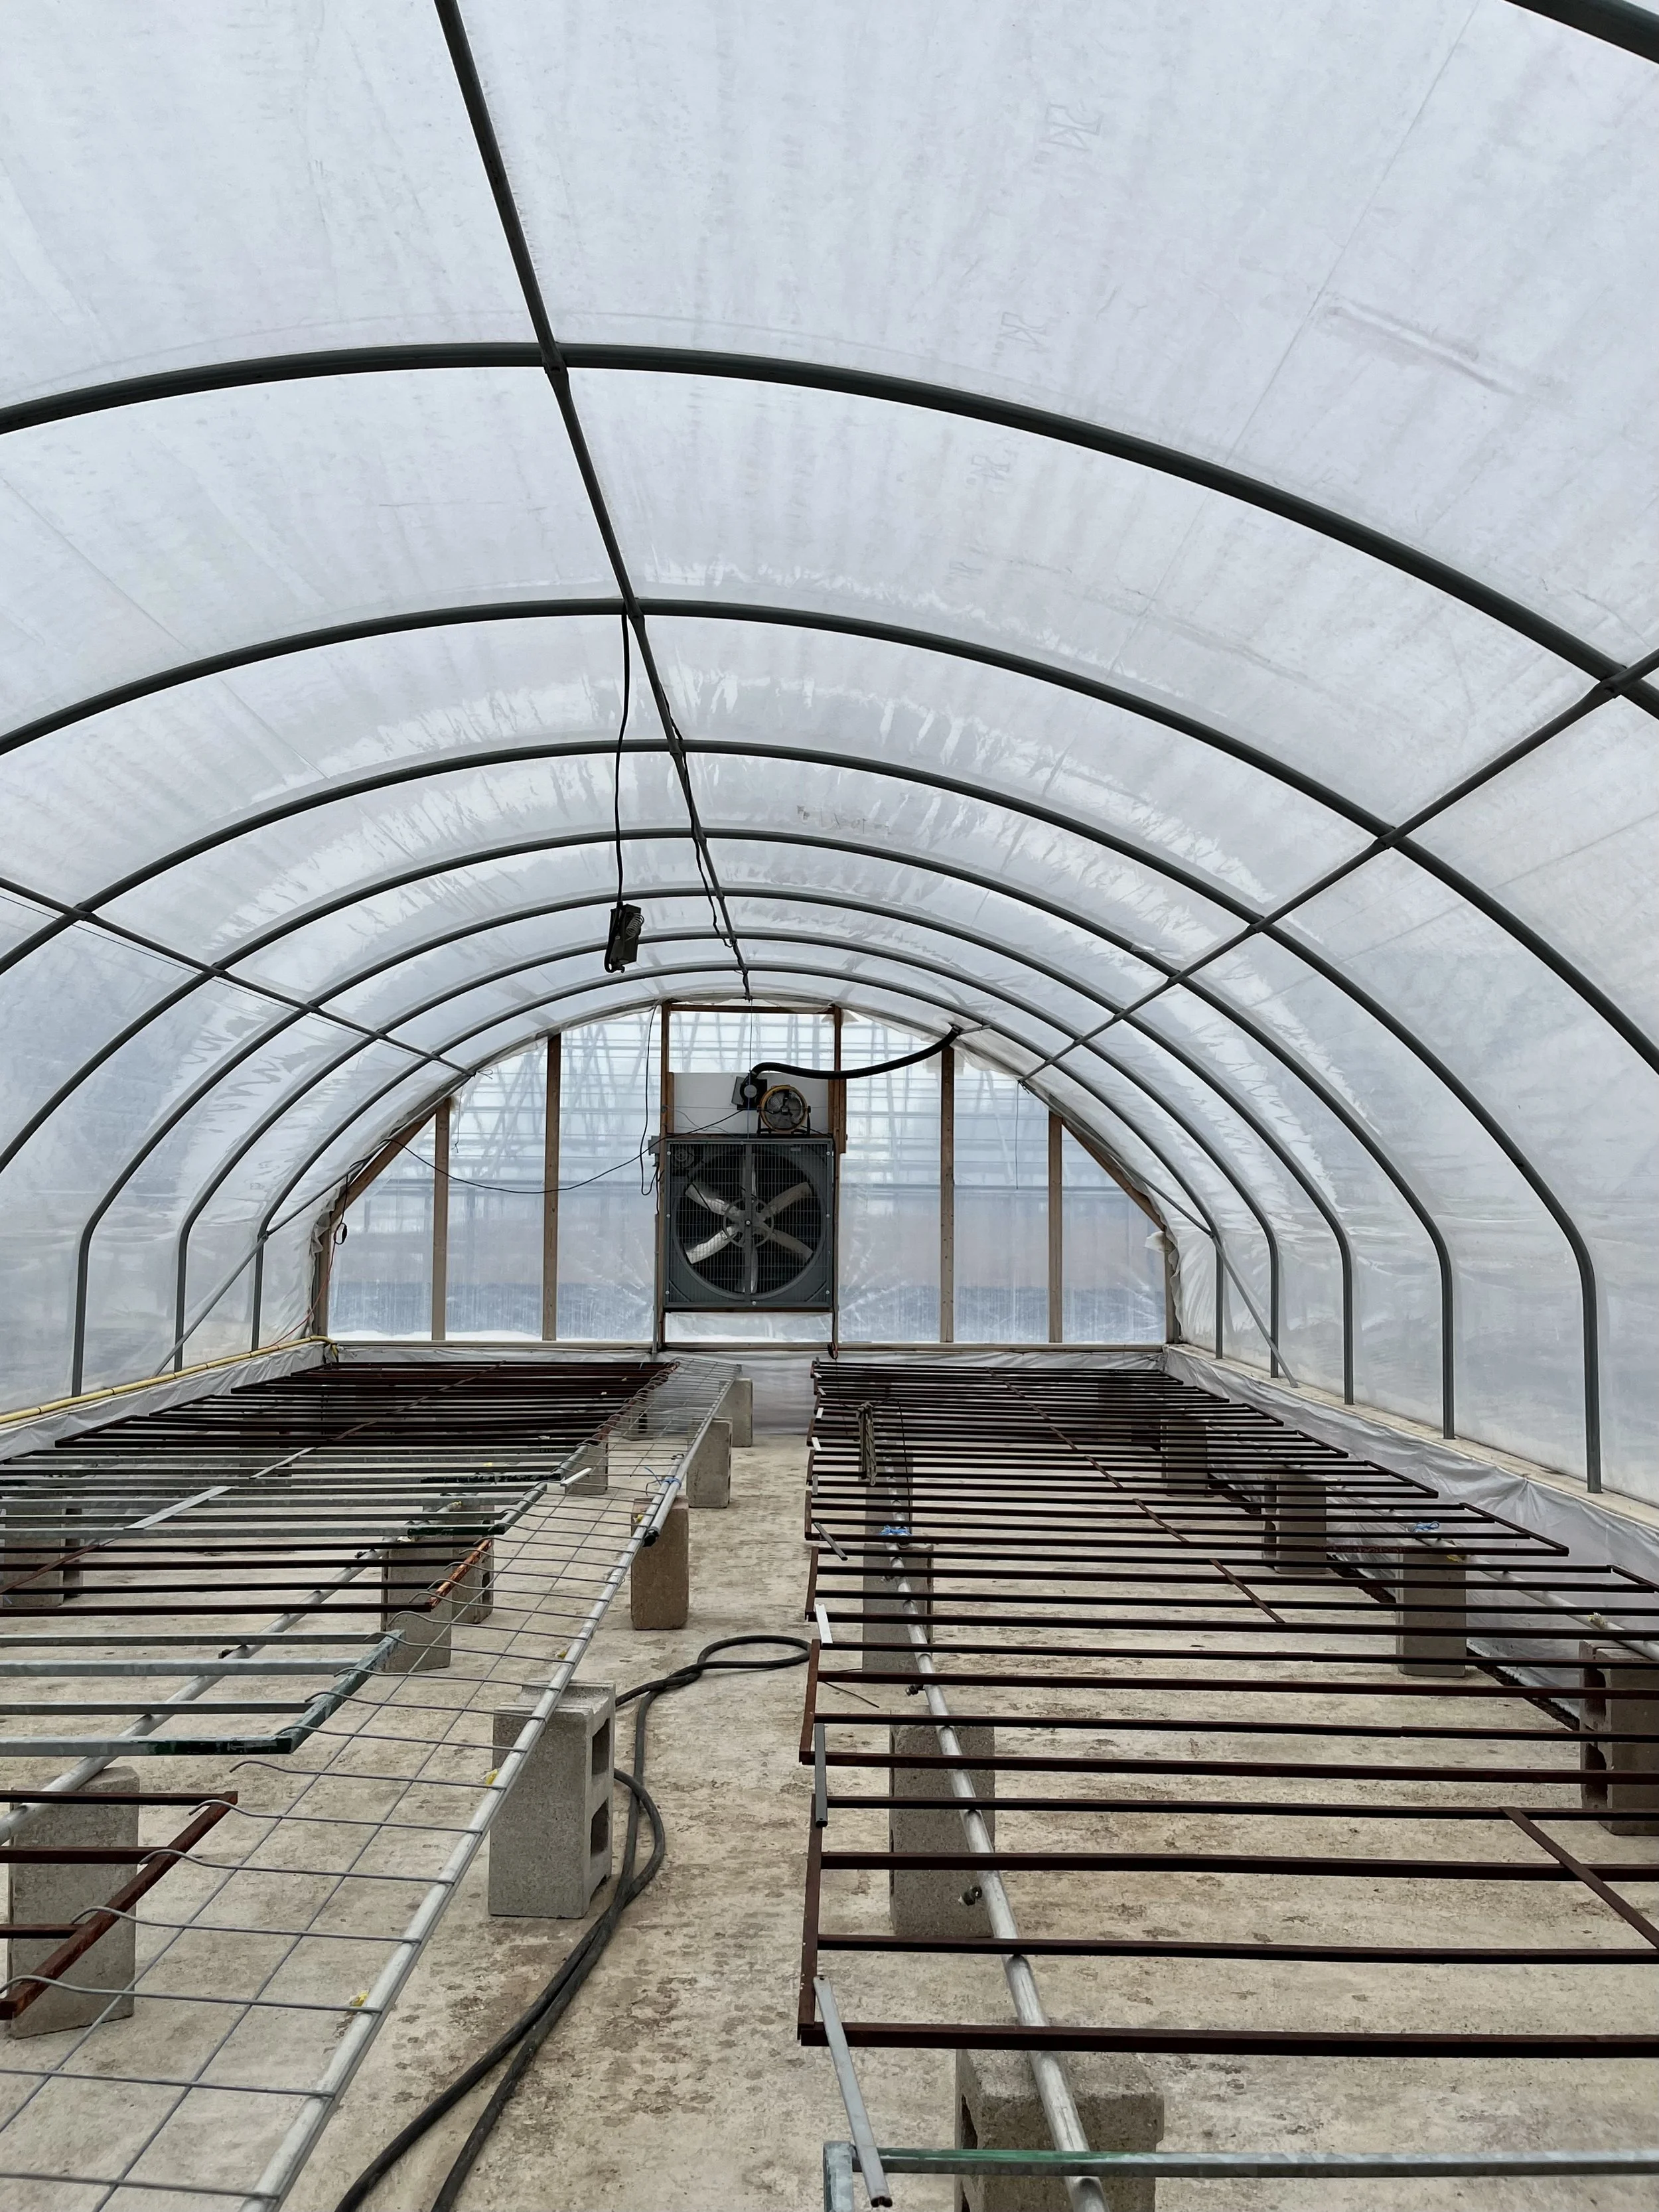
The seeded trays are then transferred to our heated greenhouse (pictured below!) where they will hang out for the next 12 weeks. Onions take quite some time to grow from seed, which is why we’re starting them so early.

Throughout the next 3 months they will be watered daily, and will receive a couple of “haircuts” while they grow, also known as trims. Trimming is required because as the onions start to shoot up they get too tall and top-heavy, and can topple over if left unattended.

By Week 10 or 11 we will begin to let the seedlings spend some time outside, to get them used to the elements before being formally transplanted into the field. This process is called “hardening off” and it’s something we do with all of our greenhouse-started seedlings. It ensures a better chance of survival!

Blog post written and photographed by Alex Chesney, RD

Vegetable Pesto Gnocchi

Ingredients

2 tbsp olive oil

2 cups broccoli florets

2 cups leeks, sliced

1 pepper, sliced

1 tbsp garlic, minced

2 handfuls fresh spinach

700g gnocchi

2 cups heavy cream

½ cup pesto

1 cup parmesan cheese, shredded

Salt

Pepper

Instructions

  1. Follow cooking instructions for gnocchi and set aside

  2. If wanting to add a choice of protein such as chicken, shrimp, lentils, etc make now and set aside with gnocchi.

  3. In a medium sauce pan add cream and pesto and season with salt and pepper. Bring to a boil. Once boiling bring heat down and simmer for about 10 minutes, occasionally stirring the mixture. During this time the vegetables can be started in the following step.

  4. In a medium frying pan add olive oil, then add broccoli and peppers. Sauté on medium-high heat for 3 minutes. Then add chopped leeks and sauté for another 5 minutes.

  5. Add garlic to pan and sauté for 1 minute before adding in fresh spinach. Continue stirring mixture around until spinach is cooked.

  6. Going back to the sauce, after 10 minutes stir in 1 cup of parmesan and then let simmer another 5 minutes, until sauce begins to thicken. Sauce should be able to coat the back of a spoon when finished.

  7. Once sauce is done add to pan with vegetables. At this time also add gnocchi and choice of protein to the pan. Top with a bit of parmesan cheese and serve hot.

Recipe Developed and photographed by Dietetic intern Rae Wilcox.


PYO Back to School Lunches

Back to school season is right around the corner! Are you looking for quick and inexpensive lunches to make for your little ones? In this blog post, we’re providing you with lunch inspiration using fruits and vegetables from our PYO patch!

Did you know that if you pick your own fruits and vegetables on our farm, you can get them for half the price? For example, if you buy one of our pre-picked watermelons, it will cost you $8, but if you pick your own it’s $3.50! Our blueberries are $4.25 per pound, which would cost you $1.44 per cup. Our pre-picked blueberries would cost you $4 per cup! Our carrots are $1 per pound, which could cost you only $0.30 for a cup. We have so many more vegetables available for you to pick as well!

Now, for the lunch ideas. Each option provides fruits and/or vegetables, a protein source, and a grain source based on Canada’s Food Guide recommendation. You can learn more about nutrition in the Nutrition Hub section of our blog. Feel free to modify each lunch idea and mix and match. You can add foods to make them more filling or take some away!

Lunch 1: Cheese and crackers with vegetables — broccoli florets, carrot sticks, and bell pepper slices.

Cost: ~$2.19. 2 oz cheese — $0.90; 10 crackers — $0.66; ¼ cup broccoli florets — $0.31; ½ cup carrot sticks —$0.15; ¼ cup bell pepper slices $0.17.

Lunch 2: Hardboiled eggs, crackers, watermelon, and blueberries.

Cost: ~$2.08. 2 hardboiled eggs — $0.60; 10 crackers — $0.66; ½ cup watermelon (medium) — $0.10; ½ cup blueberries — $0.72.

Lunch 3: Whole wheat pita bread, hummus, watermelon, blueberries, and vegetables – broccoli florets, carrot sticks, and green bell pepper slices.

Cost: ~$2.32. 1 pita bread — $0.53; 3 tablespoons hummus — $0.75; ¼ cup watermelon — $0.05; ¼ cup blueberries — $0.36; ¼ cup broccoli florets — $0.31; ½ cup carrot sticks — $0.15; ¼ cup bell pepper slices $0.17.

Lunch 4: Vanilla yogurt, granola, blueberries, and muskmelon.

Cost: ~$2.55. ¾ cup vanilla yogurt — $1.06; ½ cup granola — $0.31; ½ cup blueberries — $0.72; ½ cup muskmelon — $0.46.

Lunch 5: Pasta salad containing rotini noodles, chickpeas, feta cheese, vegetables – diced green bell peppers and tomatoes, and Italian salad dressing.

Cost: ~$1.62. 1 ½ cups whole grain rotini noodles — $0.54; ½ cup chickpeas — $0.30; 1 tablespoon crumbled feta cheese — $0.26; ½ cup green bell peppers — $0.35; ½ cup tomatoes — $0.10; 1 tablespoon Italian salad dressing — $0.07.

You can find more recipe inspiration on our recipes page!

This blog post was created by dietetic internship student Amy Campbell.

References:

Health Canada. (2021). Canadian nutrient file. Government of Canada. Retrieved July 25, 2022, from https://food-nutrition.canada.ca/cnf-fce/index-eng.jsp.

Walmart Canada. (2022). Walmart Grocery. Retrieved August 19, 2022, from https://www.walmart.ca/cp/grocery.

Share

Vegetable Personal Pizza

Ingredients

1 whole wheat naan bread

1/4 cup pizza sauce

1/3 cup cheese

1/2 cup diced vegetables (we used sweet peppers, zucchini, and garlic scapes for this one!)

6 pepperoni slices (optional)

Instructions

  1. Preheat the oven to 375°F and line a baking sheet with parchment paper.

  2. Spread the pizza sauce over the naan bread.

  3. Add the cheese on top.

  4. Place the pepperoni slices and vegetables on the naan bread.

  5. Bake at 375°F for 15-20 minutes until the cheese is melted.

  6. This recipe makes one serving, but feel free to make several personal pizzas for your whole family!

This recipe was developed and photographed by dietetic internship student Amy Campbell.

Learn more about fruit and veg delivery.

Watermelon Pizza

Ingredients

1-inch thick circle of watermelon (we recommend our seedless variety for this one!)

1/4 cup plain yogurt

1 teaspoon honey

1/4 cup granola

1/2 cup blueberries

Instructions

  1. Cut the watermelon into a 1-inch thick circle. You can also cut the watermelon into six 1-inch thick slices and decorate each slice if that’s easier for you!

  2. Spread the yogurt over the watermelon to act as the “sauce”.

  3. Pour the honey over the yogurt.

  4. Spread the granola over the watermelon and then the blueberries.

  5. Cut the watermelon pizza into 4-6 slices and enjoy!

This recipe was developed and photographed by dietetic internship student Amy Campbell.

Chocolate Zucchini Loaf

Ingredients:

1 ½ cups all-purpose flour

1 cup whole wheat flour

1/3 cup hemp seeds

½ cup chopped pecans (optional)

½ cup cocoa powder

1 tsp baking soda

½ tsp baking powder

¾ cup sugar

3 eggs

¾ cup canola oil

2 tsp vanilla extract

3 cups grated zucchini (unpeeled)

½ cup chocolate chips (add more or less, depending on preference)

Instructions:

  1. Preheat oven to 350 ̊ F.

  2. Grease two small loaf tins and line with parchment paper.

  3. In a large bowl, whisk together flours, hemp seeds, pecans, cocoa powder, baking soda, baking powder, salt and sugar.

  4. In a medium bowl, beat the eggs. Add the oil, vanilla, and zucchini.

  5. Add the wet ingredients to the dry ingredients and mix until just incorporated.

  6. Fold in the chocolate chips. Divide between the loaf pans.

  7. Bake for 45–55 minutes, or until a toothpick comes out clean when inserted into the middle.

NOTE: the batter will seem quite dry at first but keep mixing and you should end up with a thick, wet batter

Yogurt Coated Strawberries

Ingredients:

Strawberries, halved

Vanilla Greek yogurt

Instructions:

  1. Dip the halved strawberries in Greek yogurt with a toothpick and place them on a rimmed baking sheet lined with parchment paper

  2. Place baking sheet in freezer for 1-2 hours, or overnight if desired.

  3. Remove from pan and store in an airtight bag or container until ready to consume.

NOTE:Some Greek yogurts are thicker than others but use a yogurt that you like

Garlic Parmesan Butter Roasted Potatoes

Serves: 4

Ingredients:

4 medium potatoes (or about 20 baby potatoes)

4 tbsp melted butter, set aside half for use later

1 cup shredded parmesan cheese (shaker parmesan will also work)

2 tbsp minced garlic (or garlic powder)

1 tbsp paprika

1 tsp Italian seasoning

½ tsp salt

1 tsp pepper

Instructions:

  1. Preheat oven to 400 ̊F

  2. Microwave the whole potatoes for about 5 minutes or until they start to soften. Check with a fork.

  3. Carefully transfer the potatoes to a roasting pan and using a flat tool (like a mallet or masher) smash the potatoes until they are about 1 inch thick. Bake for about 20 minutes.

  4. Mix the parmesan, minced garlic, paprika, Italian seasoning, salt and pepper together in a bowl.

  5. Coat the potatoes in the melted butter and then in the seasoning mixture.

  6. Bake again for another 10 minutes or until the potatoes are slightly crispy on the outside.

  7. Serve as a warm side with your meal.

    Learn more about organic veg box offerings.

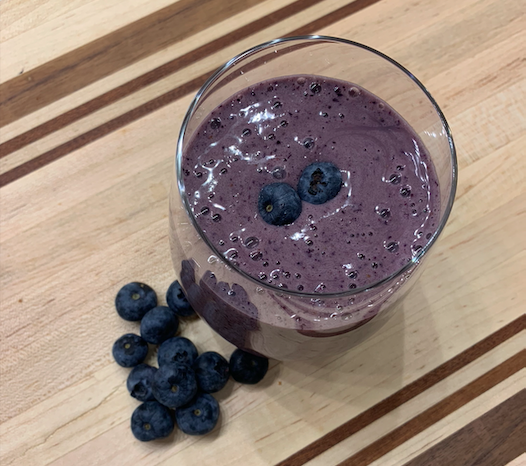
Blueberry Banana Smoothie

Servings: 2

Ingredients

1 cup Blueberries (fresh or frozen-if using fresh, add some ice)

1 Banana (fresh or frozen)

1/2 cup milk of choice (Depending on the desired thickness of the smoothie you may want to modify the amount of liquid added. Less liquid = thicker smoothie; more liquid = thinner smoothie)

Instructions

  1. Add all ingredients to blender.

  2. Blend until all ingredients until mixed. Approximately 30seconds. Add more liquid (either more milk or water) depending on desired thickness. Smoothies are flexible! Feel free to add what you have on hand

    *NOTE: It helps your blender if you put softer ingredients closer to the blades and hard, frozen ingredients furthest from the blade. This means if you’re using a traditional blender where the blade is on the bottom, load your smoothie with the fresh, soft ingredients on the bottom, putting ice/frozen items on the top, furthest away from the blade.

Muskmelon Strawberry Feta Salad

Ingredients

1 muskmelon, chopped

1 cup strawberries, chopped

1/2 cucumber or bell pepper, chopped

1/4 cup crumbled feta cheese

1/4 cup raw almonds

1 tablespoon canola oil

1/2 teaspoon red wine vinegar

1/2 teaspoon ground pepper

Instructions

  1. Mix the muskmelon, strawberries, cucumber, feta cheese, and almonds together in a large bowl.

  2. For the salad dressing, mix the canola oil, red wine vinegar, and ground pepper together thoroughly.

  3. Pour the dressing onto the salad and mix.

  4. This recipe is best consumed right away. Enjoy!

This recipe was developed and photographed by dietetic internship student Amy Campbell.

Roasted Cinnamon Muskmelon

Ingredients

1 muskmelon

1 tablespoon honey

1/2 teaspoon cinnamon

Instructions

  1. Preheat the oven to 400°F. Line a baking sheet with parchment paper. Set aside.

  2. Wash the muskmelon with a produce brush. Cut off the outside skin and cut the muskmelon into curved slices.

  3. Combine the muskmelon, honey, and cinnamon in a medium-sized bowl.

  4. Place the mixture on the baking sheet and bake for 20 minutes, flipping the muskmelon halfway. The muskmelon slices should be hard around the edges and softer on the inside.

  5. Wait 5 minutes for the muskmelon to cool then serve on yogurt, ice cream, or by itself! You can eat the muskmelon cold or hot and for breakfast, a snack, or dessert.

Recipe developed and photographed by dietetic internship student Amy Campbell.

PYO Fruit & Vegetable Patch Experience

Are you looking for a family-friendly outdoor activity this summer? We have just the thing for you! This August we are hosting a pick-your-own fruit & vegetable experience where you will learn about the farm, agriculture, and food production first-hand by picking your very own fruits and vegetables. With the items you pick, you will then be making a delicious recipe right here on the farm, while also learning about the nutrients in the ingredients you picked!

This event will be one hour long, and when you are finished you can eat and take any leftovers home with you to share with your family. We will be hosting sessions throughout August:

This fun and educational activity is $15 per person. To choose an available time and pre-pay click here. See you soon!